Let Your Creativity Bloom – Sweet Pea Inspirations 🌸 Kit and samples showcase
Published: April 16, 2026
✨ New Collection Launch – Beautiful Blooms: Sweet Pea Bouquet ✨
There are some collections that come together quickly… and then there are those that take weeks and weeks of love, thought, and creativity—gently evolving into something truly special.
This is one of those collections 💗
I’m so excited to introduce my brand new kit:
Opulence By Design Crafts – Beautiful Blooms: Sweet Pea Bouquet PDF Digital Download
💗💗 You can find it in the shop here: https://shop.obyd.co.uk/b/XgLJq
A Little Story Behind the Collection 🌸
I’ve always had a bit of a soft spot for sweet peas. Since moving back from Canada, I’ve grown them every single year without fail. There’s just something so magical about them—the way those delicate tendrils climb and twist, always reaching for the light.
This year, my greenhouse is absolutely full of them… I may have gone a little overboard! But I wouldn’t have it any other way. I’m just waiting (not very patiently!) for those first blooms to appear and fill the space with their soft colours and that beautiful, unmistakable scent 🍃
Sweet peas really do feel like a gentle kind of magic. Originally from Sicily and adored since the 17th century, they’ve come to symbolise blissful pleasure, gratitude, delicate goodbyes, and lasting friendships—which makes them even more meaningful.
And I’ve always loved that “sweet pea” is also a term of endearment… something soft, kind, and full of affection. My Aunt used to call me sweet pea when I was little, so this flower has always felt extra special to me.
When I was studying horticulture at college, I completely fell in love with the meanings behind flowers and the stories they carry. It changed the way I see plants—and sweet peas have stayed close to my heart ever since 💗
About the Kit ✂️
This isn’t just a cardmaking kit—it’s been designed as a creative experience.
The Beautiful Blooms: Sweet Pea Bouquet kit is all about inspiring creativity, encouraging experimentation, and giving you the freedom to create in your own unique way.
I’ve also been sharing some sample makes alongside this launch to give you inspiration and ideas—but truly, this kit is about you and what you create with it.
One thing I always say… don’t be afraid to experiment!
Try printing onto different materials such as:
- Glossy paper
- Matte cardstock
- Vellum
- Rice paper
- Watercolour card
- Hammered or pearl cardstock
Each one gives a completely different look and feel, and it’s such a lovely way to make every project unique.
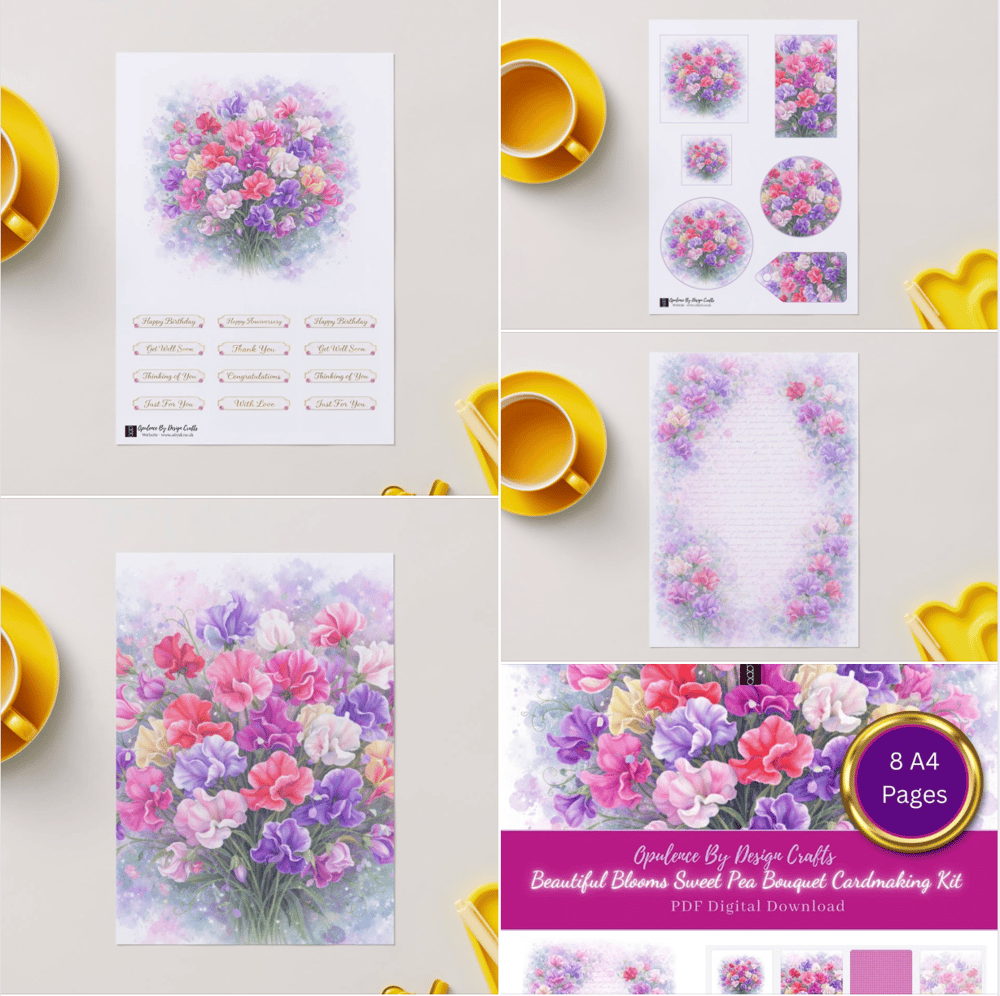
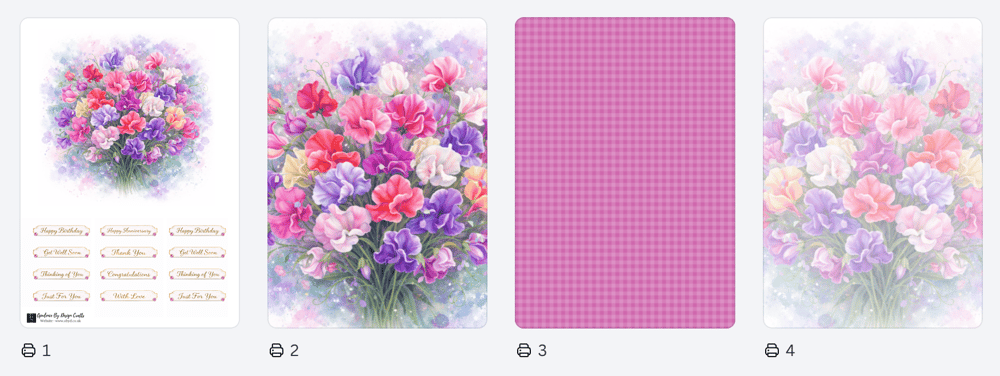
What’s Included
Part A – 8 A4 Pages:
- Large Sweet Pea Design Sheet with Sentiments
- Bold Sweet Pea Portrait Designer Paper
- Pink Gingham Paper
- Frosted Sweet Pea Portrait Designer Paper
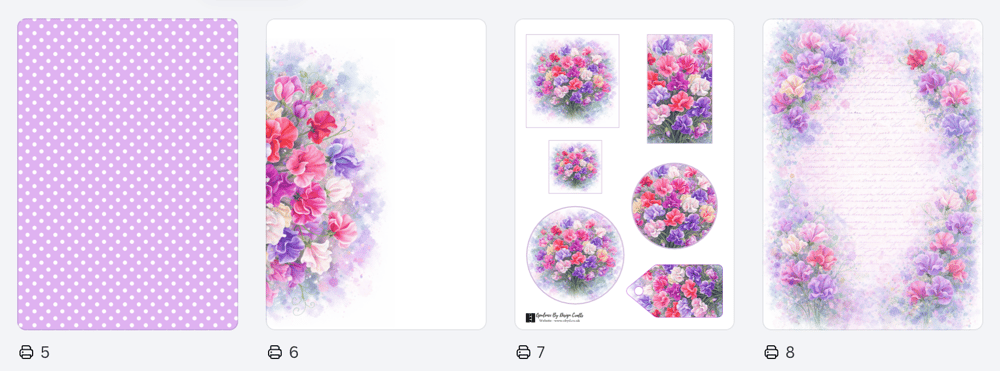
- Lilac & White Polka Dot Paper
- Sweet Pea Backing Paper (perfect for card blanks, inserts, or outserts)
- Topper & Tag Sheet
- Sweet Pea Script Paper
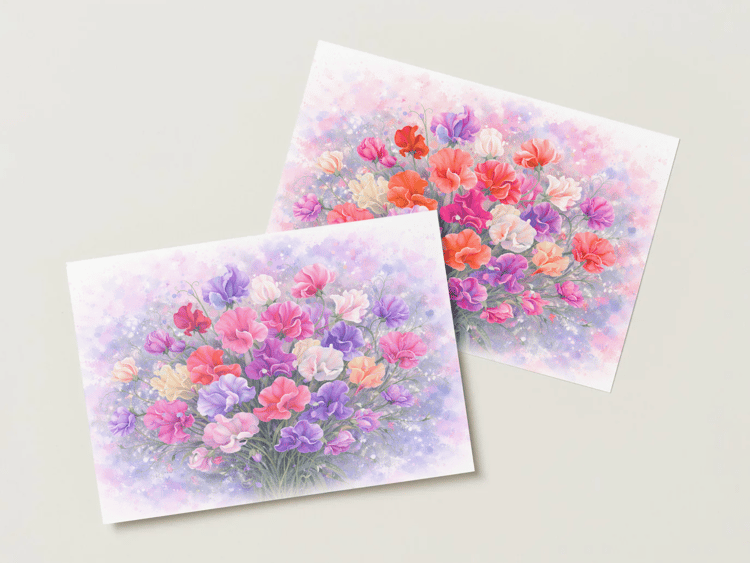
Part B – Bonus Papers
- 2 x Landscape Designer Sweet Pea Papers
The Beautiful Blooms kits are usually 8 pages, but I just couldn’t leave these out… so I’ve included a little bonus for you! Make sure to download both Part A and Part B when you receive your kit.
A Little Insight Into My Process 💗
When I’m designing a kit, I never quite know what will make it into the final collection. I create lots of elements—papers, toppers, embellishments—and then I test print everything, play with layouts, and start making sample projects.
Only then does the final kit come together. It’s very much a creative journey, and every piece included has been carefully chosen to work beautifully together.
Let Your Creativity Bloom 🌸
For me, sweet peas are a reminder to slow down and enjoy the little moments… and that’s exactly what I hope this kit brings to you too.
Whether you’re making cards, tags, journals, or something completely different, I hope this collection inspires you to experiment, explore, and most of all—enjoy the process.
I truly hope you love it as much as I’ve loved creating it 💗

The card above is a style I’ve been making quite a lot recently—they’re really fun to create. I like to call it a double framed aperture card, as that’s essentially how it’s constructed. An aperture simply means a window, and in this design the inner opening is smaller, which creates a lovely layered frame effect.
You can achieve this look using nesting dies, but believe it or not, I didn’t use dies for this one. Instead, I used a track system. Laura kindly bought me this set last year and I absolutely love it. It’s made up of acrylic shapes with a track system, along with small blade tools that sit into the track and allow you to cut around the shape.
There are three different blade tools included, each giving a slightly different cutting size—so in effect, you can create your own custom layers and frames with ease.
They’re perfect for quick makes when you don’t want to get your die-cutting machine out—or if you don’t have one at all. These tools have actually been around for quite a while (we used to sell them on Create and Craft years ago!), but I know there are lots of newer crafters who may not have come across them yet.
If you’d like me to put together a blog post or step-by-step project using them, just let me know via the contact form on the website and I’d be more than happy to 😊
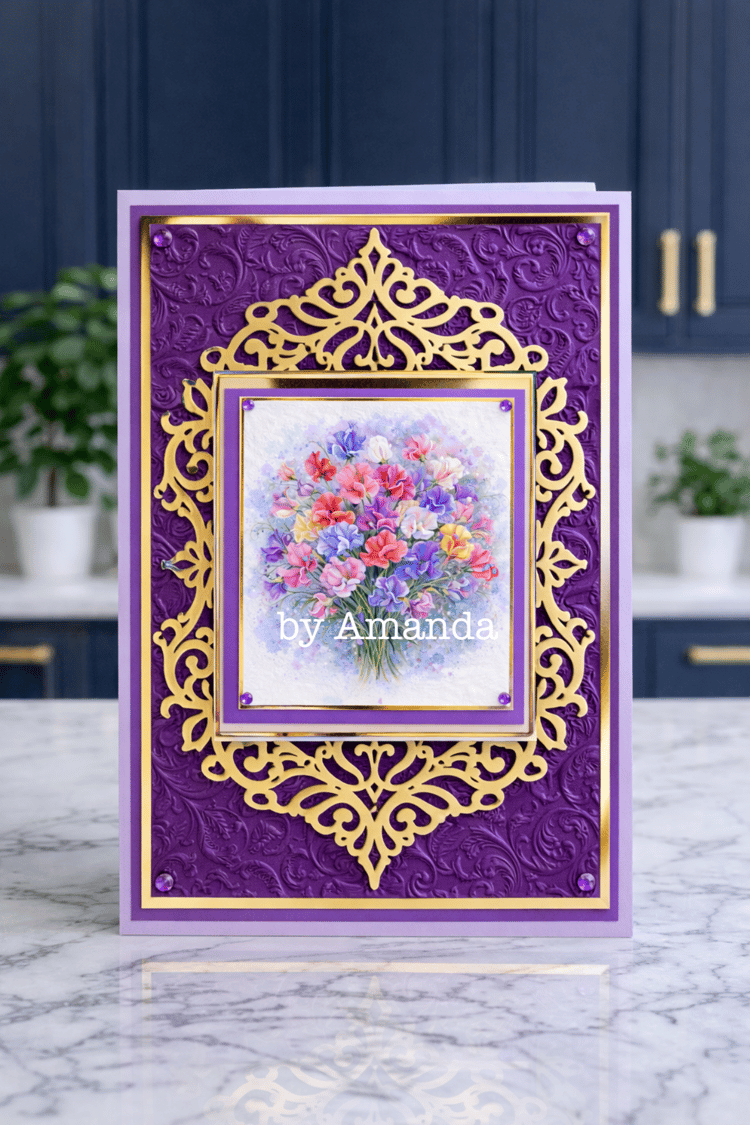
The card above has a really dramatic feel to it. The card blank was created using 280gsm lilac cardstock, which was scored and folded to form the base.
The embossing folder is an older one from Textured Impressions range, but it still adds such a beautiful texture.
The gold mirror layer was cut using my Cameo, giving it that lovely crisp finish.
For the focal point, I used a topper from page 1 of the kit, resizing it in my printer settings so it fitted the design perfectly.
It’s finished off with plenty of matting and layering, along with a few gems for that extra touch of sparkle
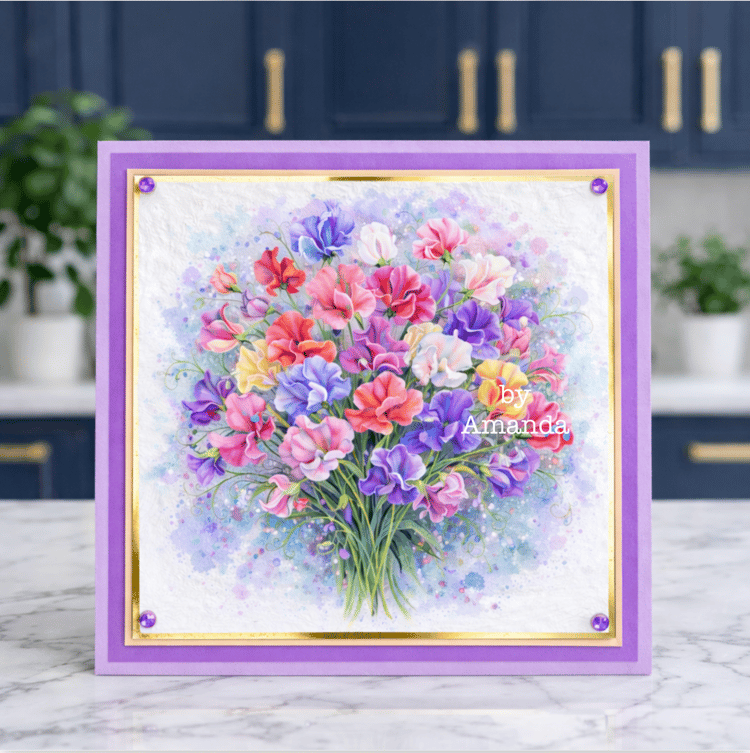
Simple Square card - 6x6
Simple matting and layering and a few gems
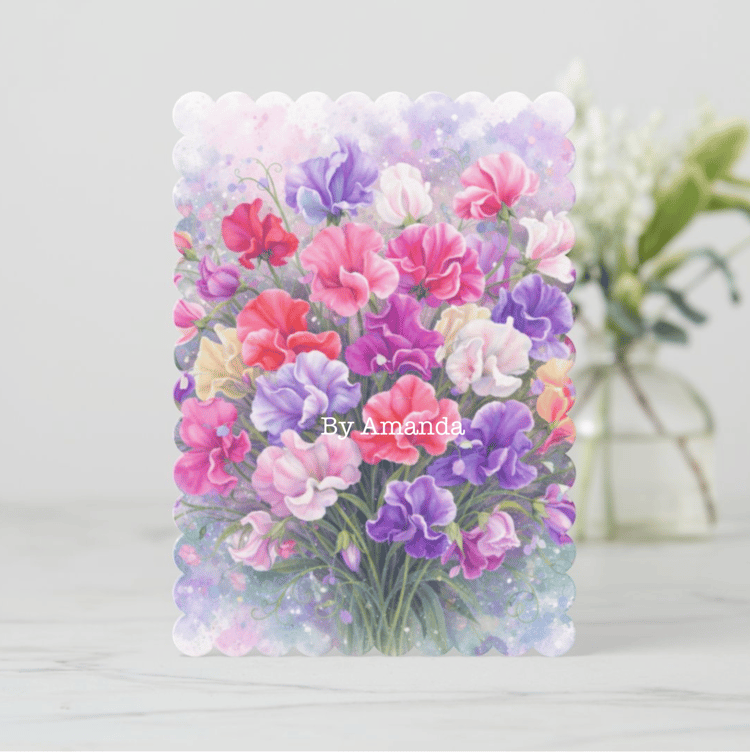
Scallop Edge Card - this was cut on my Cameo although you can buy Scallop edge cardblanks and scallop edge nesting set dies to create a similar look
** The scallop edge card blanks are really pretty but they do have one straight side where the fold is.
For my cameo cut and to create one with a scallop nesting die - i create the scallop front first then you can do back part of the card securing with a flap to inside (a bit fiddly but well worth the effort) this can be done from the side or the top like a tent fold OR you can use as it is and make a card stand for it using a die (check out the Hobbies and Home Sharing group on facebook as i will be posting the link for this die and other items used in this blog post through-out the day)
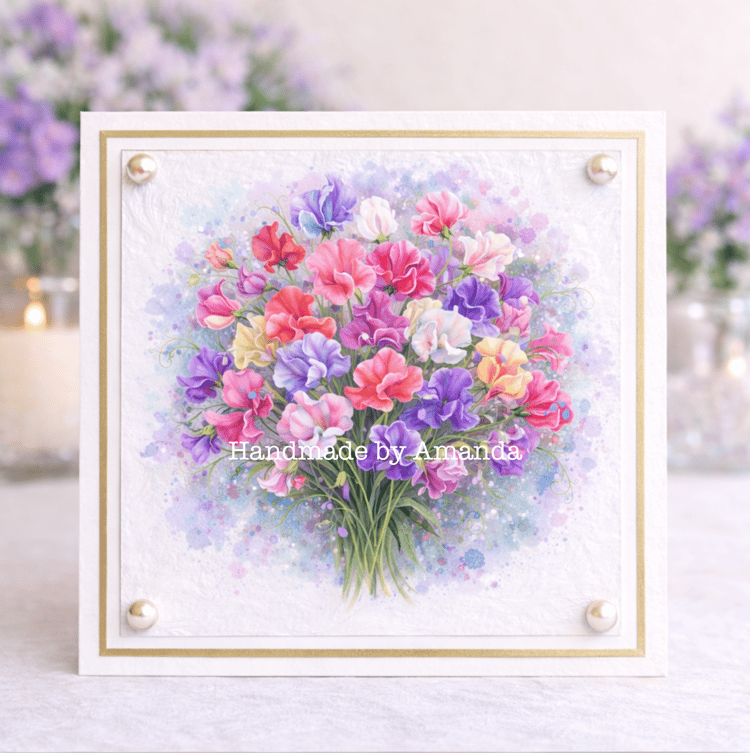
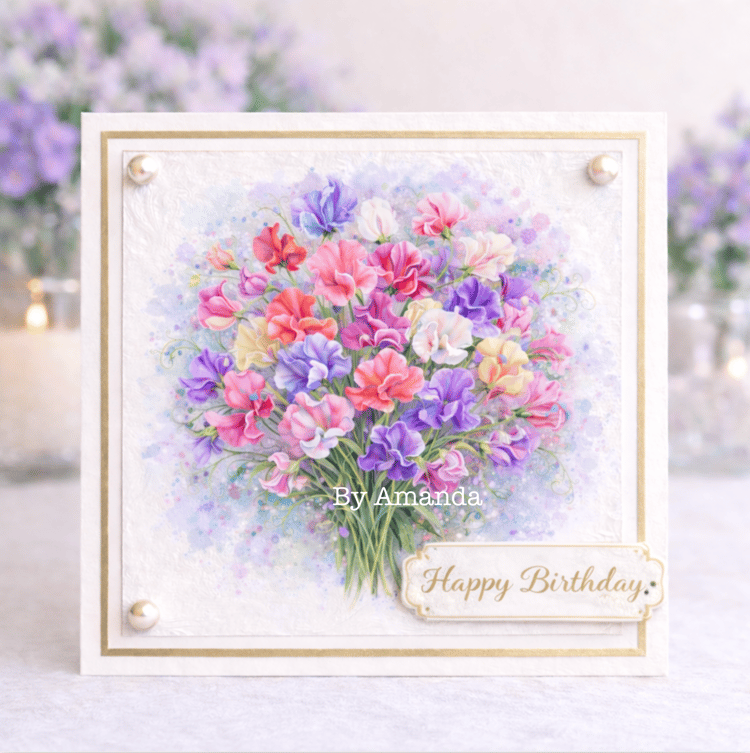
Another simple square card, really letting the design speak for itself. Although the artwork already has a soft watercolour effect, I chose to print the topper onto bright white hammered cardstock to enhance that artistic, textured finish even further.
I’ve added some gentle matting and layering, and finished it off with a few chunky flat-backed pearl gems for a touch of elegance.
The below is the same card but i just wanted to show it with a sentiment added
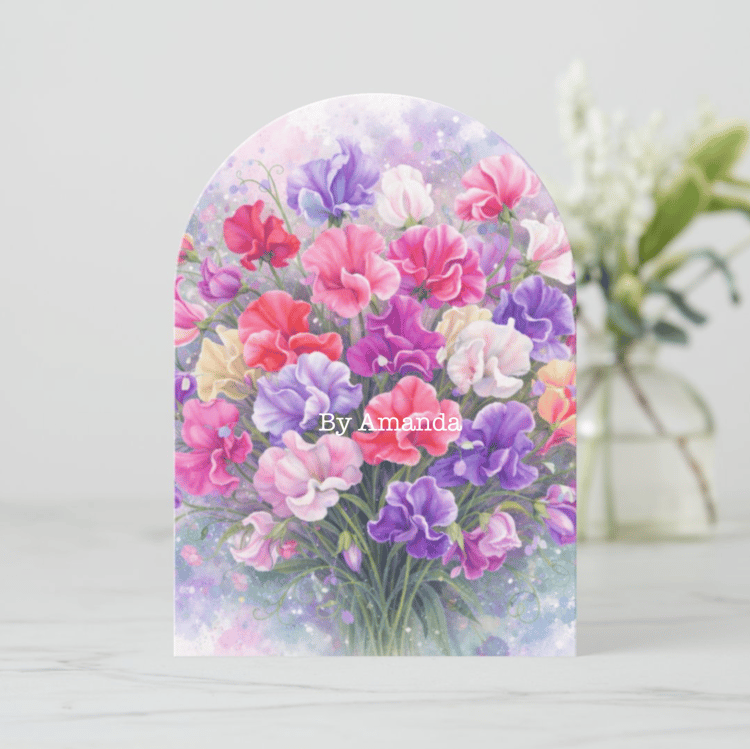
The above Arch Card can be created with Arch dies or a digital cutting machine
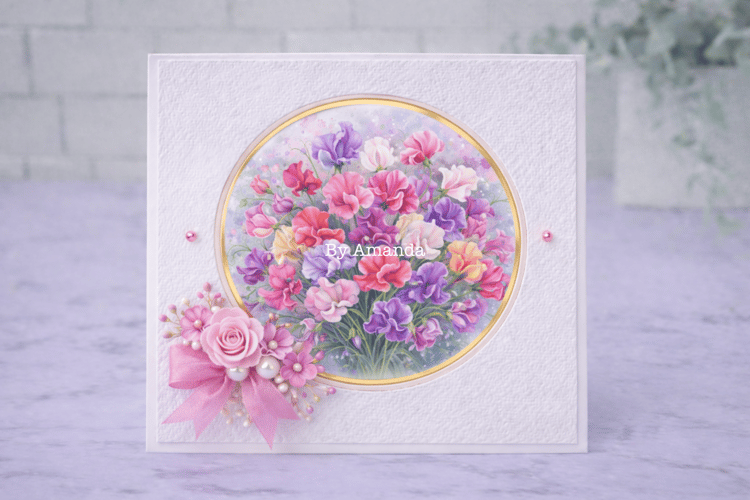
Another double framed aperture card this one the cardblank and front panel are white (as the one further up was gold mirror card)
Silk flowers and a ribbon bow was used to create a little floral arrangement on the front with lots of beads and gems
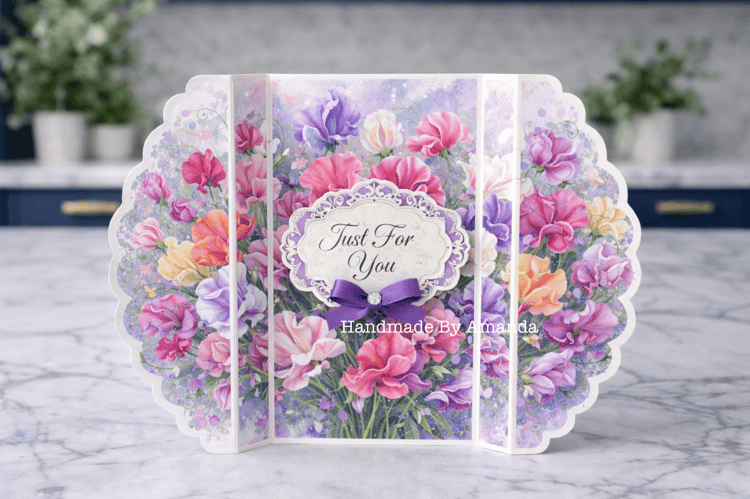
The above card was cut on my cameo it was made out of 1 sheet of cardstock that i cut then folded to make a fancy gatefold style of card (with a scallop edging on the left side and right hand side of the design)
I printed the sheet of backing paper which is from the bonus set of papers withe the kit and reduced the cut size down of the cutting file on my cameo so it would make the backing paper ever so slightly smaller allowing me to trim down the panels and have perfect spacing for matting and layering
There are lots of lovely gatefold dies on the market that you can use to create the same effect.

Another Arch Style card featuring a Happy Birthday sentiment topper, small bow and gem
💜 Final Thoughts
I truly hope these samples give you a little inspiration to have a go yourself. This collection has been created with so much care and attention, and I can’t wait to see how you bring it to life in your own projects.
Whether you love simple and elegant or detailed and dimensional designs, this kit gives you everything you need to create something beautiful 💜 💗 🌿
Happy Crafting
Amanda xo
Shop & More Inspiration
You can find all of my downloads here:
(The shop is listed in date order with the newest items at the top, and there are categories for toppers, backing papers, tea bag tiles, bunting kits, foiling downloads, digi stamps and more.)
If you don’t have a printer, I also have a selection of Printed Cut and Craft Books/Kits available worldwide on Amazon:
For more tutorials and inspiration, visit my blog:
You can find my youtube channel here: https://www.youtube.com/@opulencebydesign
💬 Join the Community
- Dedicated Cardmaking & Papercrafting Group
- https://www.facebook.com/groups/672573406875861
- Hobbies, Home & Sharing Group (all crafts welcome!)
- https://www.facebook.com/groups/772476691713676
Comments
Post a Comment