Foiling Without the Frustration: Printers, Machines, and Foils Explained Blog Post - check out the Easy Foilers set
You can find all of our foiling designs including today's new kit by using the button below
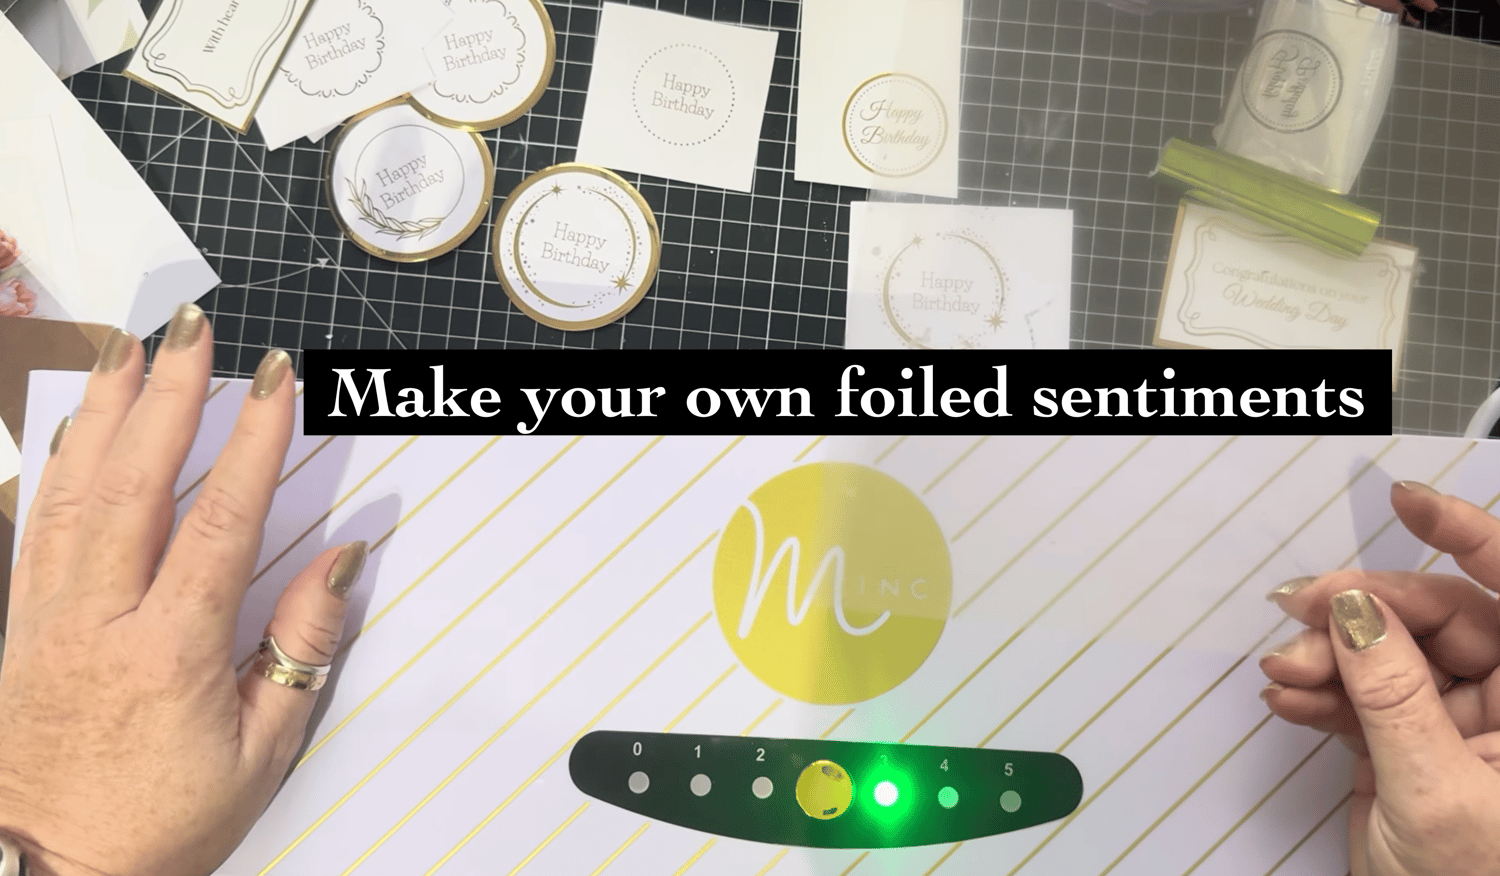
Printing and Foiling Made Easy: Printers, Machines, and Foils Explained
If you’re curious about foiling or looking to improve your results, having the right printing and foiling setup makes all the difference. Alongside my colour printer, I also use a Brother mono (black-only) laser printer, and it has become an essential part of both my crafting and everyday workflow.
I will pop some links below so you can take take a look at what i use.
This post contains UK affiliate links. As an Amazon Associate, I may earn from qualifying purchases — at no extra cost to you but really helps support the blog and future projects.
The most important thing to know when it comes to foiling with a laminator / Minc machine is this: you must use a laser printer. Foiling relies on the toner to activate and bond with the foil when heat is applied, so it simply won’t work with an inkjet printer. This is a common stumbling block for beginners. The good news is that many offices, schools, and libraries still use laser printers, so it’s well worth having a look — you might already have access to one without even realising it.
My Brother mono printer gets used daily for printing recipes, lists, notes, and general paperwork, but it really comes into its own for foiling projects. It produces crisp, consistent prints that work beautifully with both a laminator and a Minc machine, making it ideal for foiling sentiments, backgrounds, and detailed designs.
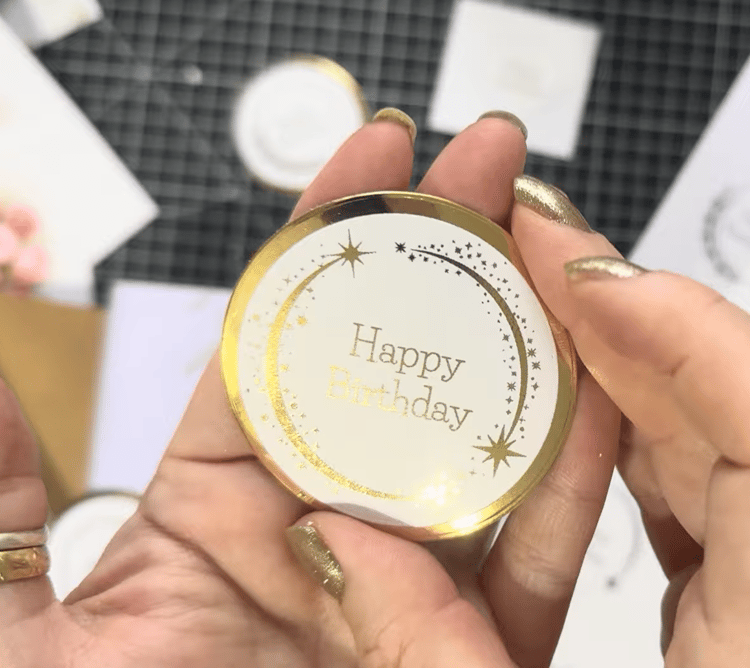
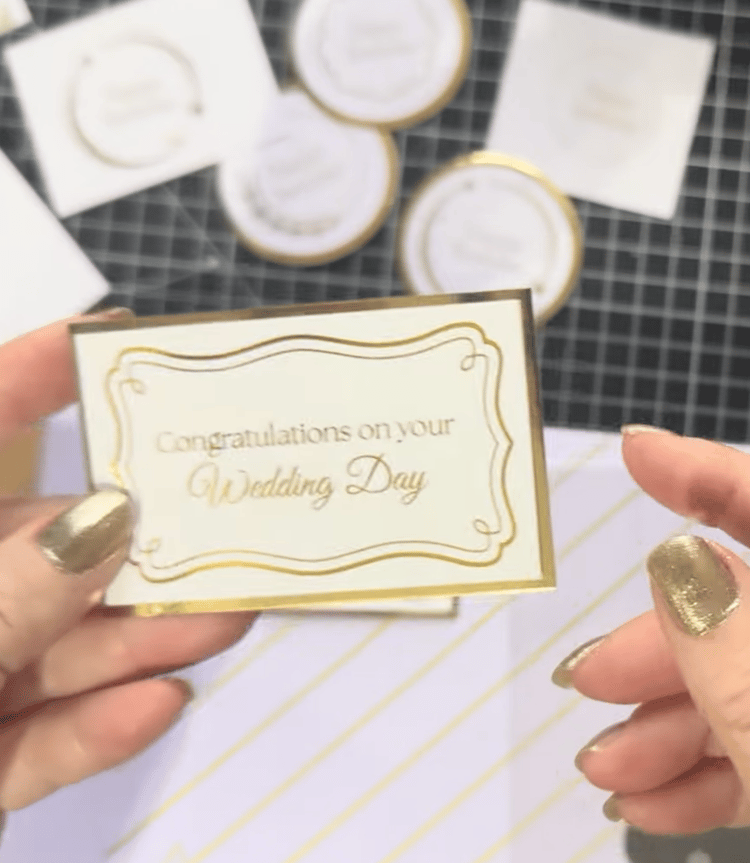
If you’re just starting out with foiling, a laminator is a great, budget-friendly option. It’s perfect for smaller pieces and simple projects, and with a bit of practice, you can achieve lovely results. That said, the Minc machine really is a dream machine. Its multiple heat settings allow you to adjust the temperature to suit different papers and foils, giving you a smoother, more reliable finish and removing a lot of the frustration that can come with trial and error.
My Brother mono printer was just a cheapie, bought mainly for foiling and office tasks, and it cost under £100, yet it’s a true workhorse. One feature I wouldn’t be without is the manual feed tray, which allows me to print directly onto cardstock — an absolute must for cardmaking and papercraft.
Foils themselves are another important part of the equation. There are so many brands of foils on the market, and quality really does matter. I learned a lot about foiling back in the day at Create and Craft, where we sold a wide range of foiling machines and supplies, and that experience still guides what I use today.
The Minc machine is out of stock on Amazon in the UK if it comes back in stock i will pop the link here for you, although it is available online from many retailers.
You can find the Brother Laser printer here if you would like to check out the specs - https://amzn.to/4qgmPPZ
My laminator i have had for 4 years and it is great as i use it for lots of flower arranging and gardening projects, and was initially great for smaller foiling machines before i got my Minc machine, sadly it's not available anymore as there is a replacement model. You can find this trimmer/ laminator here: https://amzn.to/49MViQ9
The set of Carrier sheets i showed in the video can be found here: https://amzn.to/3LtM1mM
To this day, I still love Patsy May foils — they are excellent quality and give a beautiful, consistent shine. Aside from those, I mainly use Minc foils, which are designed to work perfectly with the Minc machine. Foiling is very much one of those areas where you get what you pay for. Some of the cheaper foils just don’t behave in the same way, and if you want a clean transfer and a really lovely shine, investing in good-quality foil makes a big difference.
You can find the American Crafts Minc Foils here: https://amzn.to/49j03AU
Having a reliable mono laser printer, the right foiling machine, and quality foils is a real game-changer for crafting. Whether you’re foiling quick sentiments, creating detailed backgrounds, or experimenting with new techniques, the right setup makes the process far more enjoyable — and your finished projects will truly shine.
As always, my advice is to start with what you have, experiment, and build your foiling toolkit as you go. Once you find the combination that works for you, foiling becomes a joy rather than a frustration.
Tutorials
I’ll be sharing some videos over the next couple of weeks, so if you’d like to see them, make sure to like my Facebook page and join the Facebook group so you don’t miss out — all the links are below for you to pop over and join in.
Designs specifically created for Foiling with the Minc machine
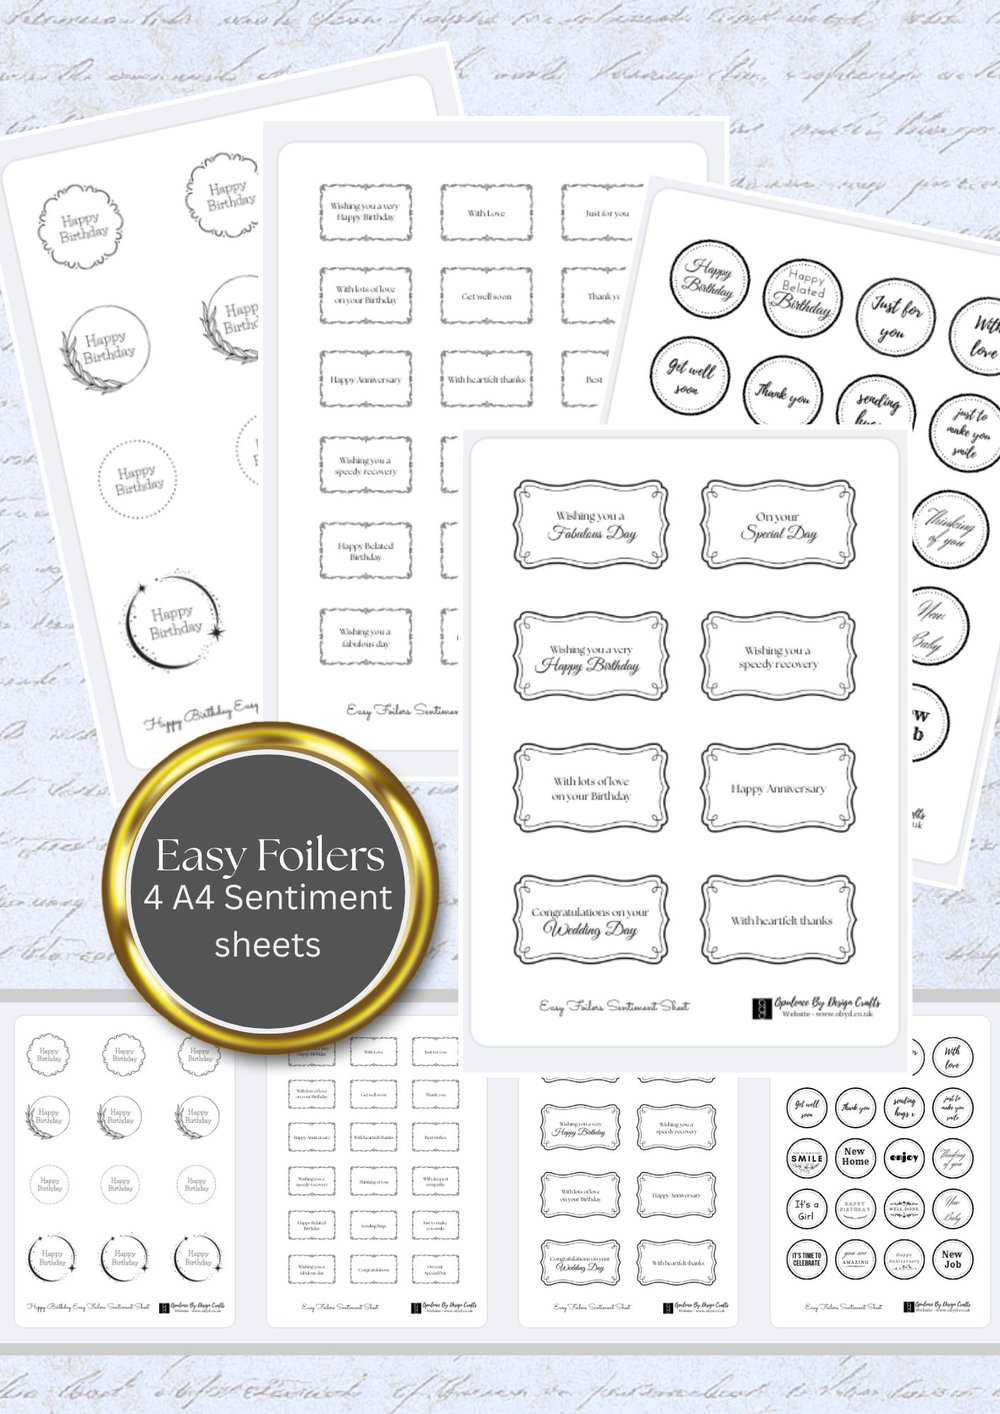
If you don’t already have designs to use, I’ve curated a collection of designs specifically created for foiling. Not all black-and-white images are suitable for foiling, which is where some people can stumble — it all depends on the layers and how the files were created in the first place. To make things easier, I’ve created a dedicated “Foiling Designs” area on the website, where you’ll find downloads made especially for foiling projects. If you’d like to take a peek at what’s available so far, you can find them all here
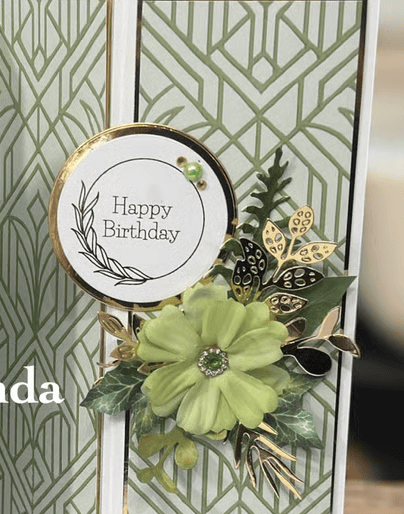
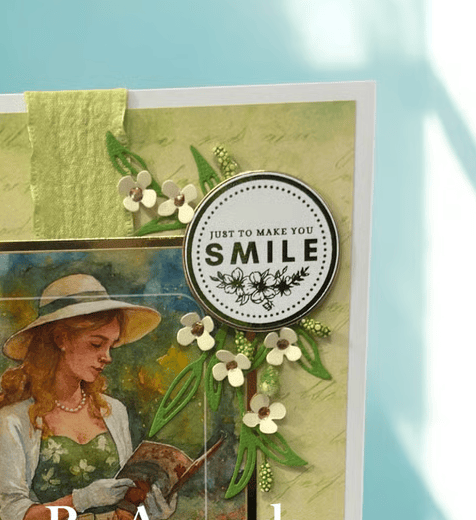
Today is the launch of our Sentiments Bundle - you can find it on the website here: https://shop.obyd.co.uk/b/UrJiv
You can find the video of me using these sheets here, simply press the play button in the middle to start playing the video or you can watch it on youtube here: https://www.youtube.com/watch?v=pj2BoP2Vurc
This is the 1st little project in the series i will be adding more to this blog post so please do keep popping back

I hope you enjoy using the sentiment sheets. Just to recap, they’re designed to be really versatile — they can be printed on an inkjet printer to give you a wide range of crisp black sentiments that everyone can use. However, they’ve also been specifically created for laser printing, making them perfect for use with a Minc foiling machine or laminator if you’d like to add beautiful foiled finishes. Whether you keep things simple or add a touch of shine, these sentiment sheets are designed to work for you and your crafting style.
All of the links so far have been for the UK, if you are outside of the UK and would like to see what i am using you can find my Amazon store fronts here:
US Amazon Store front - https://amzn.to/42Gvj80
Australian Amazon Store front - https://amzn.to/3UKSuvV
Canadian Amazon Store front - https://amzn.to/3UHzbDD
Happy Crafting A xo
Looking for a little more creative inspiration?
If you’re enjoying the journey so far and feel like exploring a bit deeper, I’d love to welcome you across some of our other crafty spaces. Whether you're here for the inspiration, the community, or just a quiet moment to create, there's something waiting for you.
🎨 Facebook Group – A lovely, welcoming community full of inspiration and crafty chats:
💖 Facebook Page – Stay up to date with launches, lives, and special offers:
📝 Crafty Blog – Behind-the-scenes, tutorials, and updates:
🛒 Download Shop – Packed with digital papers, sentiments, and more:
🌐 Main Website – Explore everything Opulence by Design:
Instagram - Give me a follow for lots of info - https://www.instagram.com/opulencebydesignca/
📚 Amazon – For my Cut & Craft printed books and kits (great for those who love physical items!):
👉 Check out all of my books here on amazon
📌 Pinterest – I’ve been busy adding card samples and inspiration to my boards!
It would mean the world if you could pop over, have a peek, and give me a follow 💕
👉 Check Out My Pinterest Boards
And for everything in one place, all of our socials are right here:
Comments
Post a Comment