Sharing some of my own Christmas cards made at the weekend and what i used
Published: November 17, 2025
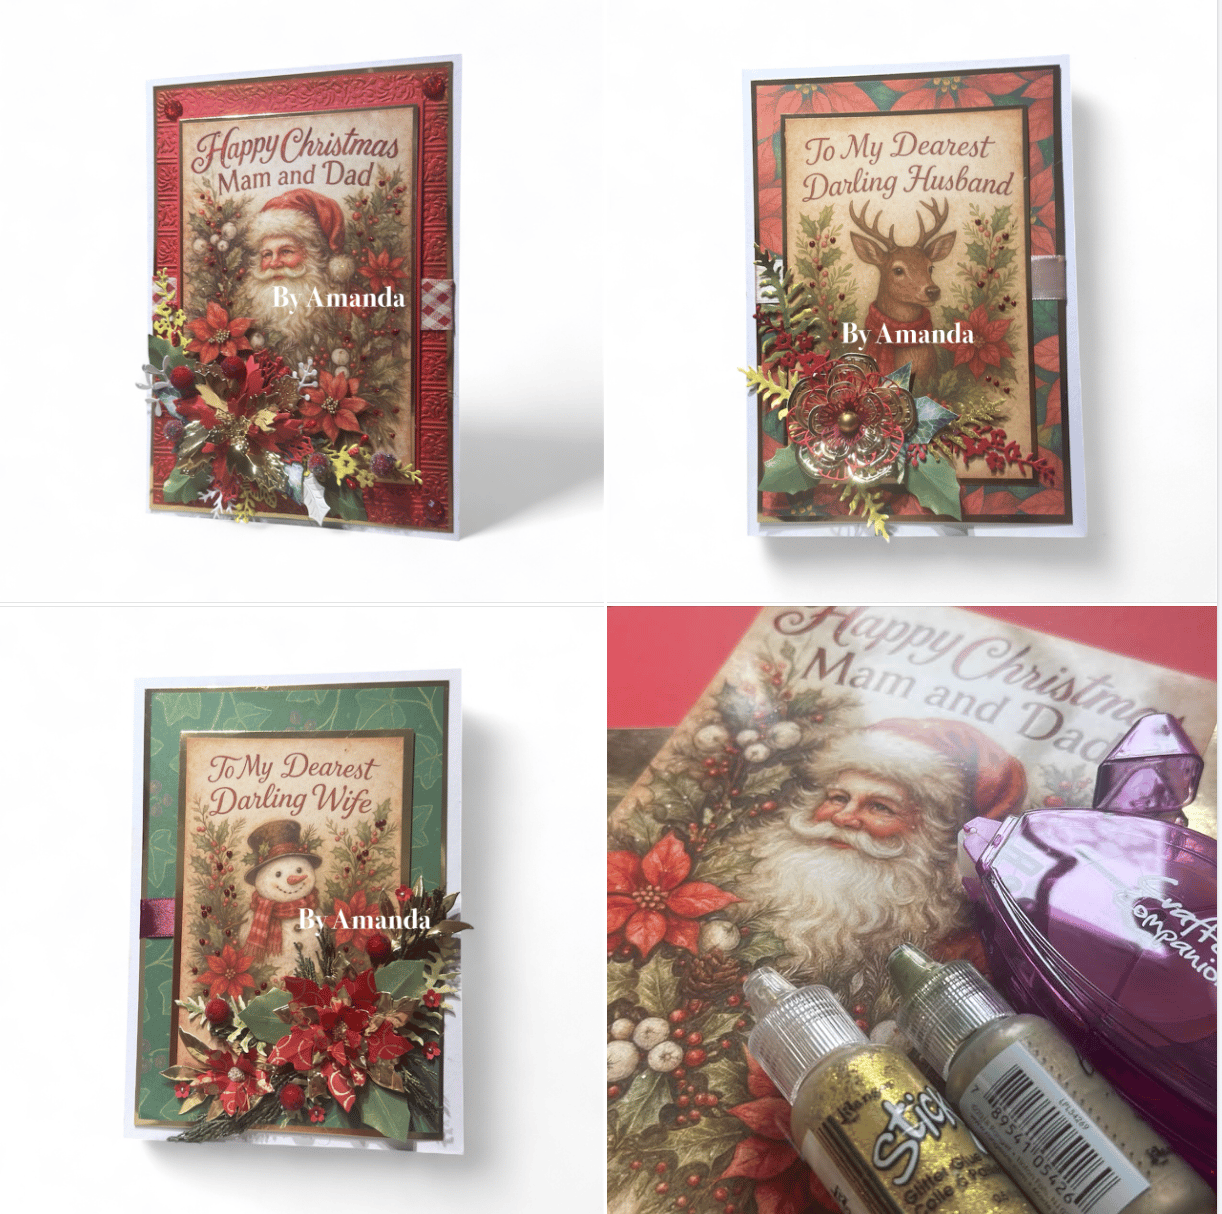
It’s been quite a stormy weekend here, so I decided to make the most of it! I tried out a few new cooking recipes and also managed to catch up on some of my own Christmas cards. It felt lovely to get creative while staying cosy indoors. I hope you like them! 🎄
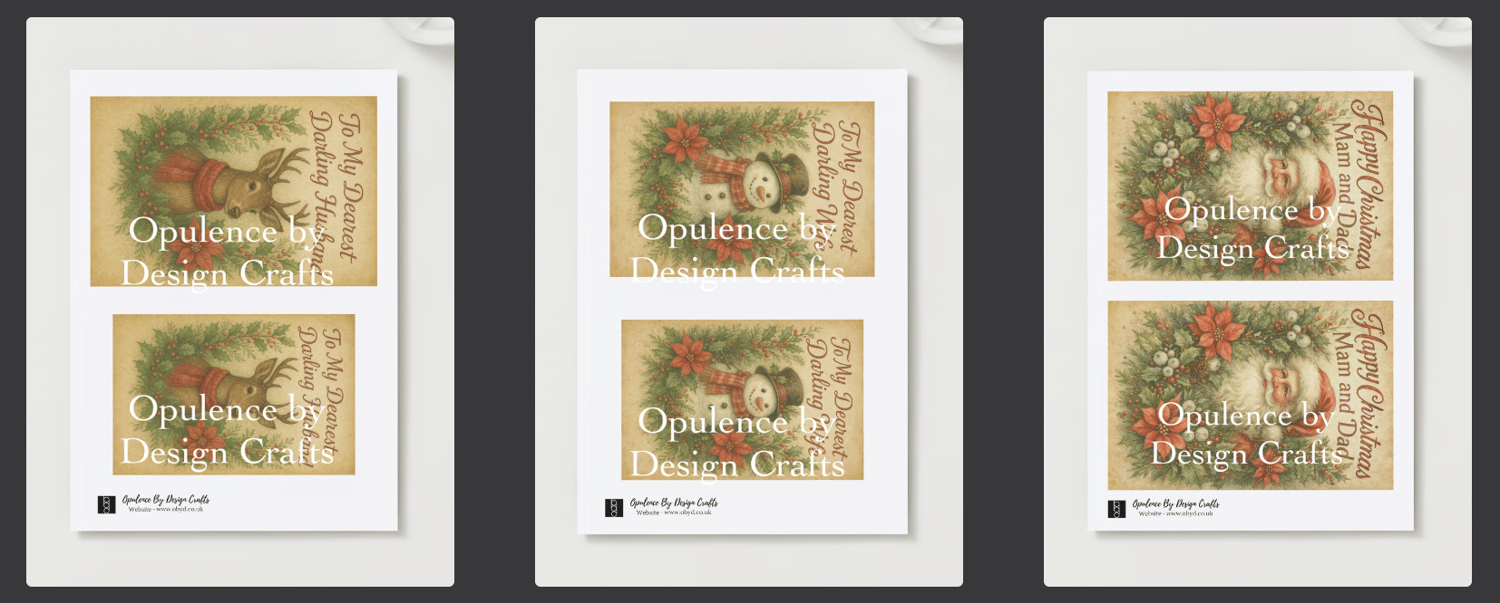
These are the toppers i created for the cards - they are available as digital download in the shop if you would like to take a peek you can find them here:
Mam and Dad - https://shop.obyd.co.uk/b/bWg5P
Wife - https://shop.obyd.co.uk/b/rvgpM
Husband - https://shop.obyd.co.uk/b/BA5bJ
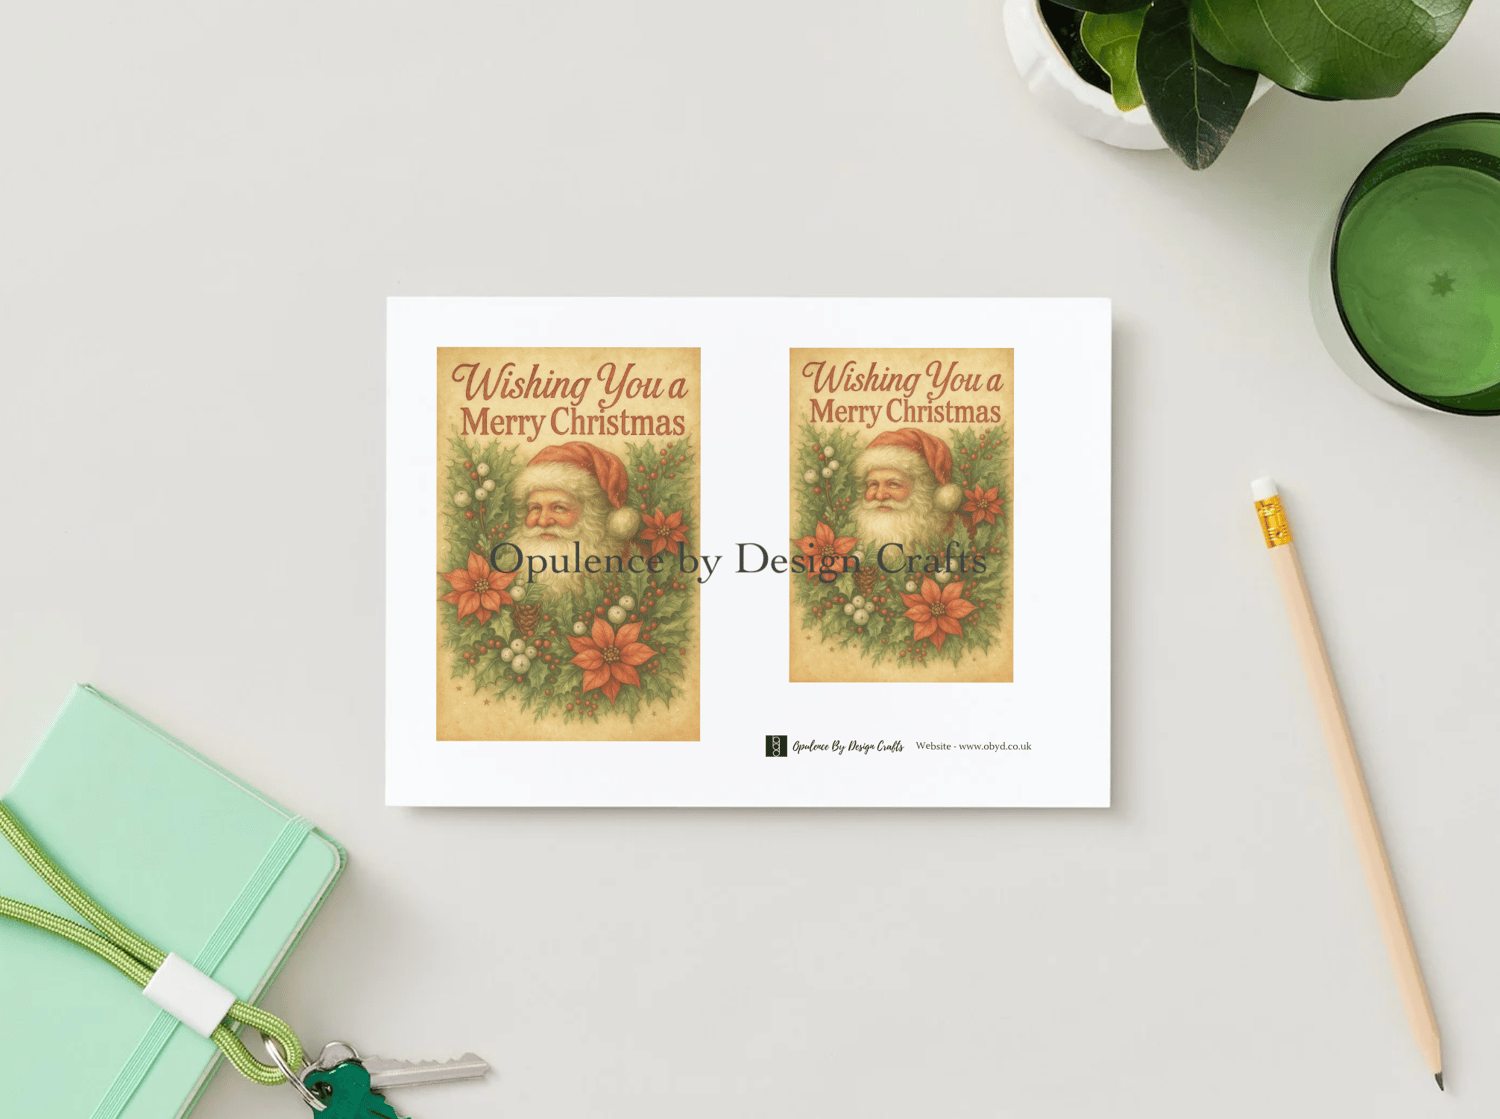
There is also a generic Merry Christmas sheet you can find here: https://shop.obyd.co.uk/b/AT1q2
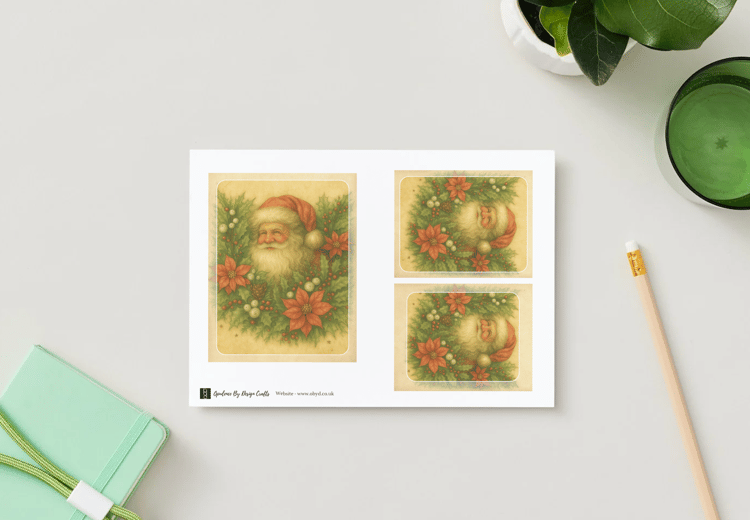
There is even one with no sentiment so you can add your own, you can find that here: https://shop.obyd.co.uk/b/OK5ZE
This post contains affiliate links. As an Amazon Associate, I may earn from qualifying purchases — at no extra cost to you but really helps support the blog and future projects.
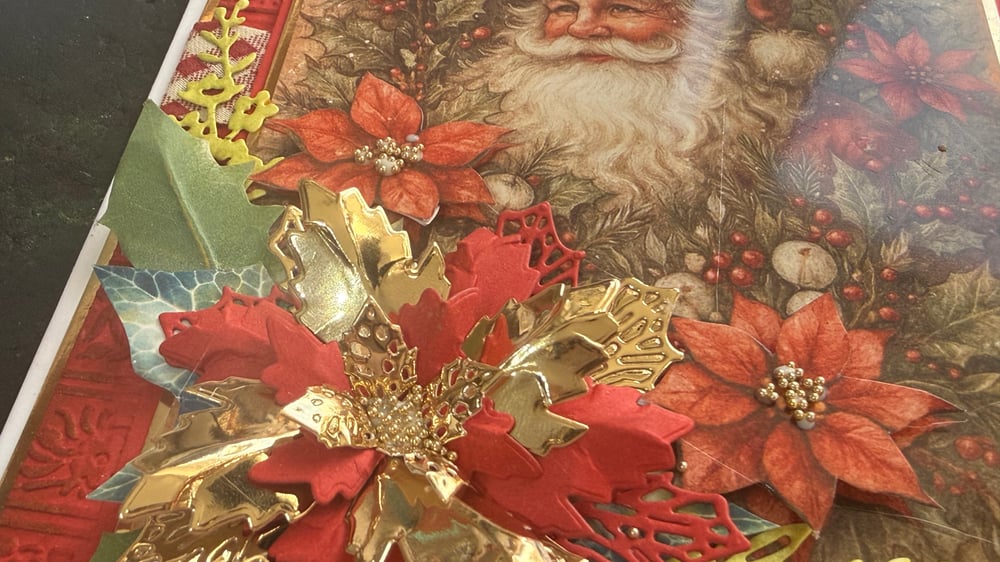
The Santa Card for Mam and Dad
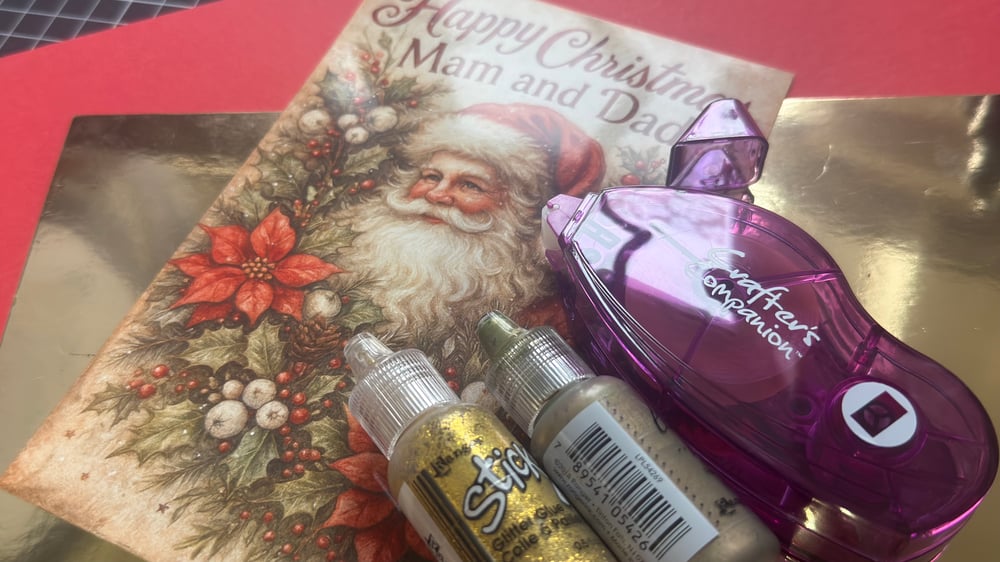
See below for full shopping list
The topper sheet was printed onto glossy photo paper for a nice glossy professional finish.
Gold mirror card was used for matting and layering
Stickles for glittery sparkle
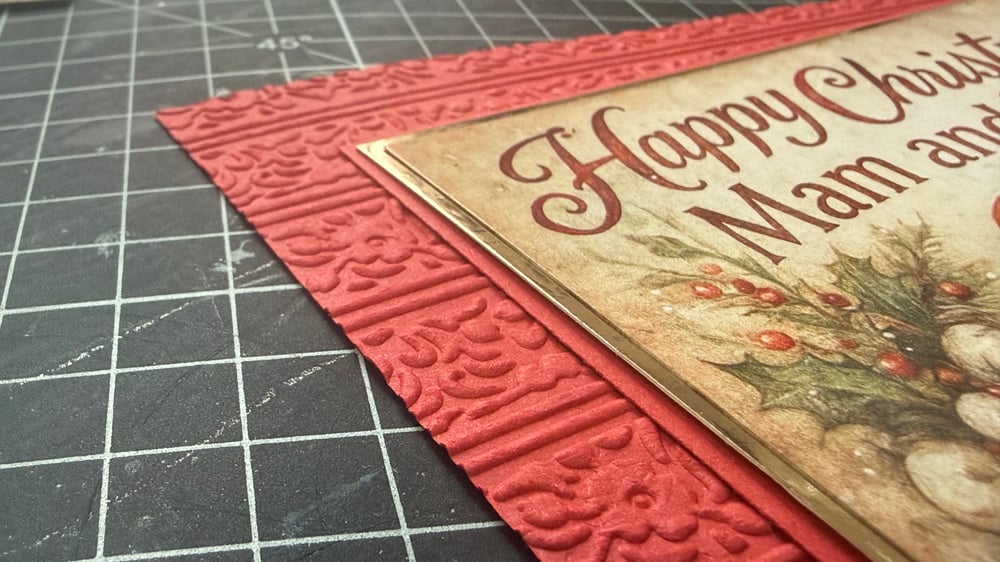
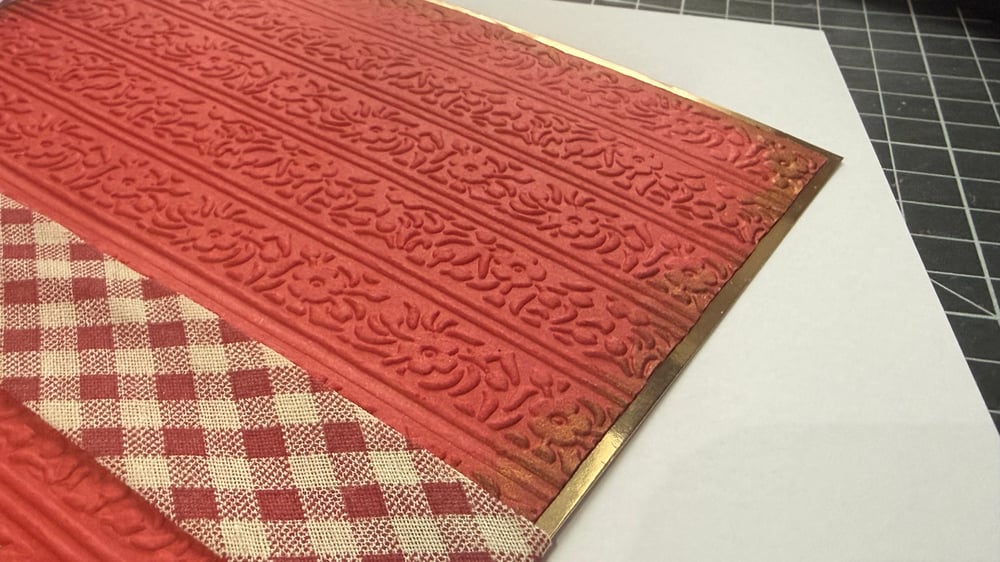
I used a old beautiful embossing folder from Creative expressions to create the embossed red background. It's no longer available on amazon but it is called - Creative Expressions Embossing Folder Floral Stripes
I used the second topper on the sheet to cut up to create my own decoupage flowers for some added depth and dimension to the card
I added some bias binding ribbon from my stash as a band around the embossed red card and mirror card panel.
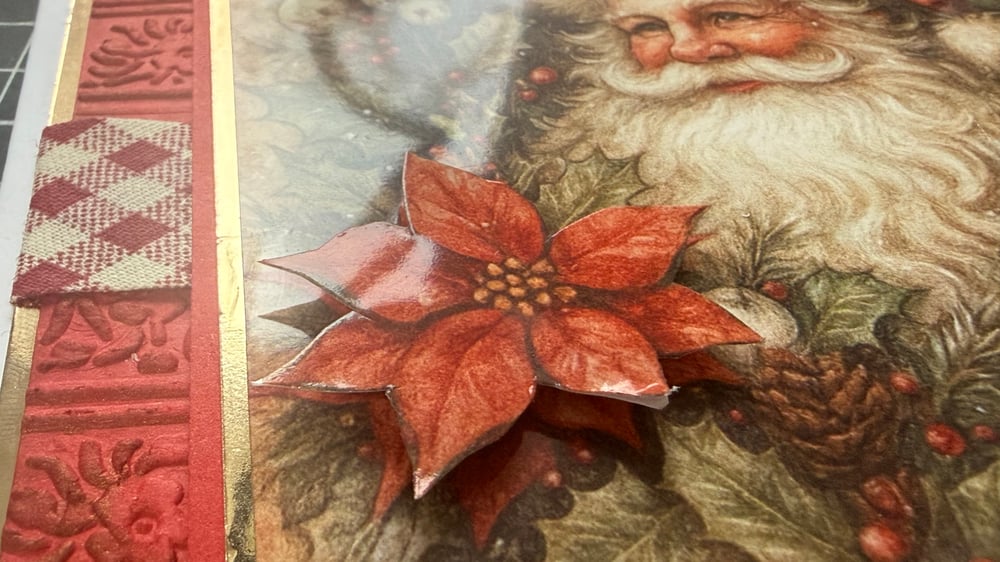
I added some gold beads to the centres of the flowers with some tacky glue - the links to the beads and glue is below

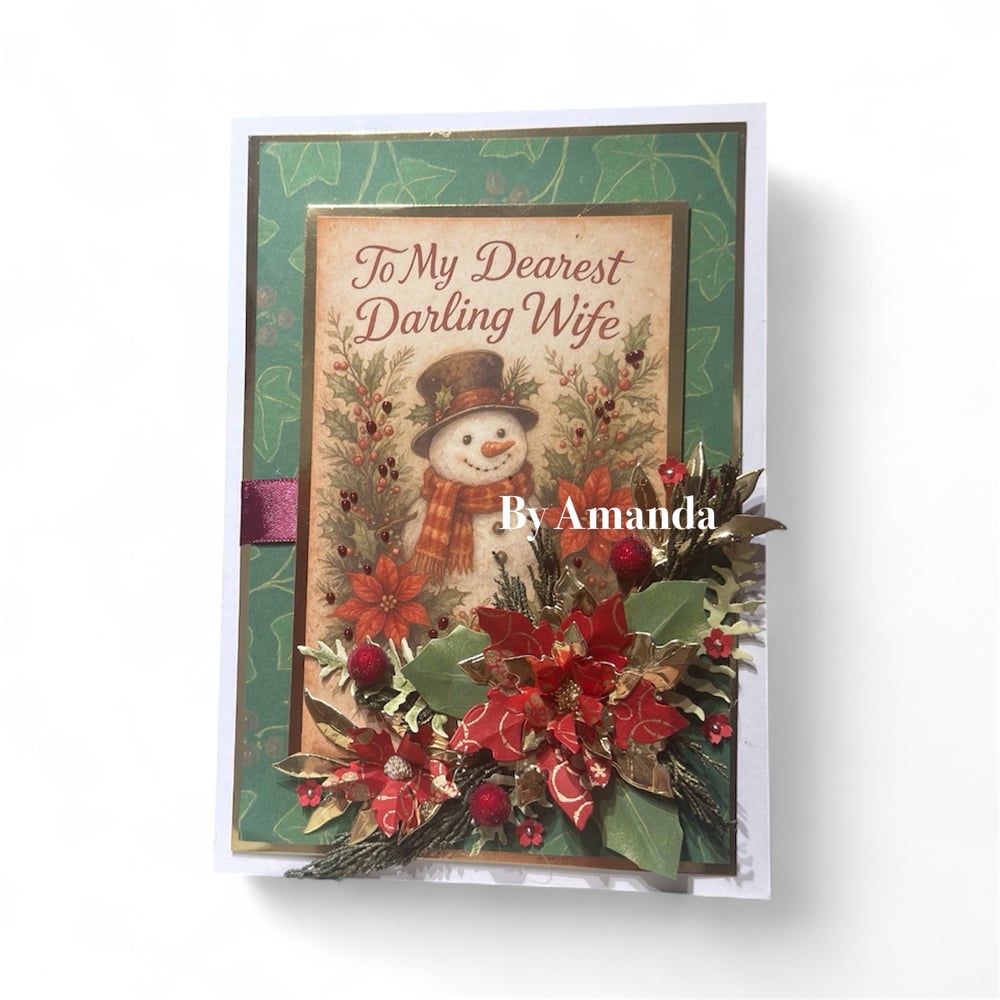
I used the Ivy Elegance Craftsman Backing paper for the background in the above card you can find this on the website here: https://shop.obyd.co.uk/b/rTmPJ
I also used some of my preserved conifer foliage i added some gold gilding wax to add a nice golden lustre to the foliage.
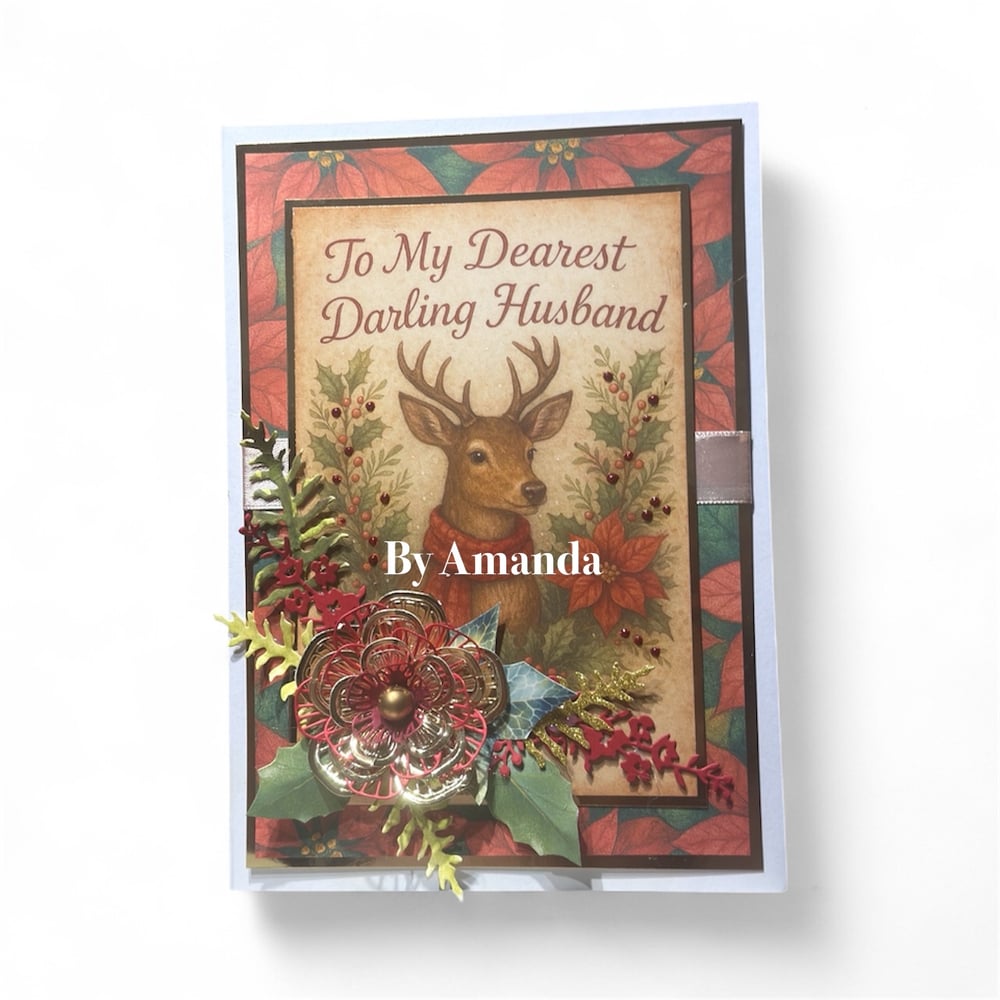
I used the Red Bold poinsettia paper download for the backing paper on the above card you can find it here: https://shop.obyd.co.uk/b/RQVAk
All of the cards are A5, and since I used many of the same materials across all three designs, I’ve put together a handy little shopping list for you here. Hopefully it makes it easier if you’d like to recreate them!
Shopping List
Photo Paper - https://amzn.to/3X3Jgee
CardBlanks - A5 - https://amzn.to/3X3Jgee
Mam and Dad - https://shop.obyd.co.uk/b/bWg5P
Wife - https://shop.obyd.co.uk/b/rvgpM
Husband - https://shop.obyd.co.uk/b/BA5bJ
Printable Holly Leaves - https://shop.obyd.co.uk/b/aAhoc
Printable Ivy Leaves - https://shop.obyd.co.uk/b/8slFt
My favourite fussy cutting snips - https://amzn.to/47NKssw
Gold mirror card - https://amzn.to/3XysCna
Spellbinders Foliage dies - i used 2 sets you can find them here
Set 1 - https://amzn.to/43xYM5K
Set 2 - https://amzn.to/3JOhSOp
Flowers
The flowers were made from lots of different ones in my stash i like to mix and match
The lacey poinsettia can be fond here: https://amzn.to/4oHm2qh
I also used this sizzix die set in the mix i love the shape of the petals - https://amzn.to/47ZJF6x
The flower on the last card was from a old Dreamees Die
I added gold microbeads to the centres of the flowers you can find these here: https://amzn.to/4o3tk6K (this link is for the gold but there are loads of colour options to choose from)
Frosted Berries on picks - https://amzn.to/43zRej3
Red berries - https://amzn.to/4i7hDL9
Wired berry bunches - https://amzn.to/3LFbkSR
Berry stamens - i used the red and green from this mixed bundle - https://amzn.to/4pd7nTH i like to get the bundle as it has a good mix of colours in rather than getting a hole set of just one colour. There are different options on the one listing
Gold Gilding wax used to add a gold lustre to foliage and the edge of some of the petals - https://amzn.to/3X03ANK Please be careful when using this product - use in a well ventilated area, use gloves or an applicator and store safely. Please read and follow the safety advice when using this product. Just like some resin products - they look amazing but the products need to be handled with care and stored carefully.
Adhesives:
Tape pens - https://amzn.to/4oDFvIw
Tacky Glue - https://amzn.to/4ojnzlL
Glue gel - https://amzn.to/3WWgBb3
Hot Glue using my glue gun
Stickles for sparkle
Red - https://amzn.to/4a2TKC6
Green - https://amzn.to/4pf5W7p
Gold - https://amzn.to/3LLOJnt
Liquid pearls:
Bronze - https://amzn.to/4pcN9cL
Red for the Berries - https://amzn.to/4rlXSDR
The bias binding link is for the one i used but there are lots of colour options - https://amzn.to/3X0hMGs
The cream ribbon is just from my stash
I hope you’ve enjoyed this little blog post and seeing some of my favourite supplies to use on my cards. Thanks so much for stopping by! ✂️
Looking for a little more creative spark?
If you’re enjoying the journey so far and feel like exploring a bit deeper, I’d love to welcome you across some of our other crafty spaces. Whether you're here for the inspiration, the community, or just a quiet moment to create, there's something waiting for you.
🎨 Facebook Group – A lovely, welcoming community full of inspiration and crafty chats:
💖 Facebook Page – Stay up to date with launches, lives, and special offers:
📝 Crafty Blog – Behind-the-scenes, tutorials, and updates:
🛒 Download Shop – Packed with digital papers, sentiments, and more:
🌐 Main Website – Explore everything Opulence by Design:
Instagram - Give me a follow for lots of info - https://www.instagram.com/opulencebydesignca/
📚 Amazon – For my Cut & Craft printed books and kits (great for those who love physical items!):
👉 Check out all of my books here on amazon
📌 Pinterest – I’ve been busy adding card samples and inspiration to my boards!
It would mean the world if you could pop over, have a peek, and give me a follow 💕
👉 Check Out My Pinterest Boards
And for everything in one place, all of our socials are right here:
Comments
Post a Comment