The Art and Science of Preserving Flowers: 10 different Method - Timeless Beauty in Every Petal and how i made this card
The Art and Science of Preserving Flowers: 10 different Method - Timeless Beauty in Every Petal and how i made this card
The Art and Science of Preserving Flowers: Timeless Beauty in Every Petal
As a fully qualified florist, I’ve spent decades preserving flowers, and every time I do, it takes me right back to my childhood. I still have my grandad’s flower press — the very one we used together to capture those special little blooms. I’m so excited to share all the tips, stories, and secrets I’ve gathered over the years with you in the coming months. If you enjoy this journey as much as I do, I’d love for you to join me! You can find all my links at the bottom — let’s keep this floral adventure growing!
I know many of you may have tried this before, so wherever you are on your flower preservation journey, I hope to inspire and encourage you along the way
Flowers capture moments — celebrations, memories, emotions — and sometimes we wish those moments could last forever. Fortunately, there are many techniques to preserve flowers, allowing their beauty to endure well beyond their natural lifespan. Whether you want to keep a bouquet from a special occasion or simply enjoy the charm of blooms year-round, here’s a comprehensive look at the most popular and effective methods to preserve flowers.
1. Air Drying
One of the simplest and oldest methods, air drying involves hanging flowers upside down in a warm, dry, and dark place. This method works best for flowers with sturdy stems like statice, lavender, roses, and hydrangeas. The process may take a few weeks, but the result is a rustic, naturally preserved bouquet perfect for home decor.
If you like the idea of air drying flowers but want to speed up the process, a domestic dehydrator can be a great tool. It gently removes moisture from the blooms much faster than traditional air drying, usually in just a few hours, while helping to preserve their shape and colour. This method combines the simplicity of air drying with the convenience of modern technology, making it perfect for anyone eager to enjoy preserved flowers without the long wait. You can also use it for sliced fruits for your Christmas cards and decorations as well being great snacks lol.
2. Pressing
Pressing flowers involves flattening blooms between heavy books or using a flower press. This technique preserves flowers in a two-dimensional form, ideal for creating framed art, bookmarks, or cards. It works well for delicate flowers such as pansies, daisies, and violets.
3. Silica Gel Drying
Silica gel crystals absorb moisture from flowers, preserving their shape and colour better than air drying. Flowers are buried in the gel and left to dry for a few days - to a few weeks. This method is excellent for maintaining the natural look of more delicate and bulky flowers like peonies and dahlias.
4. Glycerin Preservation
Soaking flowers in a glycerin solution replaces their natural water content with glycerin, keeping them supple and flexible instead of brittle. This method is often used for foliage but can work for flowers like eucalyptus and magnolia leaves. (check out my Gyp on the sample card - this method was used for this)
5. Freeze Drying
Freeze drying is a professional process where flowers are frozen and then slowly dried under a vacuum. This preserves the flower’s natural form, colour, and texture almost perfectly. Although it requires specialised equipment, freeze drying produces some of the most lifelike preserved flowers. A very effective method but it can be a little fiddly and a more expensive option.
6. Resin Encapsulation
Encasing flowers in clear resin creates beautiful, permanent keepsakes like paperweights, jewellery, or decorative objects. This method freezes the flower’s appearance in a glossy, durable form and can preserve three-dimensional details exquisitely.
7. Microwave Drying
For a faster alternative to air drying or silica gel, flowers can be dried in the microwave.
I remember taking a book out of the library that was recommended by a friend - Flower Drying with a Microwave by Titia Joosten it helped popularise the technique of drying flowers quickly using a microwave. This method offered a faster alternative to traditional drying techniques and made flower preservation more accessible to hobbyists and florists alike.. this is very addictive - you should not this is amazingly fun but there are some things to take into account
- Safety using the microwave and the timings
- If you are using your microwave in your kitchen you want to make sure you aren't drying anything poisonous or toxic
- Some plants are toxic to pets so be careful what you have on your craft table for your furbabies
8. Wax Dipping
Dipping flowers in paraffin wax coats them in a thin protective layer, helping to preserve their appearance and prevent moisture loss. This method works best for sturdier flowers and is often used for decorative floral arrangements. This is very effective but it is quite messy so make sure you have a table cloth and use gloves.
9. Resin Paperweight or Jewellery Embedding
Flowers can be embedded in resin to create keepsakes like paperweights or jewellery. This method preserves the flower in a crystal-clear, durable form, making it a perfect way to memorialise special blooms in a practical item. This is a very enjoyable process but please be careful - any resin work should be done in a very well ventilated area ( and i always wear my wood cutting mask) and you must wear gloves (safety first eh!?)
10. Freeze Drying Kits (Home Use)
Some companies offer smaller freeze-drying kits for home use. These kits make freeze drying more accessible for hobbyists who want professional-quality preserved flowers without sending them off to a lab.
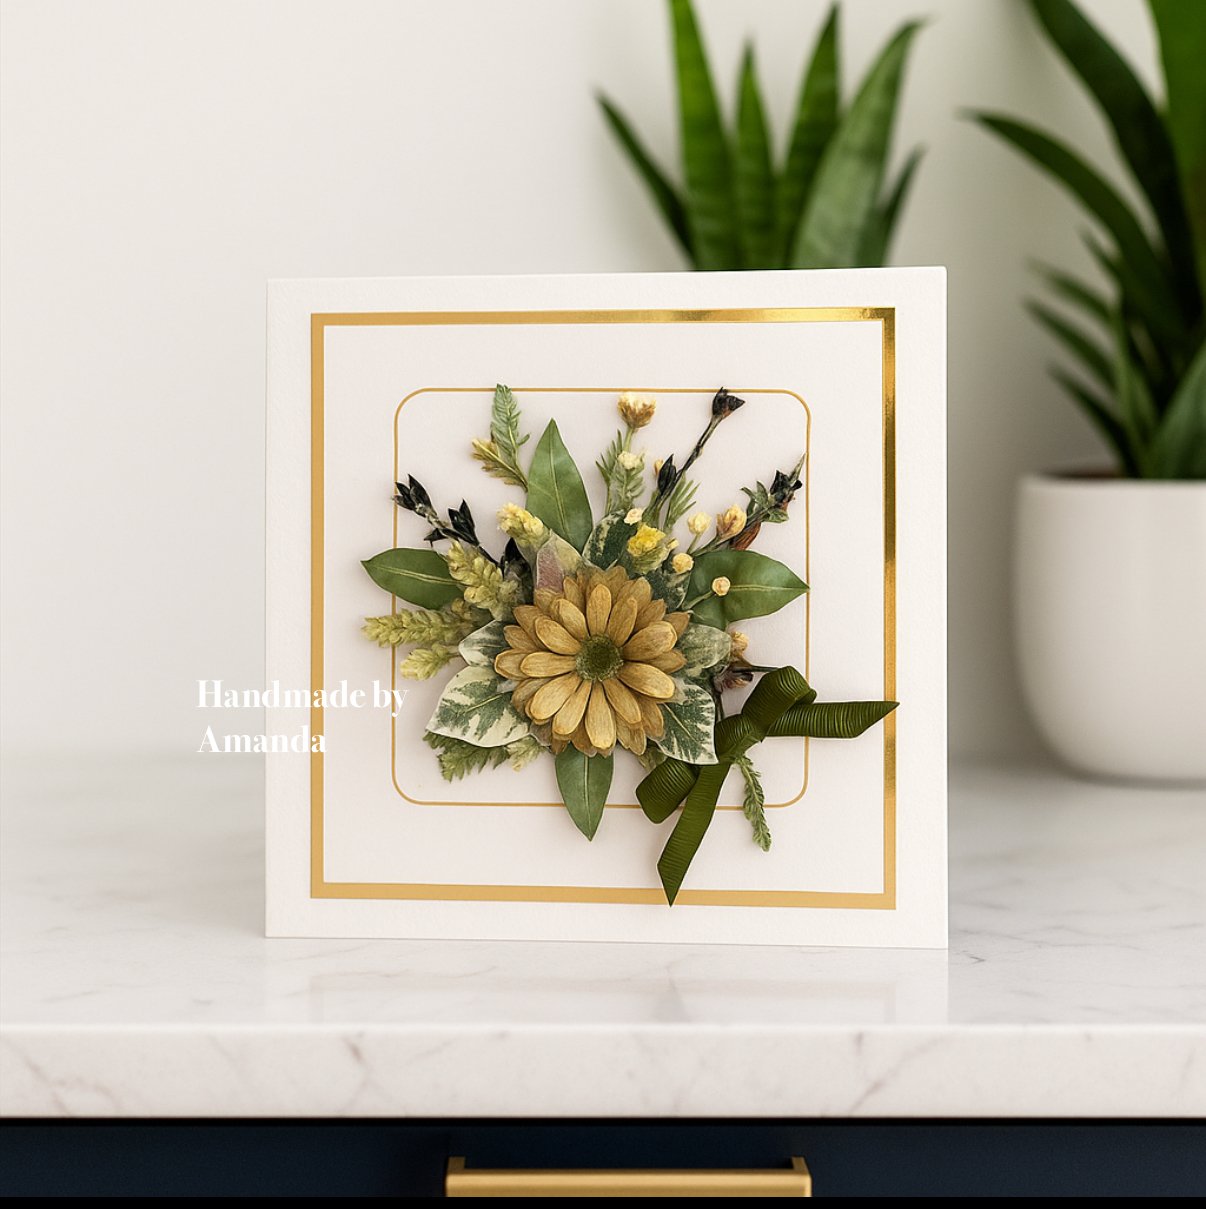
Showcasing the card made for this post using a combination of handmade paper flowers and leaves and various preserved flowers - see below for details
Just a quick note: Some of the links I share are Amazon Associates links. That means if you choose to buy something through them, i may earn a small referral commission, it won’t cost you anything extra—but it does help support this blog and projects like the ones I’m excited to share with you. Thanks so much for your support!
Sharing a card i did in one of my classes, i hope you like it.

Supplies List:
The cardblank is a hammered 300gsm 5"x5" from Craft UK - https://amzn.to/3TYwAna
I used the Brand New Floral Focus Frame Sheet which can be found on the website here: https://shop.obyd.co.uk/b/fSipZ
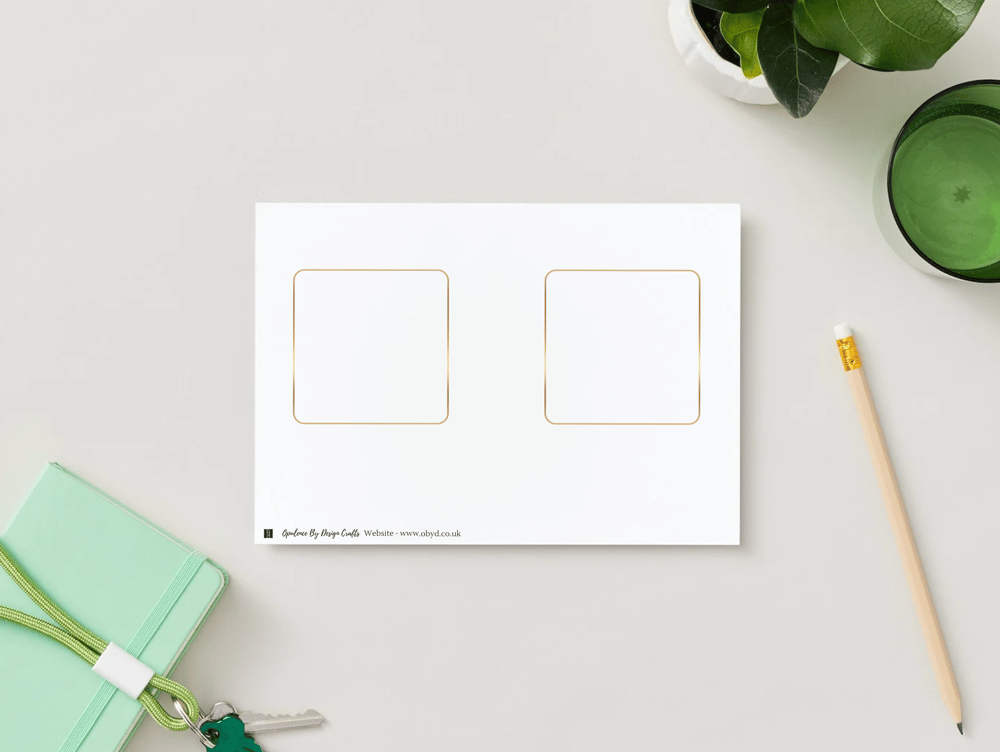
About the Floral Focus Frame Set PDF Digital Download Sheet - Gold Square Rounded Edge Frames
Discover Our Brand-New Floral Focus Frame Set!
Elevate your handmade creations with perfectly designed frames that showcase your flowers and foliage like never before. Whether you’re working with paper, die cuts, Foamiran flowers, or preserved blooms, these frames provide the ideal focal point for any project.
- Versatile & Ready to Use: Two stunning frame designs arranged on a single A4 sheet—just print, cut, and play!
- Effortless Styling: Let your floral elements “sing” by framing them beautifully, without the hassle of drawing or measuring.
- Endless Creativity: Perfect for cards, scrapbook layouts, home décor accents, and more.
How It Works:
- Print your A4 Floral Focus Frame sheet on your choice of cardstock or printable material.
- Cut out your favourite frame design and add to your card - you will see i used a piece of gold mirror card to mount mine onto before adding to the cardblank!
- Arrange your handmade or preserved flowers and foliage inside the frame for an instant, professional-looking focal point that will help you ground your flowers.
Bring your floral visions to life in seconds—no fancy tools required - No dies - just a printer and a trimmer and off you go so Grab your Floral Focus Frame Set today and start creating show-stopping projects!
The flowers and leaves arrangement on the card:
I used a combination of - pressed flowers (Salvia), microwave dried flowers and leaves (daisies, grasses, strawberry leaves) some glycerine preserved gyp and a selection of my Print, cut and form flowers and leaves to build the bouquet
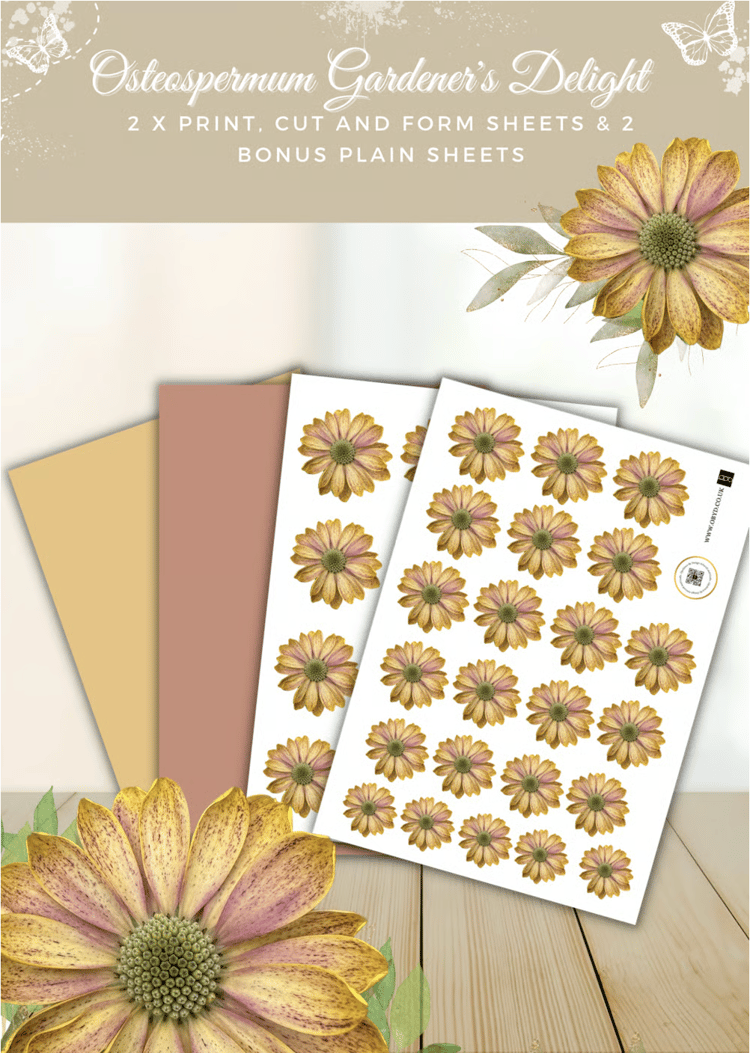
The large flower in the centre can be found here - it is a Osteospermum - https://shop.obyd.co.uk/b/CBleV
This was downloaded and printed onto 160gsm paper, cut out and shaped using a ball tool and mat
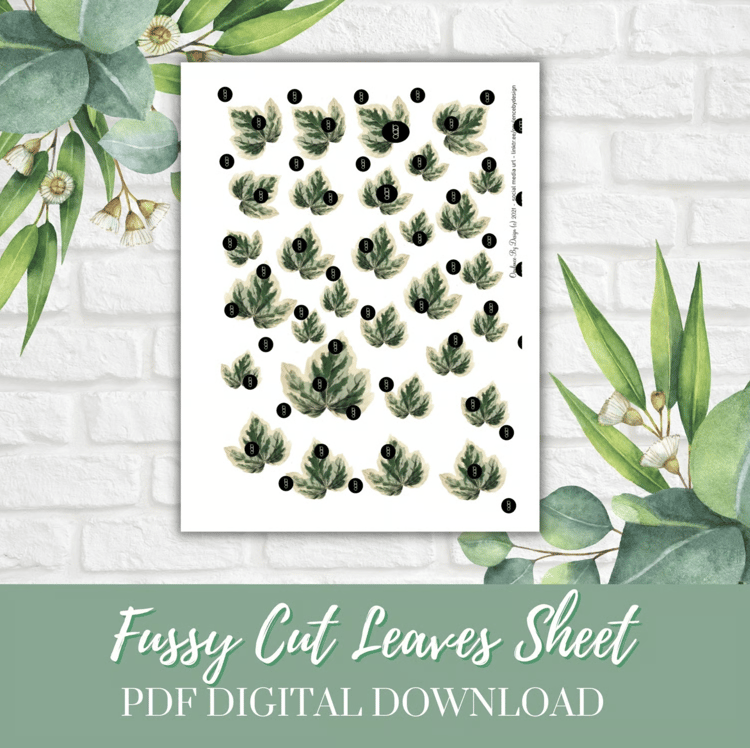
The variegated ivy leaves are printable too you can find these here: https://shop.obyd.co.uk/b/zJHWx
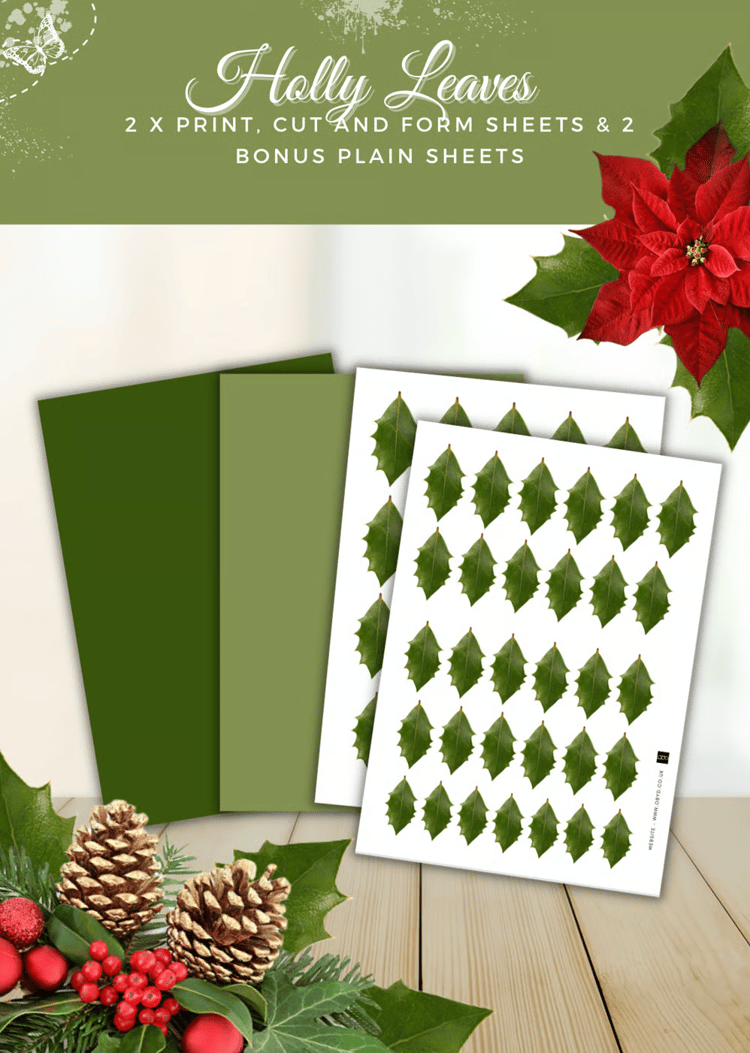
The Bay leaves i made are actually my Holly leaves i just cut the points off to make them look like bay leaves- you can find them here: https://shop.obyd.co.uk/b/aAhoc
The frame although it seems really simple is great for grounding your little arrangement to the card
Glues - i used a combination of
Tape pen for the card and paper layers
Wet glue and a glue gun to stick the flowers and leaves down.
A litle bow was added to finish the design
I have designed quite a few floral focus frames which i will be launching on the website over the next few weeks. I have created a new category on the website for them which you can find here: Floral Focus Frame Collection
I really hope you enjoyed this little blog post! If you did and want to see more, be sure to follow me on social media—I’ll be sharing plenty more projects like this, plus some deeper dives into different preservation methods over the next few months. And if you’re curious about how to shape, print, cut, and form sheets, just pop over to my YouTube channel for step-by-step videos. Can’t wait to see you there!
How to find me?
If you’re enjoying the journey so far and feel like exploring a bit deeper, I’d love to welcome you across some of our other crafty spaces. Whether you're here for the inspiration, the community, or just a quiet moment to create, there's something waiting for you.
🎨 Facebook Group – A lovely, welcoming community full of inspiration and crafty chats:
💖 Facebook Page – Stay up to date with launches, lives, and special offers:
📝 Crafty Blog – Behind-the-scenes, tutorials, and updates:
🛒 Download Shop – Packed with digital papers, sentiments, and more:
🌐 Main Website – Explore everything Opulence by Design:
Instagram - Give me a follow for lots of info - https://www.instagram.com/opulencebydesignca/
📚 Amazon – For my Cut & Craft printed books and kits (great for those who love physical items!):
👉 Check out all of my books here on amazon
📌 Pinterest – I’ve been busy adding card samples and inspiration to my boards!
It would mean the world if you could pop over, have a peek, and give me a follow 💕
👉 Check Out My Pinterest Boards
And for everything in one place, all of our socials are right here:
Happy Crafting
Amanda xo
Comments
Post a Comment