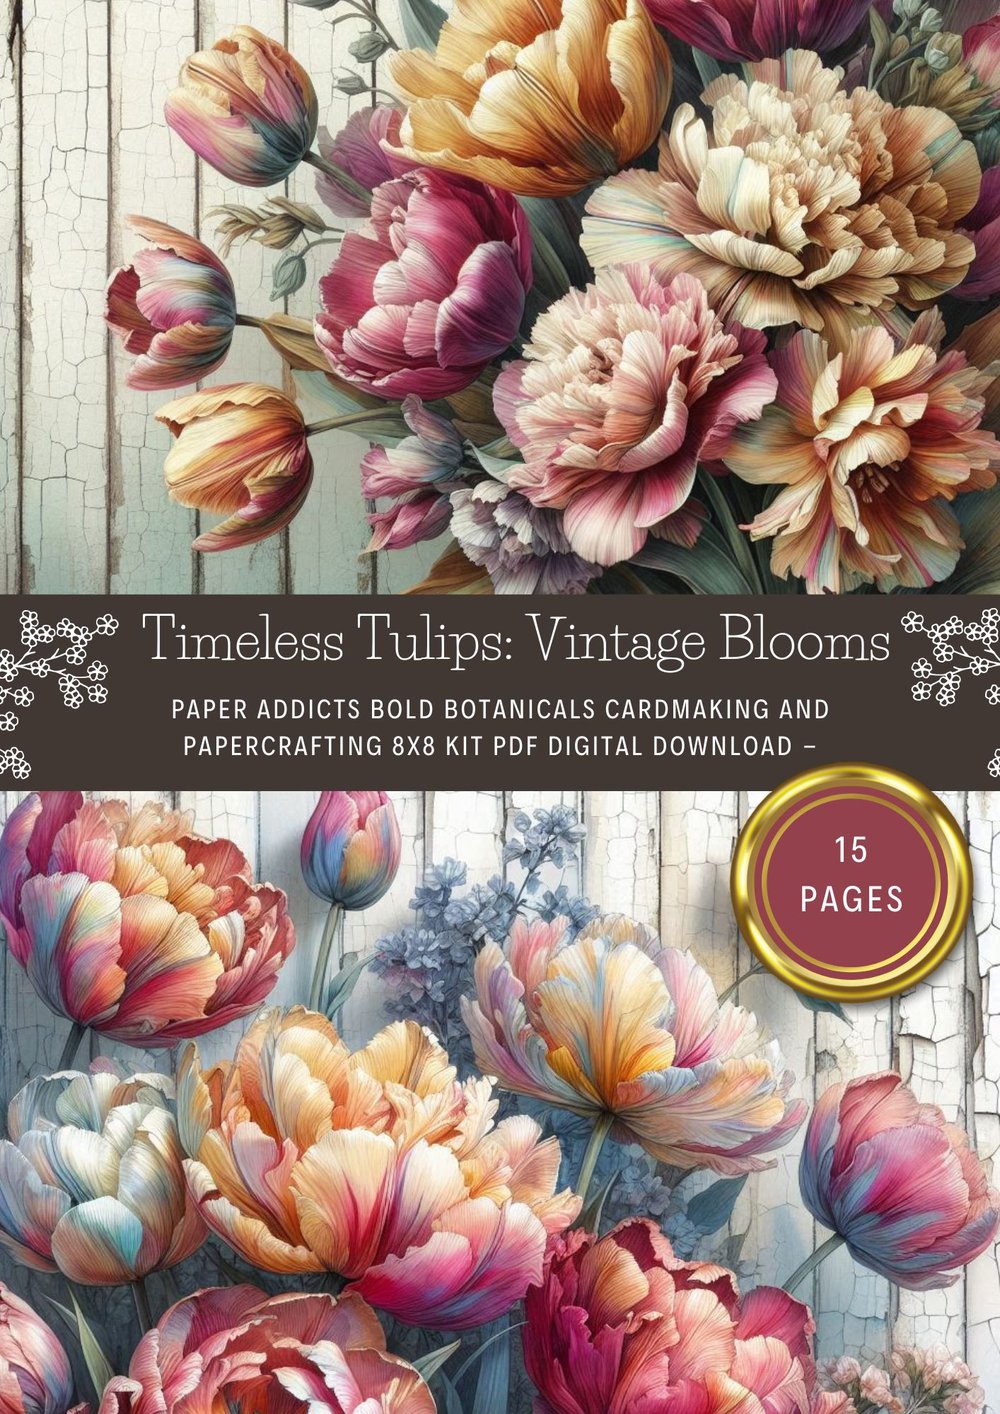
Introducing the Timeless Tulips Vintage Blooms kit and all of the samples made for the launch with supplies lists and a few tips along the way
Introducing the Timeless Tulips Vintage Blooms kit and all of the samples made for the launch with supplies lists and a few tips along the way
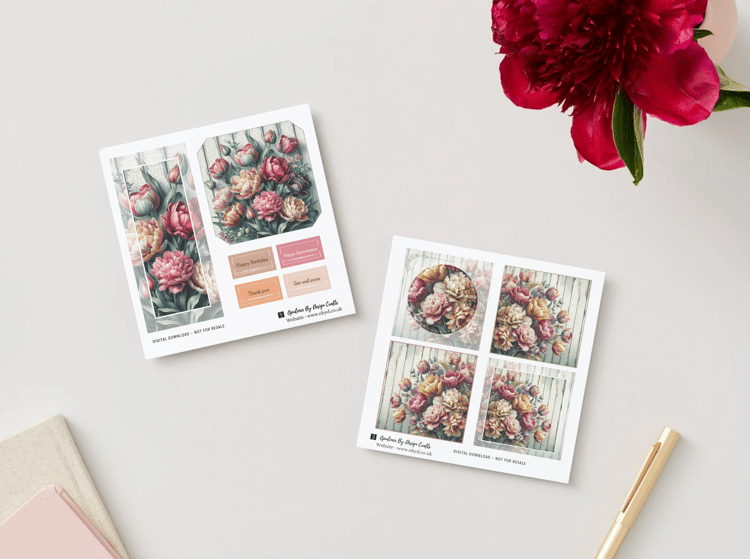
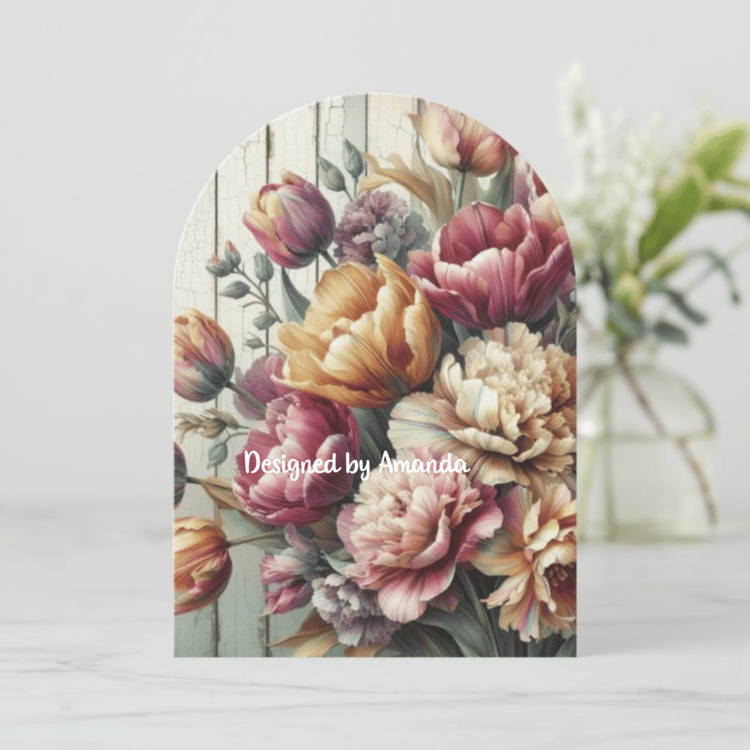
Introducing the Paper Addicts Bold Botanicals Cardmaking and Papercrafting 8x8 Kit PDF Digital Download - Timeless Tulips Vintage Blooms - 15 Pages
✨ Collage Crafts: Perfect for layering and creating stunning mixed-media compositions.
✨ Cardmaking: Add a dreamy, vintage aesthetic to your handmade cards.
✨ Decoupage: Ideal for decorating everything from trays to vases with an artistic flair.
✨ Album Crafts: Bring your scrapbook pages to life with soft, whimsical patterns.
✨ MDF Projects: Transform wooden crafts with a sophisticated vintage floral finish.
✨ Glass and Ceramic Decorations: Make jars, plates, and other items truly unique.
✨ Home Décor Projects: Spruce up your living space with delicate, customised accents.
The set contains:
- Beautiful Bold Tulip Floral Papers
- Frosted Floral Papers
- Toppers
- Panels
- Sentiments
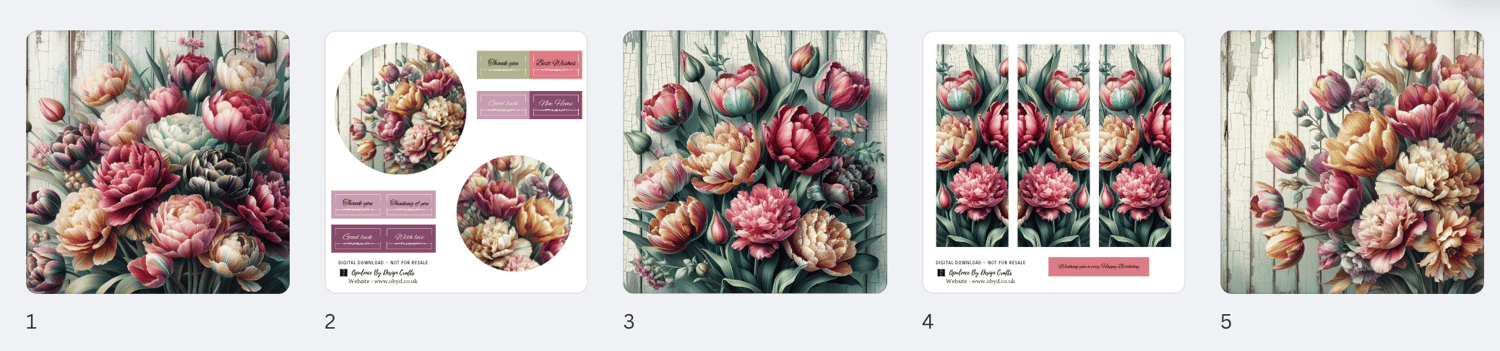
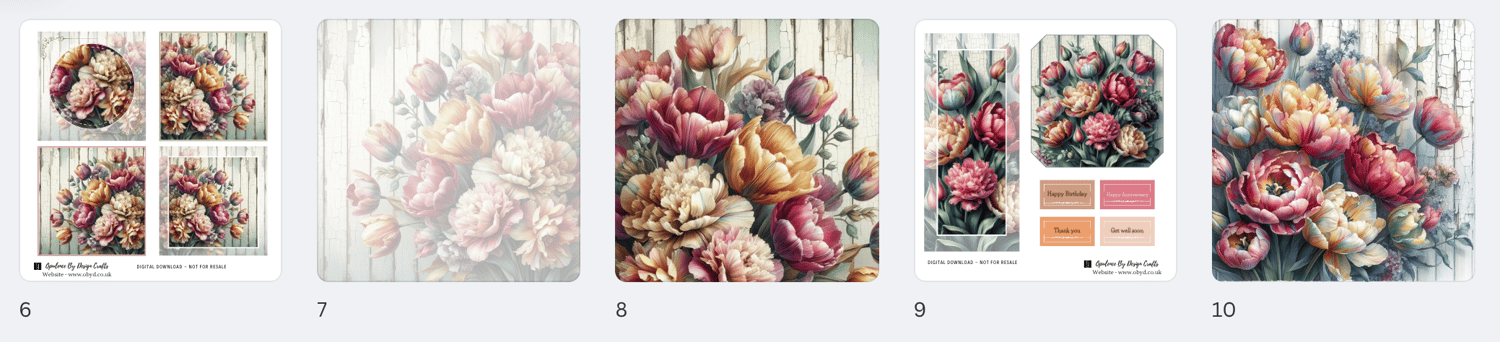
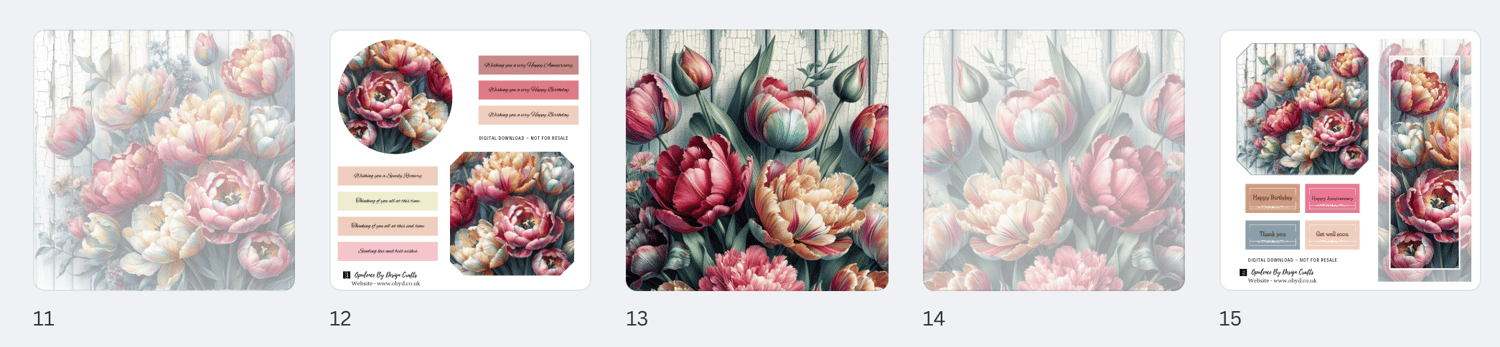
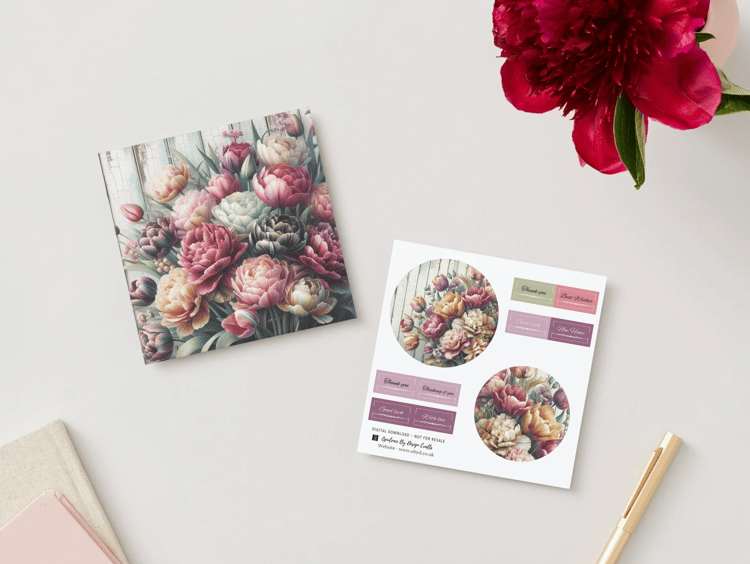
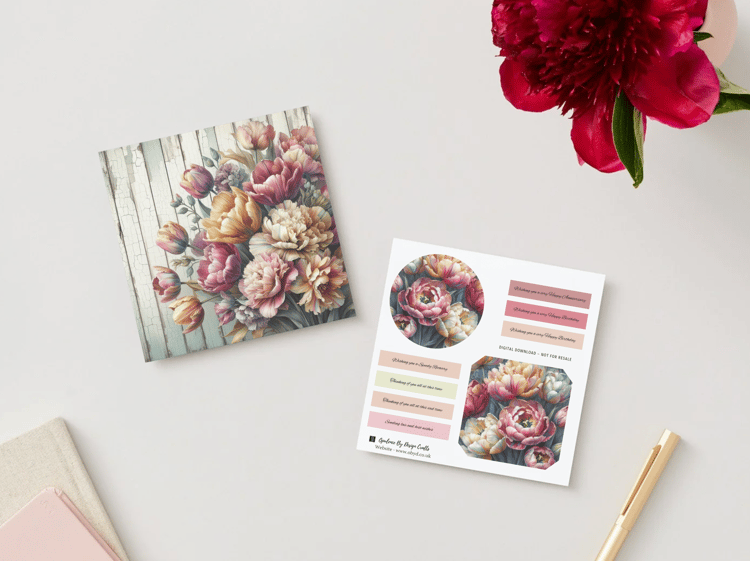
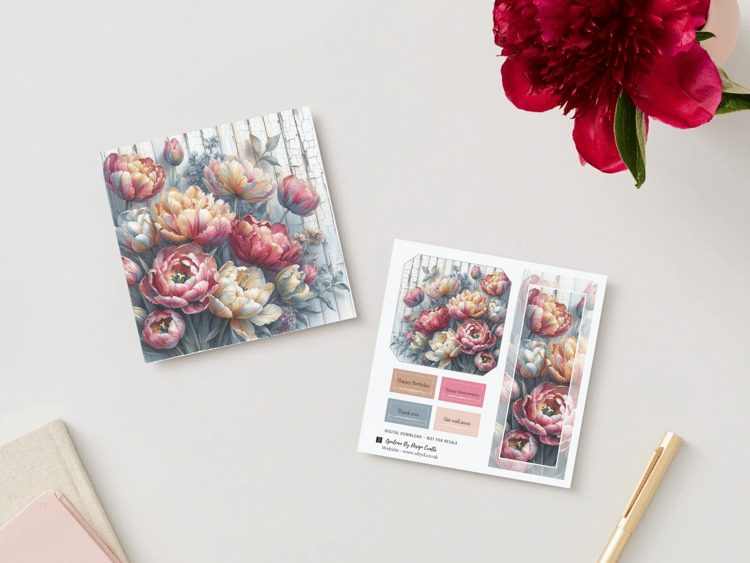
Here's a look at some of the sheets included in the kit in closer detail
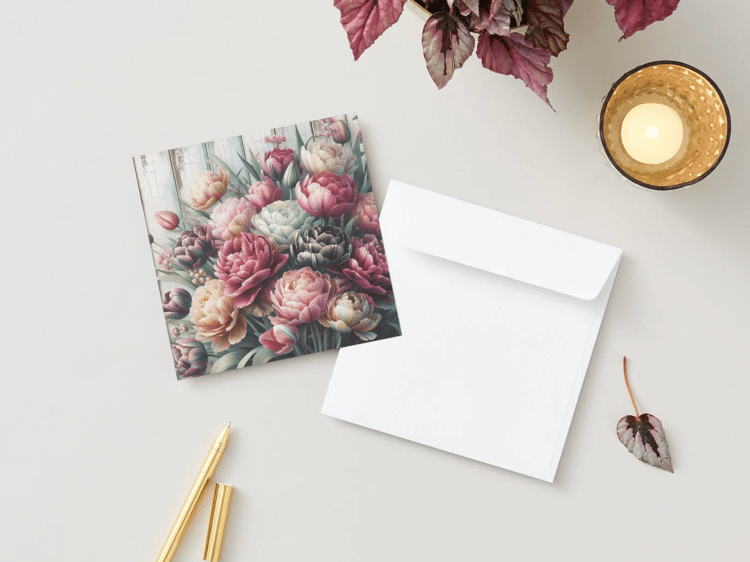
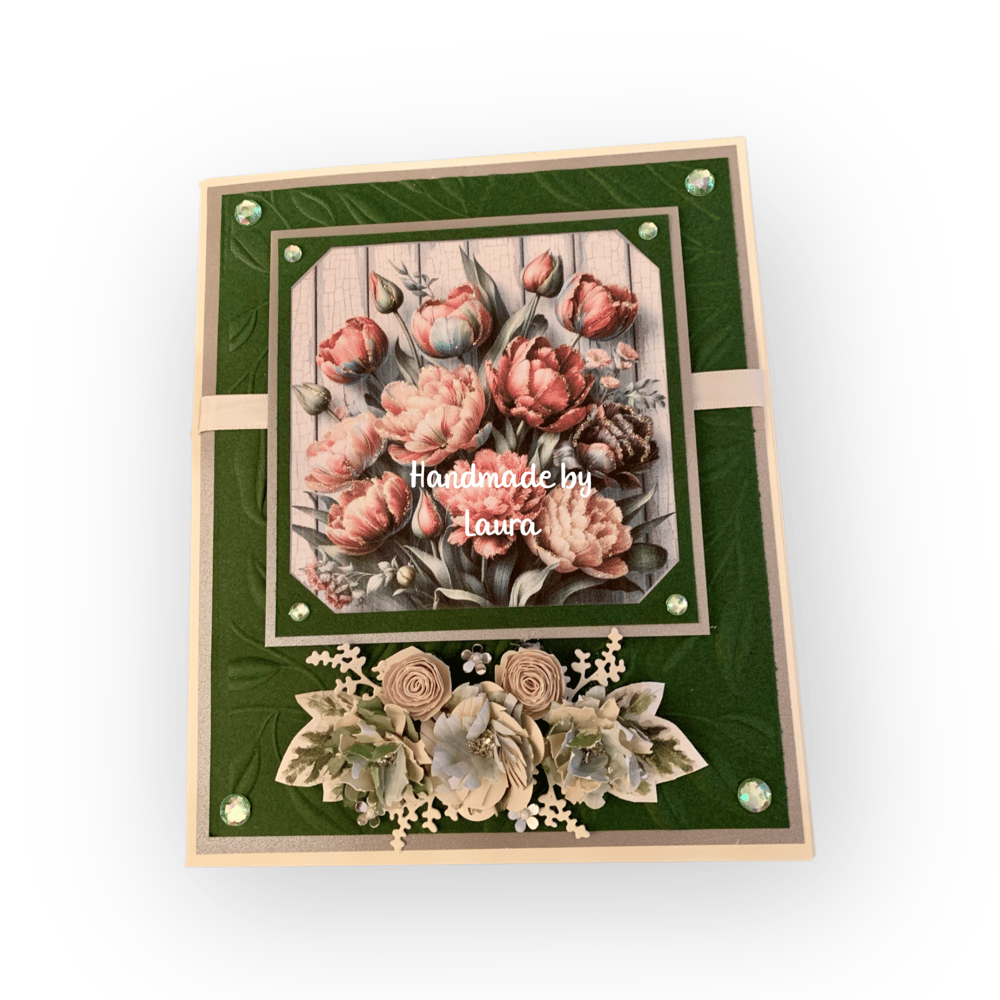
Here are some of the samples made for the launch:
Disclosure: As an Amazon Associate, I may earn a small commission if you make a purchase through my UK Amazon affiliate links. This comes at no extra cost to you but helps support my work
Supplies List:
Timeless Tulips Vintage Blooms Kit - https://shop.obyd.co.uk/b/baBpn
the topper for this one can be found on page 9 of the kit
Spellbinders Embossing Folder - https://amzn.to/4hpY2nt
Print, cut and form ivy leaves - https://shop.obyd.co.uk/b/zJHWx
The large flowers in the centre were punched with a large 5 petal punch and the 2 flowers at the top are rolled roses (i have a youtube video for this technique)
If you look closely at the handmade flower topper there are some teeny weeny flowers - these were die cut with the Spellbinders Lilac Die Set
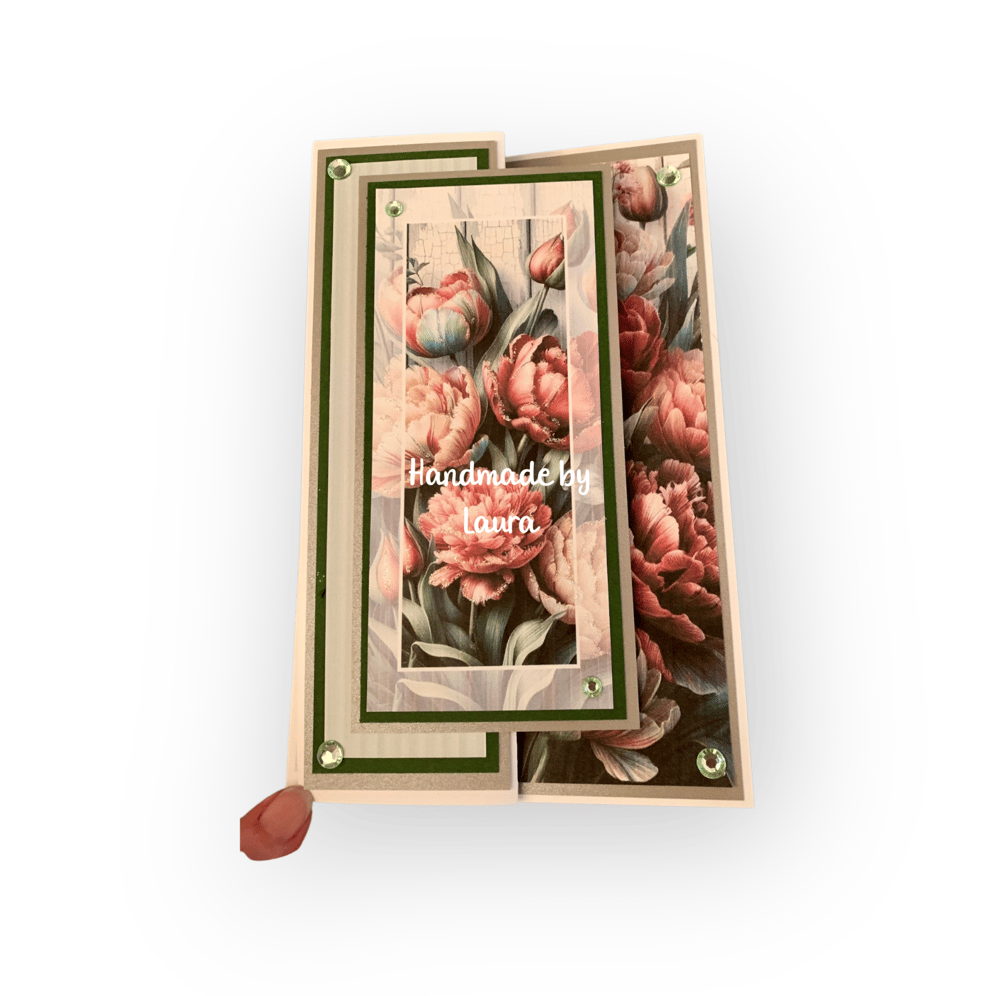
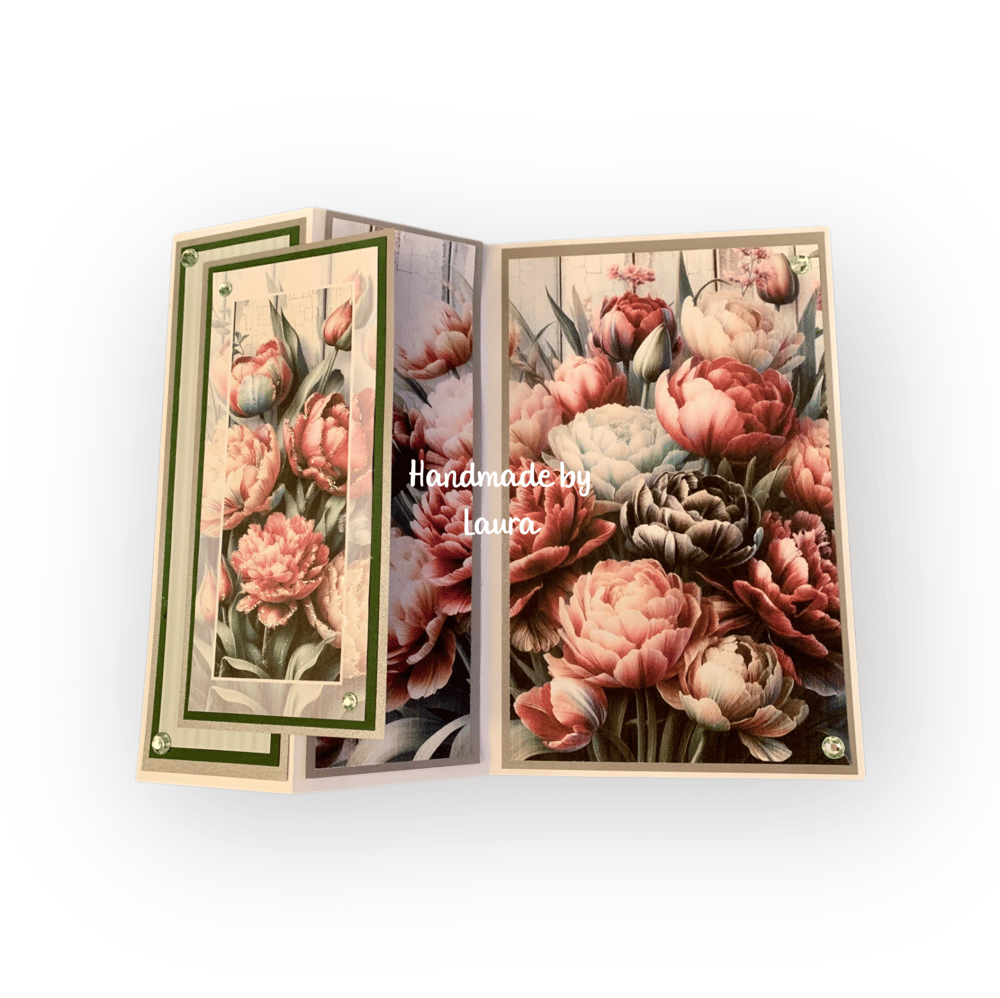
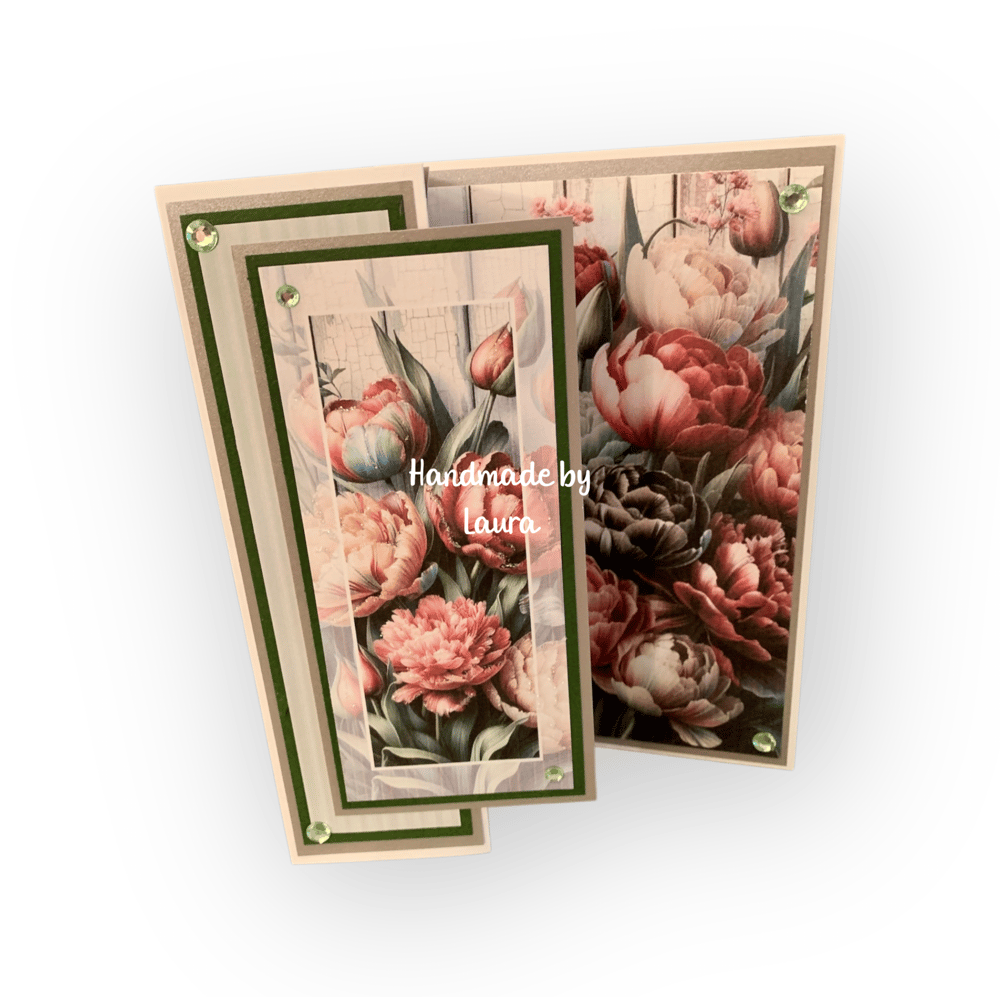
Handmade Z-fold card using the papers and panel from the Timeless Tulips Vintage Blooms kit - https://shop.obyd.co.uk/b/baBpn
No dies or machines were using for this one just simple matting and layering and some gems for decoration
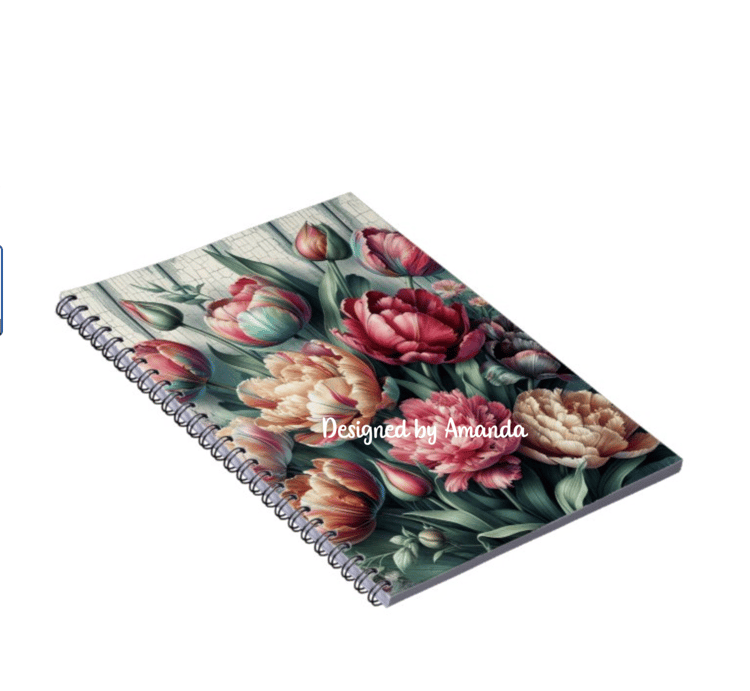
The papers are perfect for using to make your own notebook and albums especially if you have a Cinch machine or binding machine. If you are not familiar with these you can take a look at lots of different brands on amazon here: https://amzn.to/4iluSqI for some nifty ideas. These make really cute gifts and are great if you do craft fairs or sell your makes online. A binding machine is so easy to use and it gives such a precise and professional finish.
There are lots of youtube tutorials online for using binding machines.
Perfect for using with your dies - the above and below set were cut with an old Spellbinders Nesting die set
The below card was cut with a Spellbinders corner punch you can find it here: https://amzn.to/4kyotKt
** Perfect for anyone who doesn't have a die cutting machine or who just wants a pretty and quick finishing detail.
This one is printed with one of the frosted sheets from the kit for a muted effect
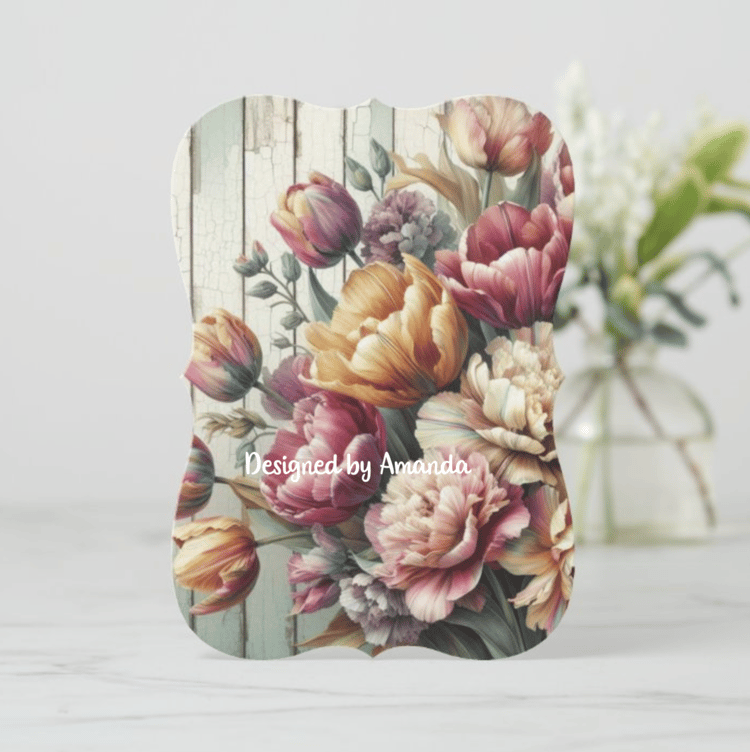
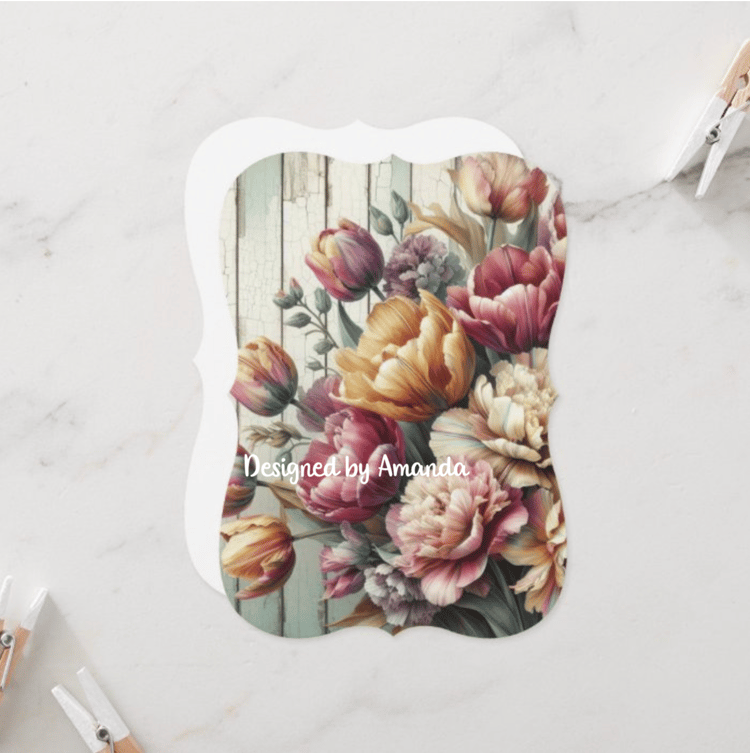
The above cards were printed directly onto 300gsm super smooth sturdy card to make my own cardblanks / notelets - you can find the card on amazon here: https://amzn.to/4ij0KMI
I love printing my own cardblanks as it adds a nice professional finish - these can be decorated with toppers, handmade flowers etc.. to make 3d handmade cards
Or you can make a little gift set of notelets as shown in the picture - you can make a card wallet as shown or a little gift cards for that nice professional finish to your card / note card set.
The below card was printed onto 300gsm glossy photo paper/ card then scored to make a A5 cardblank - just to give a glossy finish - you can find this card here: https://amzn.to/4hmYnHo
This could be decorated with toppers and embellishments
The below card was cut on my Cameo but if you don't have a cameo you could use a die like this spellbinders one - https://amzn.to/4kCp7GL
The front panel is cut completely and attached to a cardblank behind it
The above and below cards were cut using this Hunkydory die - https://amzn.to/4bEwVUn
This is such a lovely die set and is incredibly handy for cutting tags too!!
I also like using the smaller dies in this set for cutting sentiments and cutting the straight edge into a fish tail.
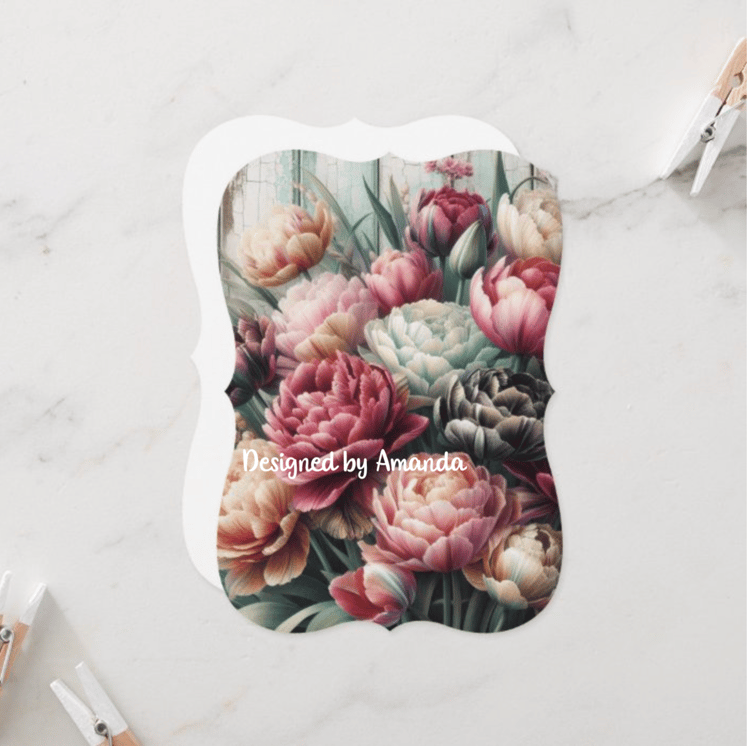
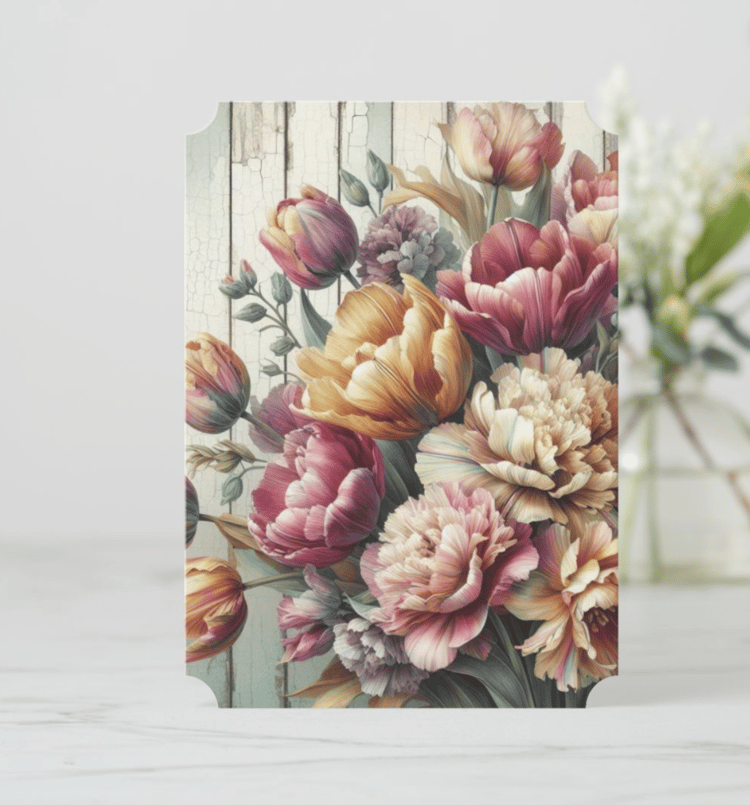
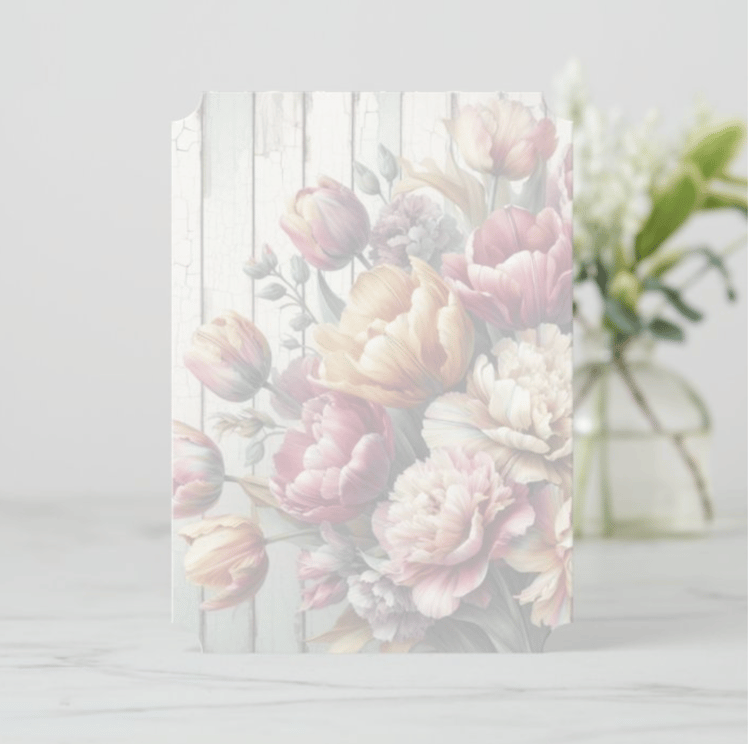
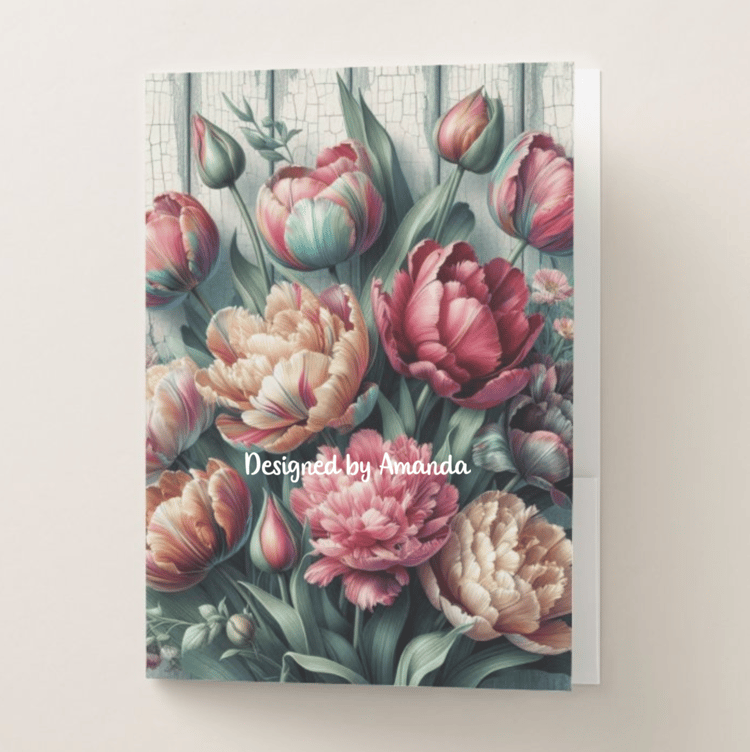
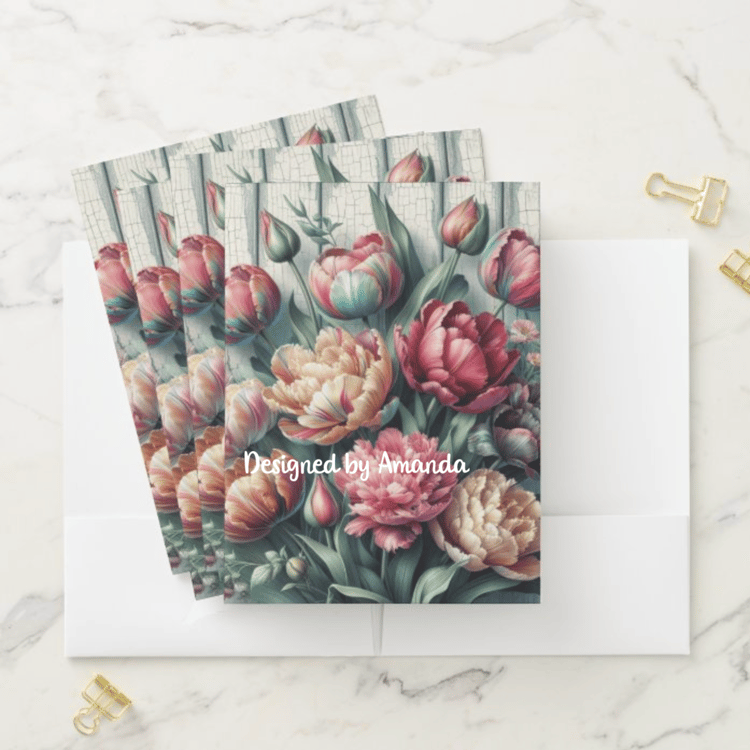
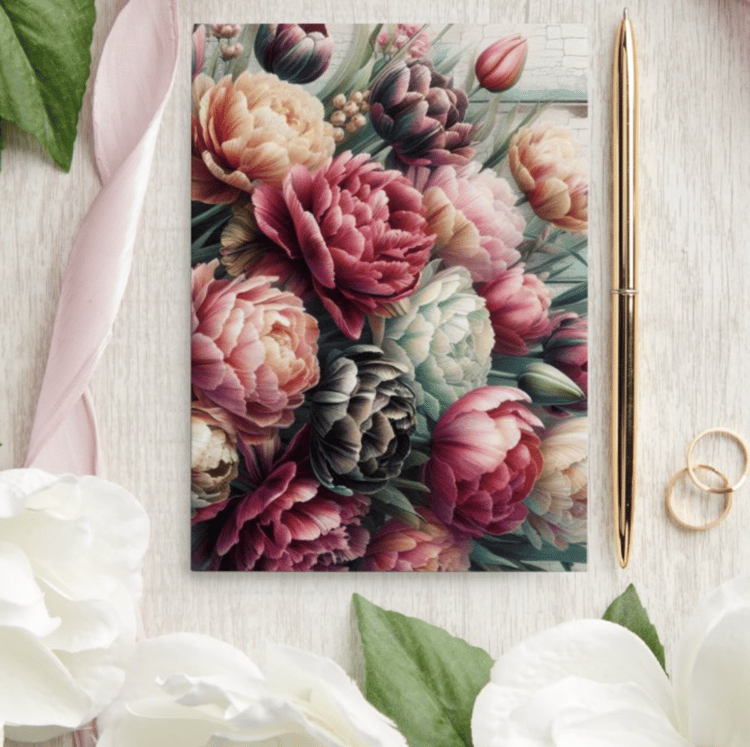
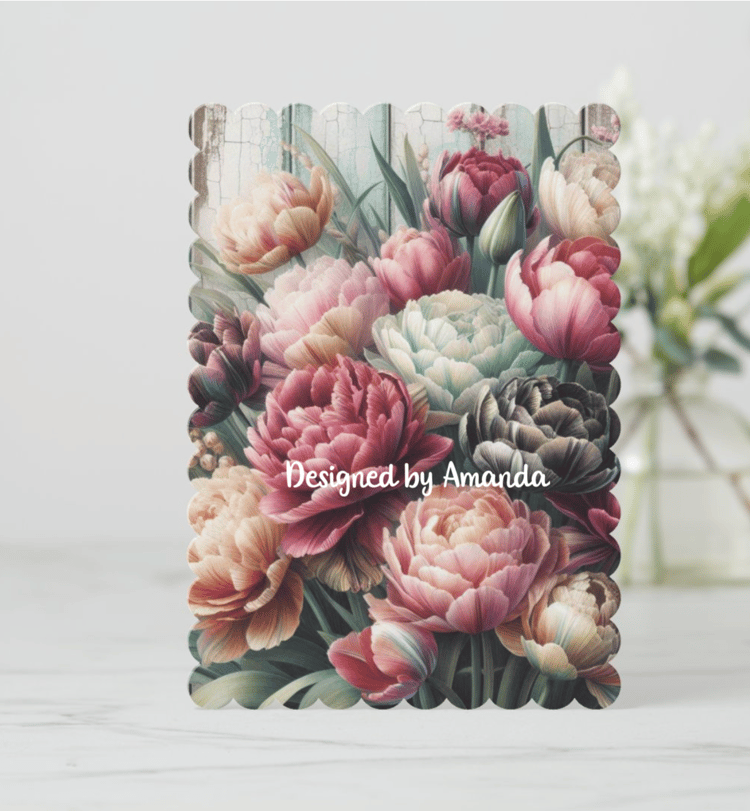
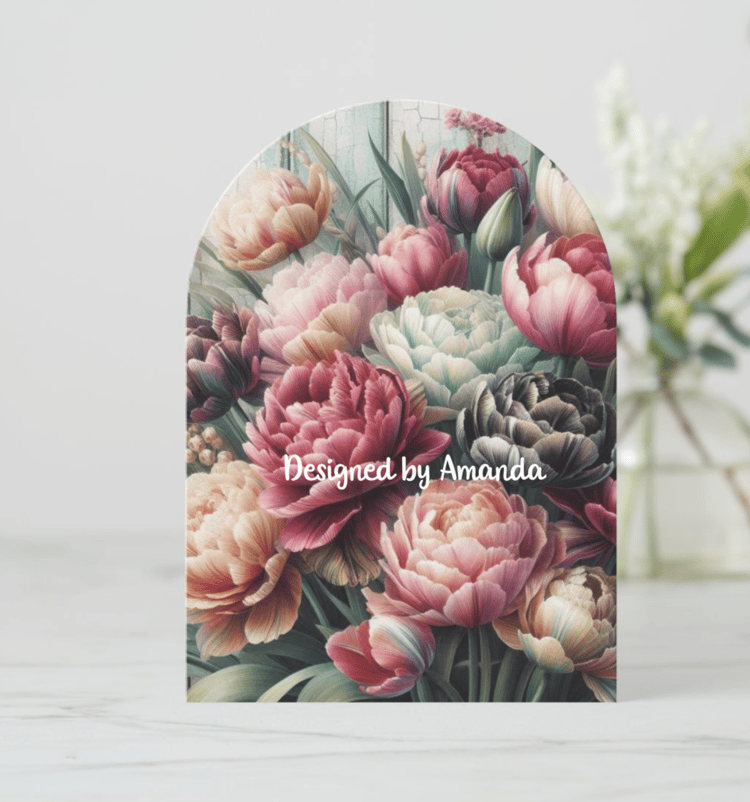
I am an artist for a company called Redbubble and i have my own store on there, i create designs for them to be professionally printed ono clothing, gifts and home decor items. Here are some of the items available in the artwork


For more crafty inspiration check out our:
Facebook group - https://www.facebook.com/groups/672573406875861
Facebook page - https://www.facebook.com/OpulenceByDesign/
Blog - https://shop.obyd.co.uk/blog/opulence-by-design-crafty-corner-blog
Download Shop - https://shop.obyd.co.uk/
Website - www.obyd.co.uk
Amazon - Cut and Craft books - https://www.amazon.co.uk/stores/author/B0DKTBB8KQ
For all of our social media accounts you can find the links here: https://linktr.ee/opulencebydesign
If you have Pinterest i would greatly appreciate a follow as i have spent weeks adding lots of card samples to my various boards - Cardmaking ideas, Christmas crafts, My Crafty Blog board and others so it would be awesome if you could pop over and show it some love - Pinterest Boards
Thank you for looking, happy crafting as always! A xo
Comments
Post a Comment