Bringing a Watercolour Wreath to Life on a Stormy Day with a little video and full supplies list for all of the Ranger, spellbinders and watercolour goodies i used
Bringing a Watercolour Wreath to Life on a Stormy Day with a little video and full supplies list for all of the Ranger, spellbinders and watercolour goodies i used
Happy Sunday!
The weather outside is dreadful—rainy, gloomy, and all-around cozy weather to stay indoors. So, what did I decide to do? Have a little play day, of course! I grabbed my crafting supplies and got to work on a fun project using yesterday’s digi stamp.
I’ve been really enjoying incorporating digital stamps into my crafting routine lately. They're so versatile, and it’s always fun to see how the design evolves with a little creativity. Today, I decided to focus on this adorable image I printed out yesterday and turn it into something special.
Disclosure: As an Amazon Associate, I may earn a small commission if you make a purchase through my UK Amazon affiliate links. This comes at no extra cost to you but helps support my work. If you're interested in the products I've used, you can find the links highlighted in blue on the page along with some of my downloads. 😊 Thank you for your support!
Here’s what I did:
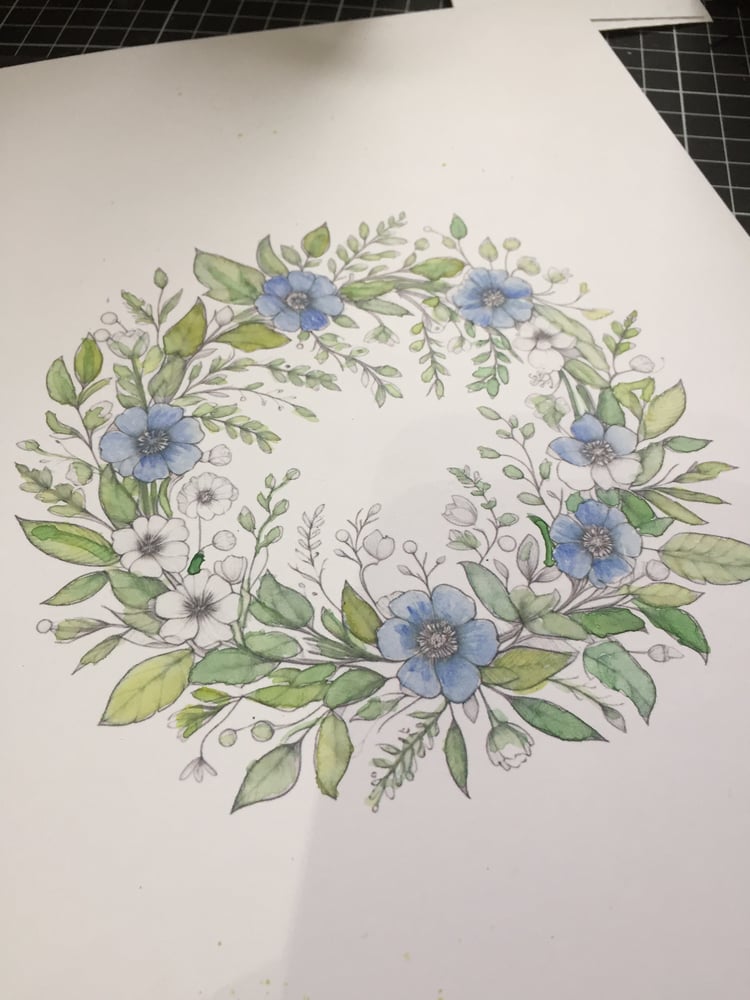
I printed the digi stamp onto 300 GSM coloured card. The thick card really gives it a nice texture and holds the colours beautifully. Then, I started adding some colour to the design using my wax pastels and Ranger Distress Pencils. I love the smooth, blended look that these tools give, and it was so satisfying to see the image come to life.
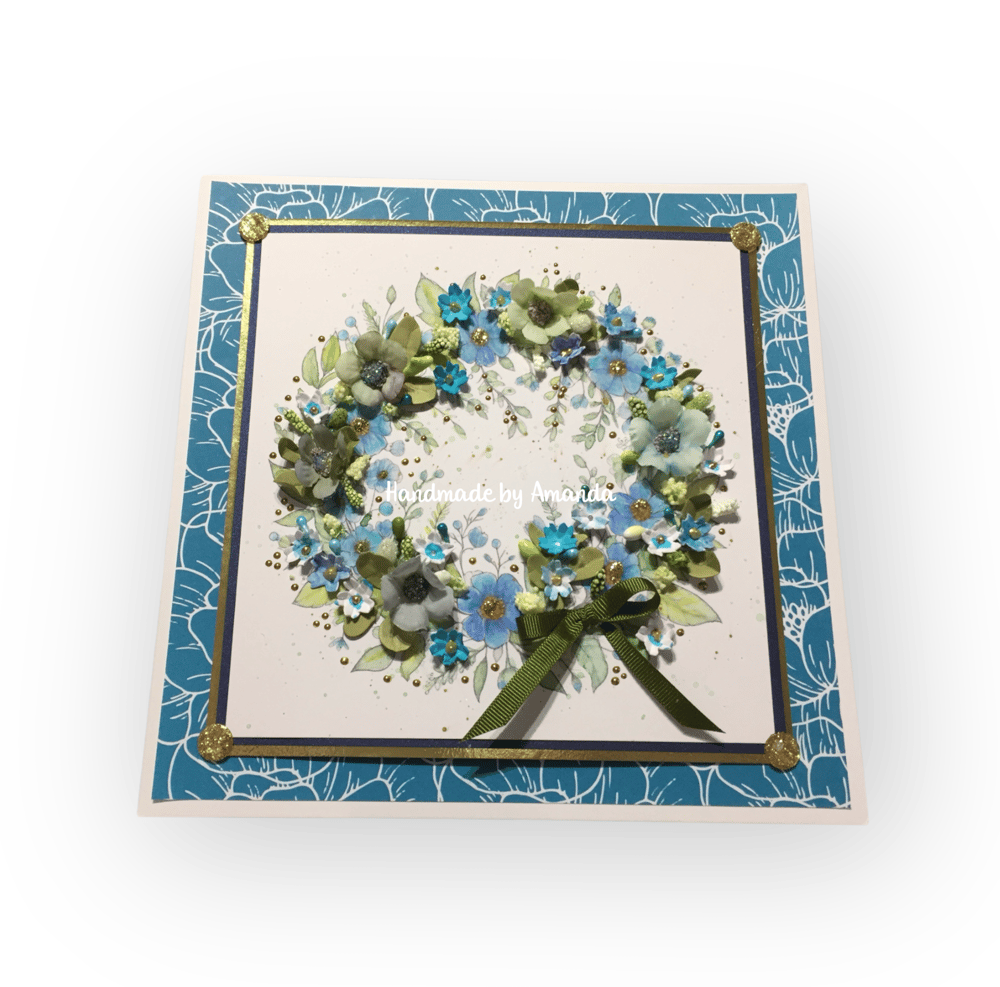
I also added a few little silk flowers to the project for some extra texture and dimension. But my favourite part? The handmade die-cut flowers and leaves! 🌸
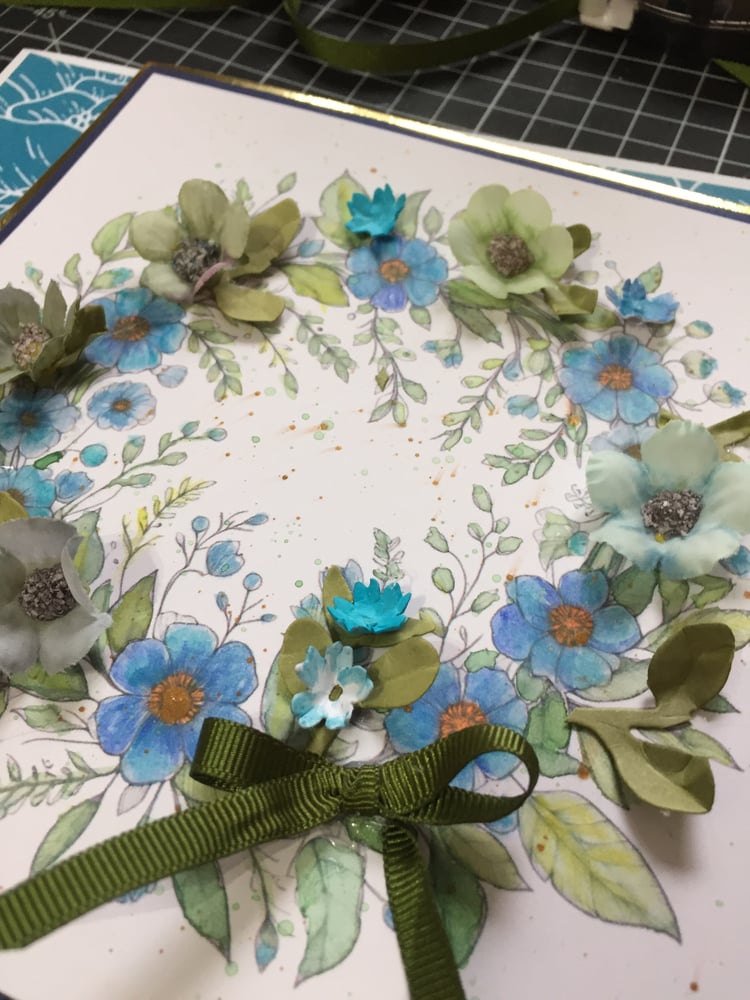
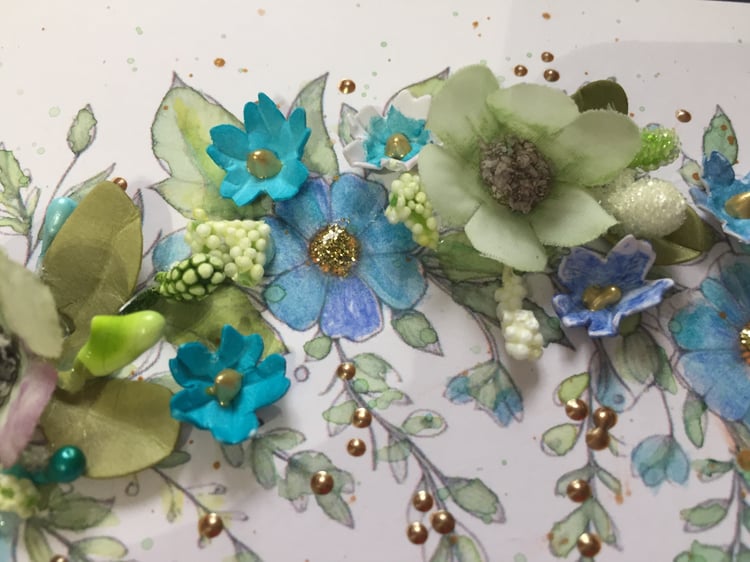
Die-Cut Flowers: I used my Spellbinders Tool Set to shape the little die-cut flowers, and I just love how they turned out! The tool set really helped me add dimension and curves to the flowers, giving them a more lifelike appearance. To make them pop even more, I added some Liquid Pearls to the centres of each flower. They give a lovely, subtle shine that draws the eye.
I also decided to add a few flicks of paint around the design to soften the overall look. It gave it a more organic feel, which I’m really happy with.
To finish the design, I added a handmade little bow for that extra bit of charm, and I couldn’t resist using a little Stickles to add some sparkle and shine. The Stickles gave it just the right amount of twinkle to make the design feel complete!
I thought it would be fun to share a few short clips of the process along the way. I always enjoy getting a peek into others' crafting journeys, and I hope you’ll enjoy seeing mine too!
Here’s a quick rundown of my progress so far:
- Printed onto 300 GSM white card – this gives the design a sturdy foundation and makes the colours pop!
- Wax pastels and Ranger Distress Pencils – I used these to add layers of rich, vibrant colour and some shading. The pastels really give it a soft, blended look.
- Silk flowers and handmade die-cut flowers – added some lovely texture and dimension, bringing the piece to life with a bit of 3D effect.
- Spellbinders Tool Set – for shaping the die-cut flowers and adding that extra detail.
- Liquid Pearls – added to the flower centers for a soft, shiny touch.
- Flicks of paint – softened the design and gave it a more artsy feel.
- Handmade bow and Stickles – finished it all off with a little sparkle and charm!
I’m so happy with how it’s shaping up, but I’m not quite finished yet! I’m still deciding on a few final touches before I can call it done... i need to add a bit more stickles and lastly add a sentiment
Full Supplies List:
- 300 GSM white card - https://amzn.to/41tUZFS
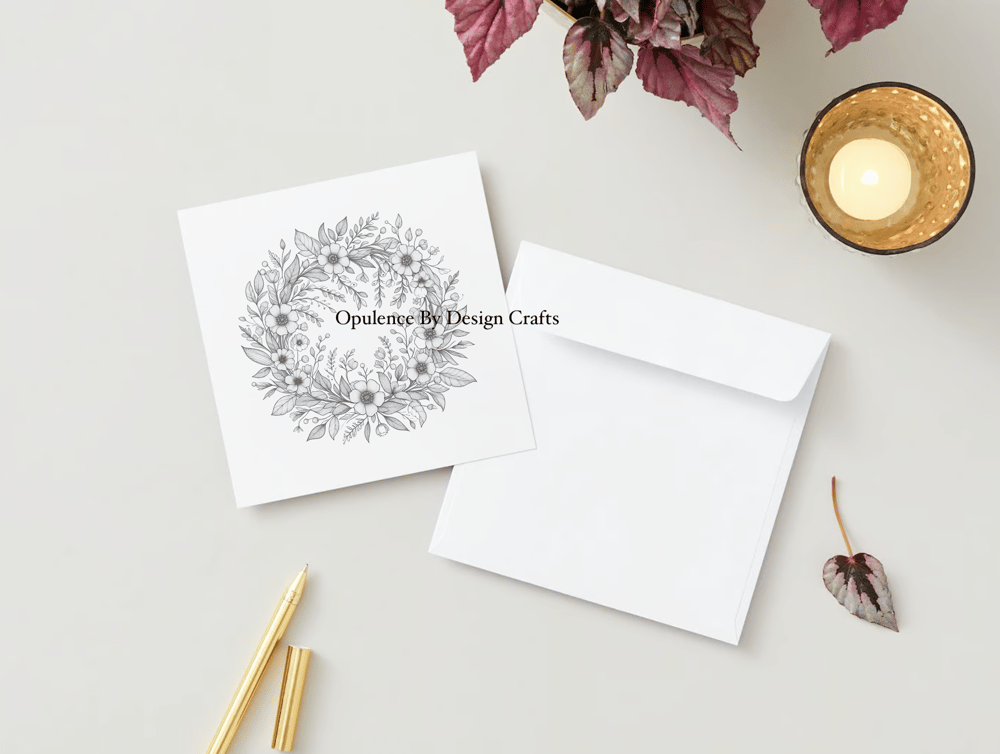
- Digi Stamp - https://shop.obyd.co.uk/b/iu7vW
- Backing Paper bargain (only 50p) - https://shop.obyd.co.uk/b/smzo3
- Card blank - https://amzn.to/41r0OE5
- Wax pastels by Carand'ache- i used the Olive green you can check out their Brand Store here: https://amzn.to/4b9Zetv
- Ranger Distress Pencils - My all-time favourite water colour pencils - https://amzn.to/4ib1eDZ
- Water Brush - https://amzn.to/4idst0X
- Silk flowers - https://amzn.to/3CSecI5
- Spellbinders Tool Set - https://amzn.to/43azyLk
- Spellbinders flower die - https://amzn.to/3QuFasg
- Spellbinders Foliage die - https://amzn.to/4k4nnpz
- Liquid Pearls - https://amzn.to/41ewSd6 and https://amzn.to/4gSLXXw (for the flower centres and some of my signature design dots)
- Stickles:
Gold - https://amzn.to/3D3MZ54
Blue - https://amzn.to/418d5Mp
I added lots of mixed stamens:
Small mixed pearl stamens - https://amzn.to/4hO3f9n
Berry bunch stamens:
green - https://amzn.to/3XeZHoF
white - https://amzn.to/4gXdszb
cream - https://amzn.to/3D30mCB
The gems and ribbon are from my stash
Adhesives:
Tape pens / Glue runners - https://amzn.to/3QwnYT7
Hot glue for all of the embellishments
Thank you so much for joining me and reading this far! I truly hope you enjoyed seeing how my watercolour wreath came together with the help of Spellbinders and Ranger products plus a few other crafting favourites.
Crafting is such a fun way to spend a stormy day, and I’m so glad I could share this little project with you. If you have any questions or just want to chat about crafting, feel free to reach out—I’d love to hear from you!
Why not pop over and join our little crafty facebook group (the link is just a few lines down)
Happy crafting, and I can’t wait to share more projects soon
For more crafty inspiration check out our:
Facebook group - https://www.facebook.com/groups/672573406875861
Facebook page - https://www.facebook.com/OpulenceByDesign/
Blog - https://shop.obyd.co.uk/blog/opulence-by-design-crafty-corner-blog
Download Shop - https://shop.obyd.co.uk/
Website - www.obyd.co.uk
Amazon - Cut and Craft books - https://www.amazon.co.uk/stores/author/B0DKTBB8KQ
For all of our social media accounts you can find the links here: https://linktr.ee/opulencebydesign
If you have Pinterest i would greatly appreciate a follow as i have spent weeks adding lots of card samples to my various boards - Cardmaking ideas, Christmas crafts, My Crafty Blog board and others so it would be awesome if you could pop over and show it some love - Pinterest Boards
Thank you for looking, happy crafting as always! A xo
Comments
Post a Comment