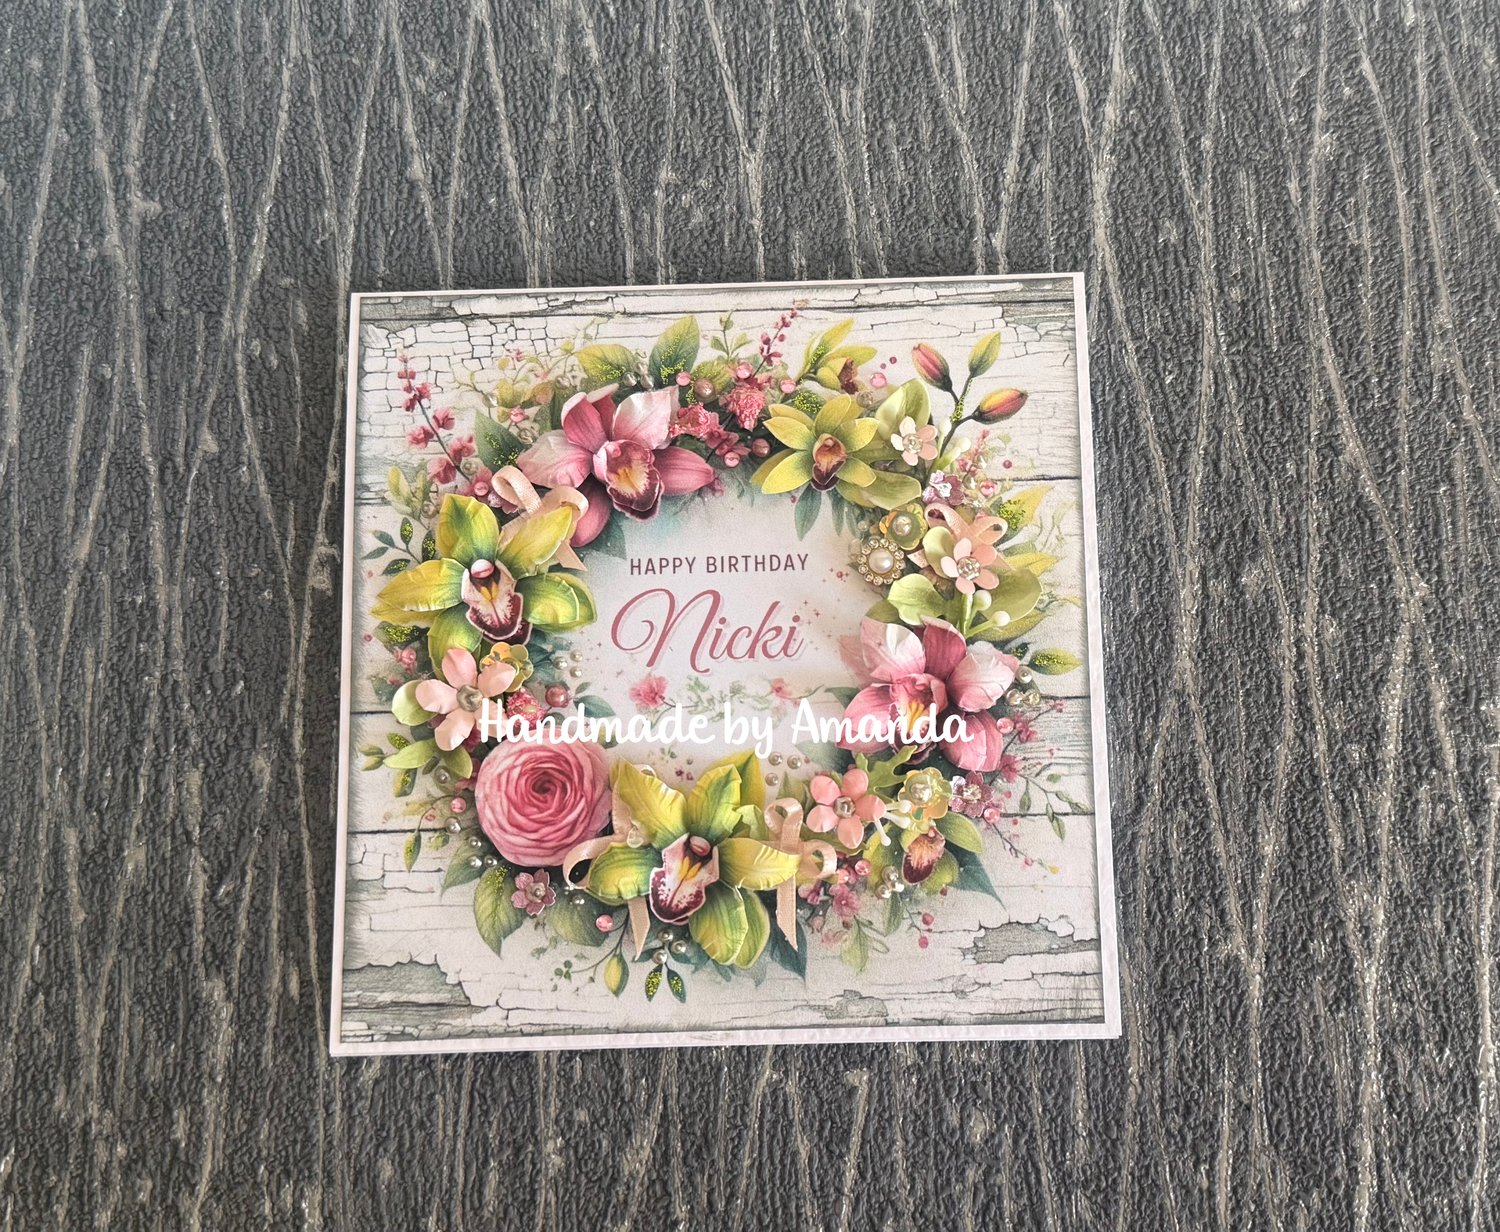
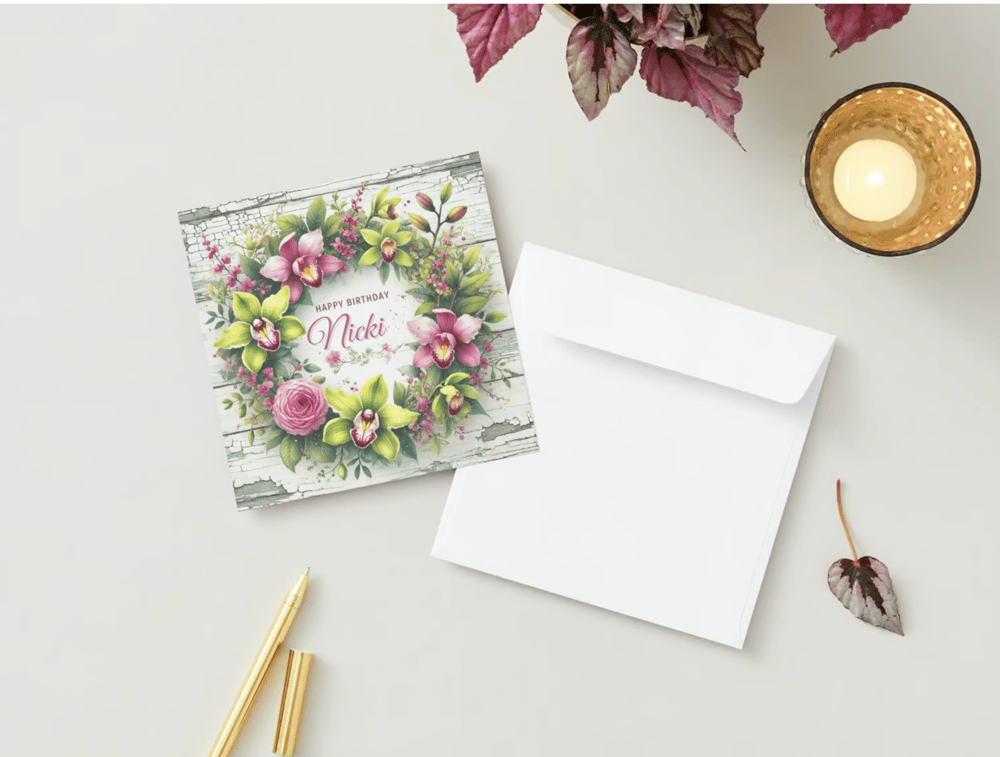
Happy Birthday Nicki: A Glam Card with 3D Orchids, Decoupaged Roses & Sparkling Bling!
 New release
The latest name to join our Happy Birthday Named Sheets Collection is here—Happy Birthday Nicki! 
You can find all of the named sheets here on the website : https://shop.obyd.co.uk/b/hGxVr
I had so much fun creating the samples for this one. I added a bit of decoupage and had some flower-filled fun to bring it to life! 

I hope you love it as much as I do! 
If you would like a name adding to the collection you can request it via the website here: https://shop.obyd.co.uk/contact
I hope you like this little close- up video i did to give you a better look at the card
* Disclaimer
The links to Digital Downloads are my own digital download products from my website -https://www.obyd.co.uk/
** Also as an Amazon Associate i may receive a small referral commission should you buy something through my UK Amazon affiliate links

Supplies List for the card:
Cardblank - 300gsm hammered sturdy 5"x5" Cardblank and envelope set - you can find these on amazon here: https://amzn.to/3DVoE1q
The Happy Birthday Nicki Sheet can be found here on the website as an instant download: https://shop.obyd.co.uk/b/hGxVr
Printing Your Design
- Set your printer to print 2 toppers per page (refer to yesterday's blog post for full details).
This method allows you to print 2 toppers on 1 A4 sheet:
- Use one topper as your main card front.
- Use the second topper to cut out elements like flowers for decoupage layers.
Creating the Decoupage Layers
- Cut out some of the flowers from the second topper to use as decoupage elements.
- Lay the roses flat on top of the base layer and use foam pads to lift them slightly, adding dimension.
- For the orchids, shape them using a flower shaping tool and foam pad set.
If you'd like to check out the tools I used, they’re from Spellbinders—here’s the link: https://amzn.to/4gTeLjx
You can use a ball tool and foam mat for shaping but if you would like to take your flower forming to the next level check out this tool set. I bought one for myself, one for Laura and one for the girls and they love theirs!!
This tool set is fantastic for flower forming - the detail it gives to shape leaves and flowers is amazing - there are lots of tutorials for this tool set on youtube so take a peek.
I love the detail scissors and precision tweezers that come in the set too!!!
Adding Extra Decorations
- Punch out small flowers
- Make some craft tiny bows to decorate the wreath.
- Add Nuvo Drops to the centres of the small flowers for a polished finish.
- Use Stickles or another glitter glue to add a touch of sparkle.
- I have ran out of flower soft ages ago so i have been using some flock and it is really good, you can find it here: https://amzn.to/4j7X9BQ it is perfect for making your own flowers or using for the centres of the flowers to give them more of a realistic look. There are some lovely colours available - you can find the full range here: https://amzn.to/4fW3ldy
Final Touches
- Add more liquid pearls to the design for extra decoration.
- Finish by adding some gems, beads and sequins from your stash for a little extra sparkle and bling!
Now your card is complete, with gorgeous layers, intricate details, and eye-catching embellishments! ✨
I hope you have liked looking at today's little project i really enjoyed making it and typing up the supplies list for you. *** Please note that the craft supplies links for the products are from Amazon UK - all items were in stock at the point of writing this blog. If you are reading this in the future and the link doesn't work it is probably because the item has sold out.
Always feel as though you can reach out to me if you can't find something i am more than happy to help you try and find it or at least something very similar. Or if you are not in the UK.
You can always message me through facebook - https://www.facebook.com/OpulenceByDesign/
Thank you for reading today's post
For more crafty inspiration check out our:
Facebook group - https://www.facebook.com/groups/672573406875861
Facebook Page - https://www.facebook.com/OpulenceByDesign/
Blog - https://shop.obyd.co.uk/blog/opulence-by-design-crafty-corner-blog
Download Shop - https://shop.obyd.co.uk/
Website - www.obyd.co.uk
For all of our social media accounts you can find the links here: https://linktr.ee/opulencebydesign
If you have Pinterest i would greatly appreciate a follow as i have spent weeks adding lots of card samples to my various boards - Cardmaking ideas, Christmas crafts, My Crafty Blog board and others so it would be awesome if you could pop over and show it some love - Pinterest Boards
Thank you for looking, happy crafting as always! A xo
Comments
Post a Comment