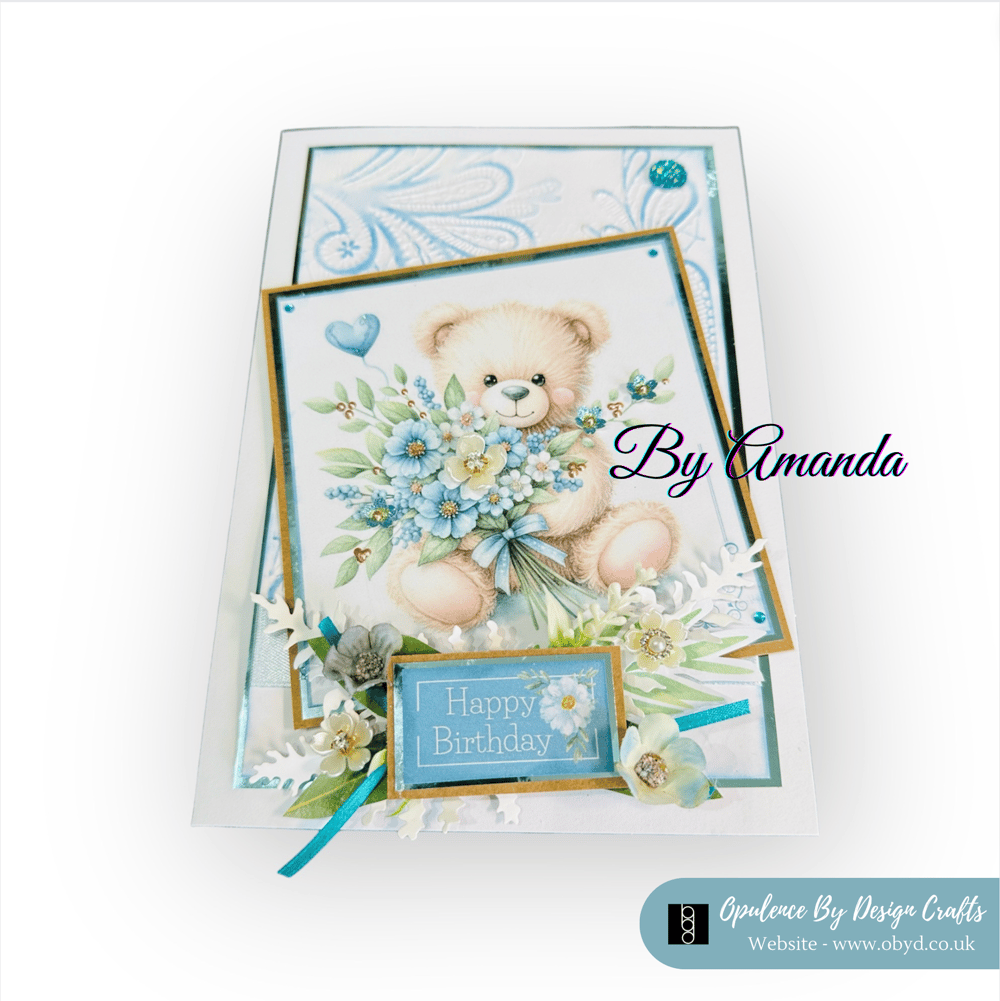
Teddy Bear Bouquet Card
Happy Monday!!
I hope this post finds you well
This little card was ordered by one of my regular customers. It comes with a boxed envelope and mailed in a greetings card mailing box (i have these listed in my storefront)
I hope you like today's little project...
** Disclaimer - complete transparency
- The links to Digital Downloads are my own digital download products from my website - www.obyd.co.uk
- Also as a Amazon Associate i may receive a small referral commission should you buy something through my UK Amazon Store front. (if you would like to see what i have used and where to get it you can find the links where there is blue on the page) ** Please note that there is no charge to the customer for this.
Supplies List for the card
The Teddy Bear Cardmaking topper sheet can be found here: https://shop.obyd.co.uk/b/SNH9e
I used the topper and the sentiment from the kit

The card is an A5 Card i folded a sheet of A4 White 300gsm you can find this on amazon here: https://amzn.to/3TXePEK
The embossing folder i used for this one came free with my Gemini Die Cutting machine - in the "starter set"
I rubbed a blue mini ink pad over the raised area to add some blue to the design. I love using mini ink pads i find them easier to use for projects like this - you can check out my Ink pad selections here: https://amzn.to/4cP5Kq4
The embellishments i used can be found here on amazon - https://amzn.to/3U9ZtxY
The little flowers i used can be found here: https://amzn.to/3vQv91J
I used some of my Fussy Cut Foliage elements - https://shop.obyd.co.uk/b/29lyf
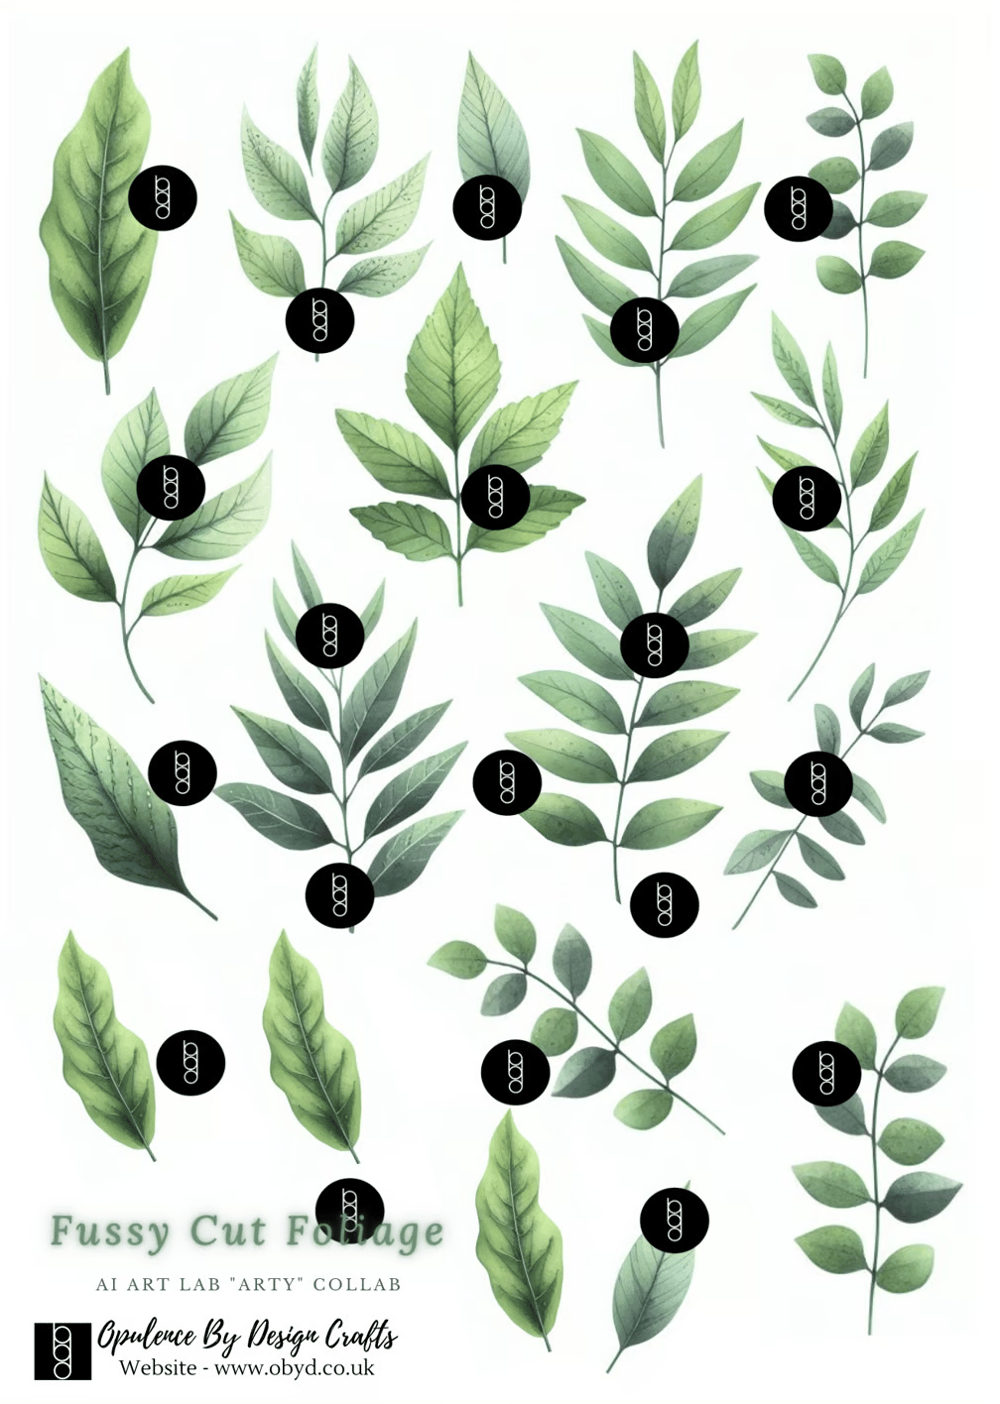
I printed these onto my favourite printing paper for fussy cutting - https://amzn.to/4ao1goM
and fussy cut these out - these were used as a base layer under the sentiment to build a little bouquet focal area to build onto.
I also used a few little die cut leaves from my stash around the flowers.
The topper was matted and layered onto mirror card then some kraft card.
Stickles was used to add a little sparkle - (Crystal was used for this one) https://amzn.to/4atahgm
Liquid pearls were used to add some dimensional dots on the design for added texture - https://amzn.to/4atahgm
The thin ribbon was bought from Boyes
The dazzler gem in the right hand corner is from Hobby Lobby
Glue choices - C C Tape pens for the mat and layers, my glue gun for the embellishments and foam pad tape for a little dimensional lift on the sentiment, you can find all of my adhesive favourites here in my "Glues and Adhesive" section - https://amzn.to/43StUMo
I hope you have liked this little project, if you would like to join me on social media you can find all of my social media links, my facebook page, my facebook group, my website, download shop, youtube channel and tiktok here: https://linktr.ee/opulencebydesign
Thank you for reading
Happy crafting as always xo
Comments
Post a Comment