Using my Heidi Swapp Minc Foiling Machine for the first time
I am still fizzing with excitement.. i have a new toy
I am always looking for ways to take my cards to the next level whether i am selling the cards, doing cards and projects for my classes or just to challenge myself..
I hope you enjoy watching my little journey of foiling and you will come along with me for the ride and giggles
Taking it out of the box and setting it up was soooooo easy.
I followed the instructions and set this up with it's own power source (it's own power bank with an extensions lead - one of the videos i watched said not to plug it in with other products if you were using a multi socket)
That is the only criticism.. the lead on the machine isn't very long.
I removed the clear film wrapping from the machine - this was a large piece of shrink style wrapping that was wrapped right round the machine.
I turned the machine on and pressed the gold button until no3 was selected - it flashes then turns green when it is ready. I was surprised how quiet it is!
The project:
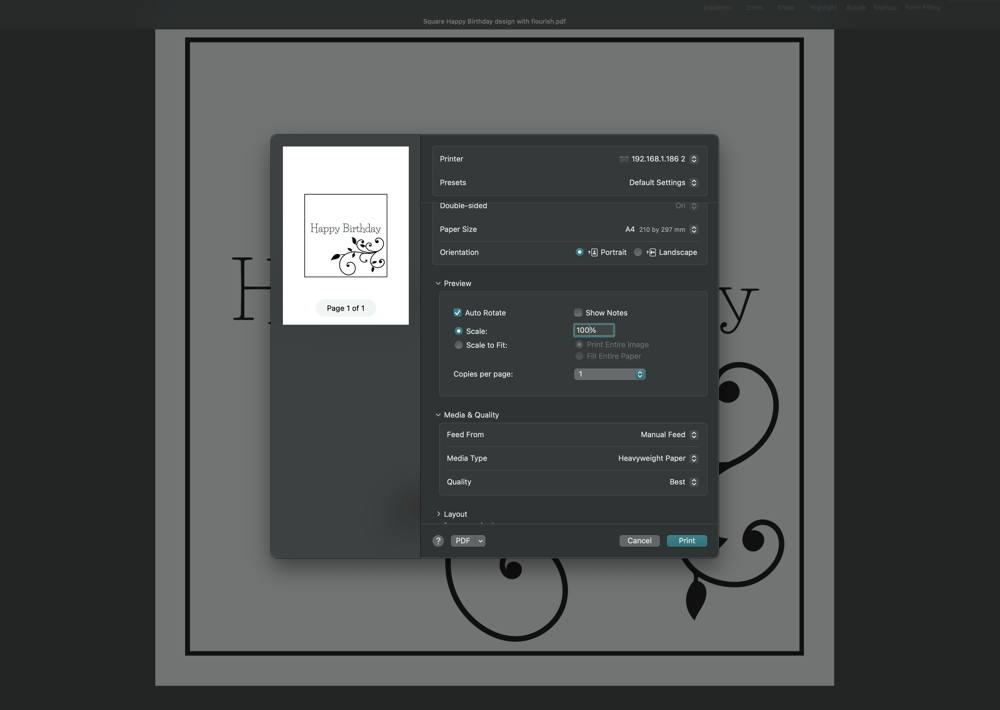
This is the design i created for my first little project..
I am going to be doing lots of my own designs to use with the Minc and they will be available on the website should anyone wish to use them. They are designed to be printed onto a Laser printer. They are very cost effective to get these printed at your local little printers and most of the print shops have a laser printer.
** N.B - There are packs of Minc designs already done for you online that you can buy and foil (you get a few free with the machine)

If you would like to have a look at the sheet you can find it here on the website - Square frame Happy Birthday With Flourish Design PDF Digital Download
I printed this using the Brother App using the air print setting (i have a Brother Mono Laser Printer)
you can find the specs for it here - https://amzn.to/3wvhkGb
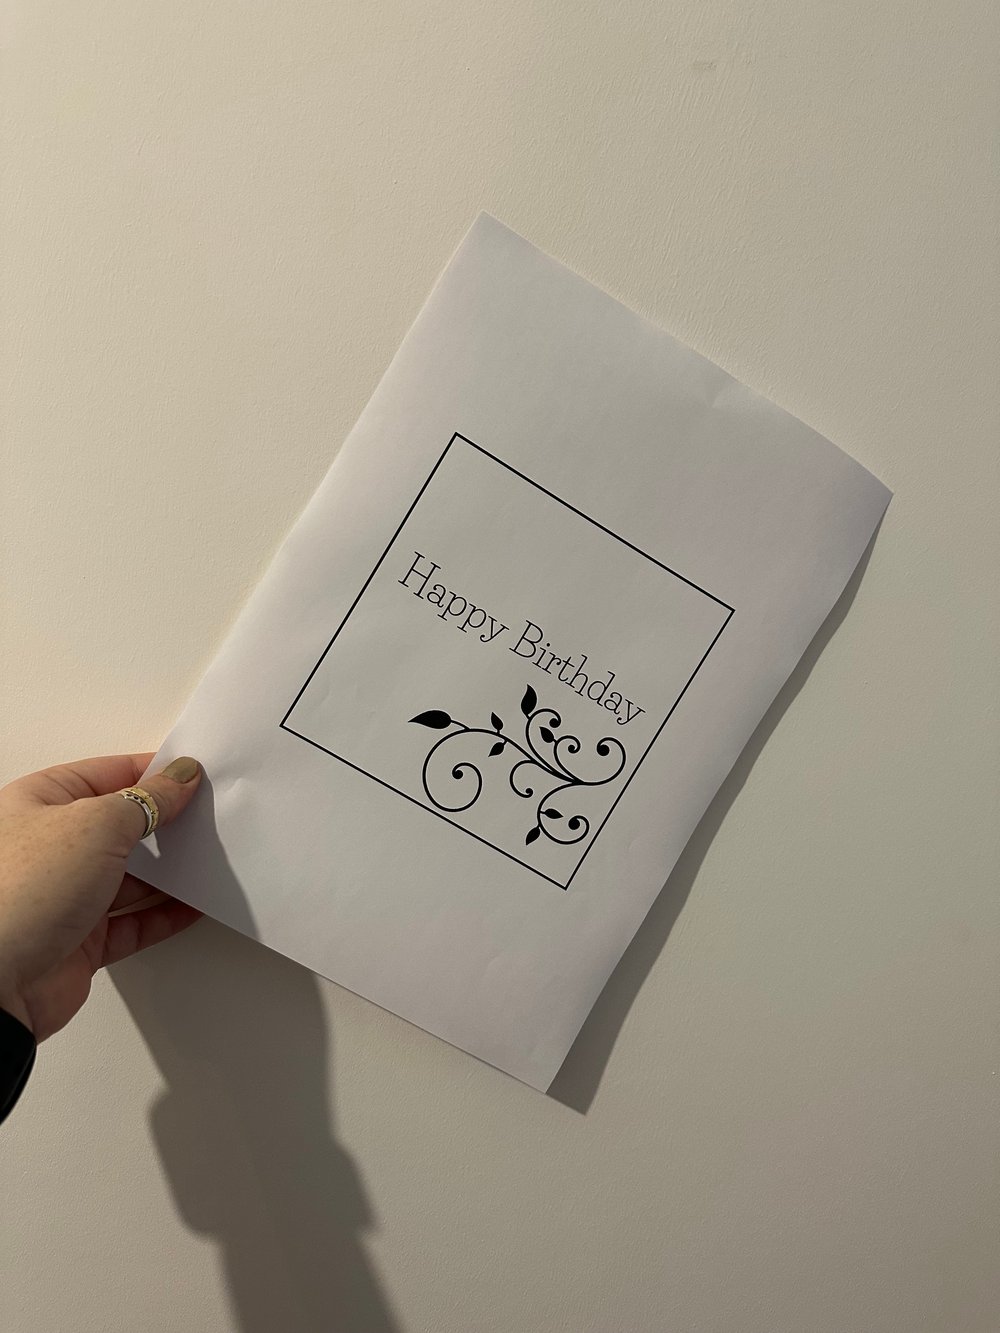
Here is what it looks like printed
I popped a piece of the test foil that comes in the starter kit with the machine over the design then into the carrier sheet and feed it into the machine.
If you would like to see the process i put a little video together..
or you can watch it on youtube here - https://www.youtube.com/watch?v=F_b04xZdN6A
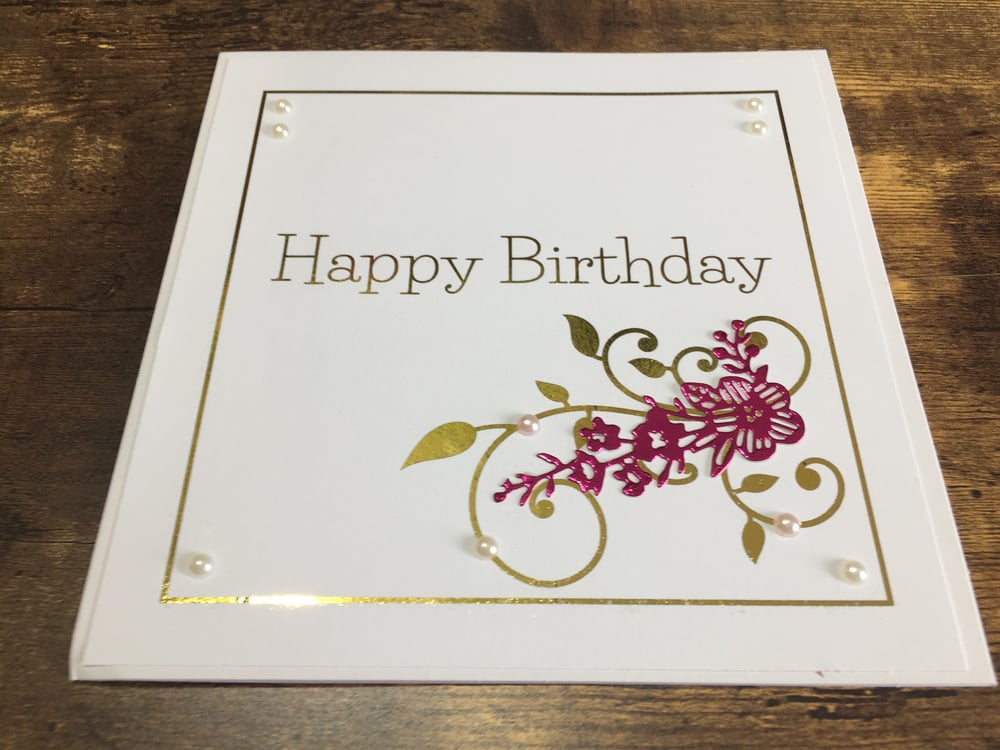
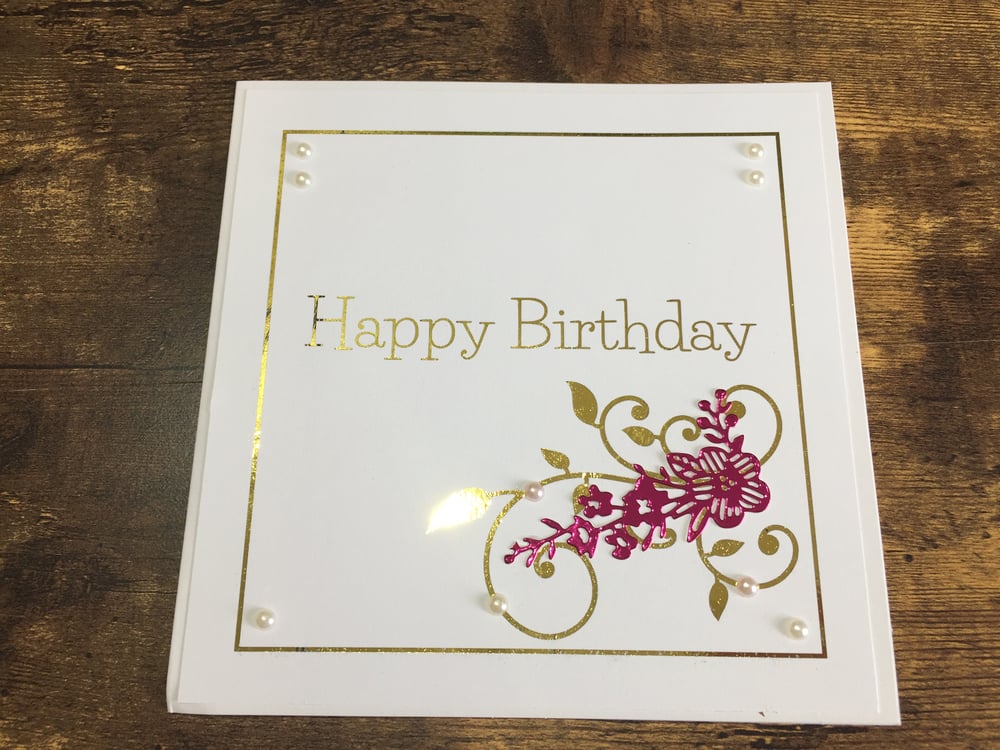
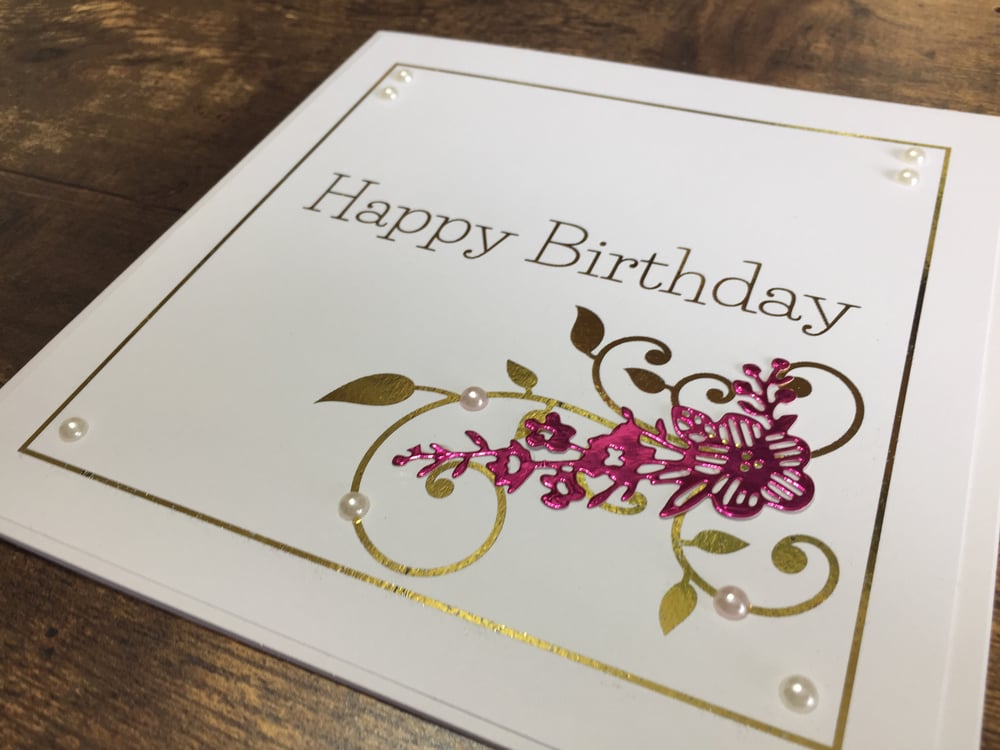
This is the card i made:
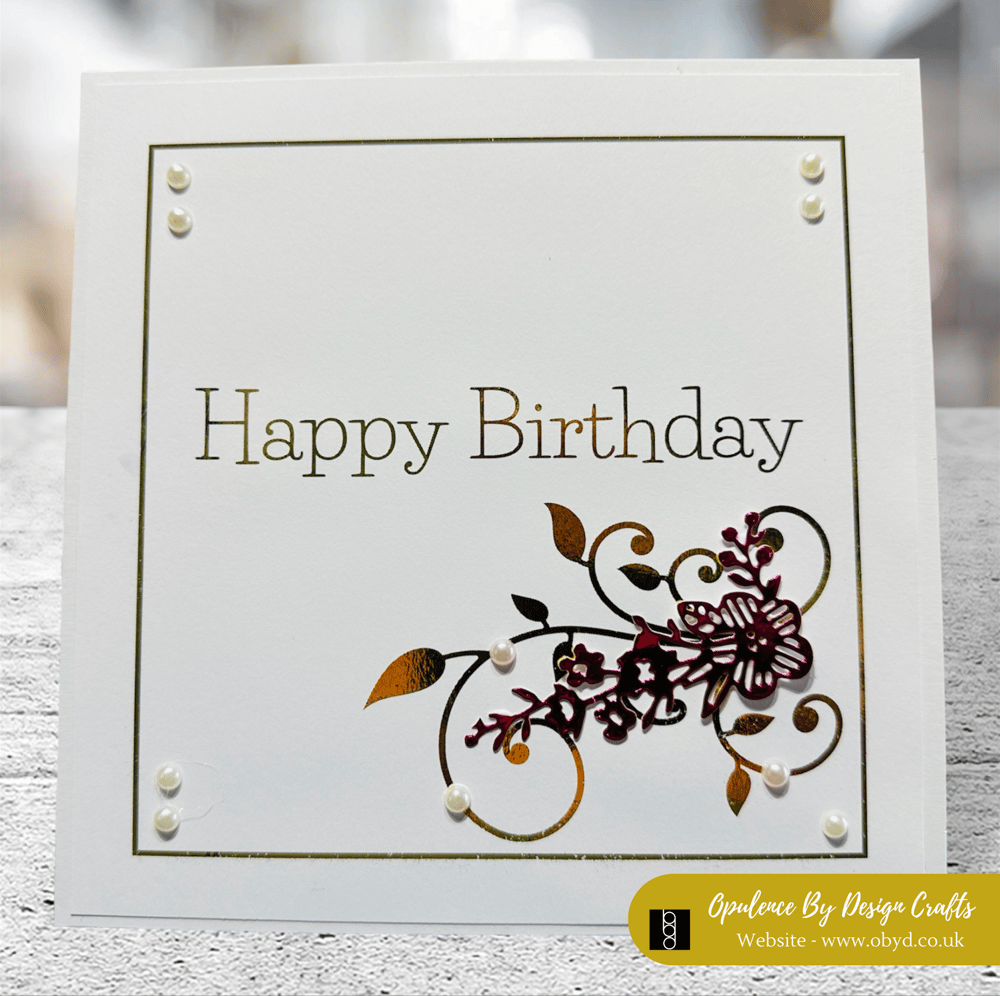
What else i used on the card:
- The cardblank is a square Craft UK Cardblank - Amazon
- Gold Minc Foil
- A small flower flourish die cut from my stash
- Self adhesive flat backed pearls
I often get asked what tools, equipment and accessories i use so to make things easier to find i have created an Amazon store front for the products i use in my videos, classes and tutorials.
** As an Amazon Associate I may earn a small referral commission on eligible products should you purchase an item featured from my store.
See relevant store page to where you are to find the Minc machine, foils, card, paper and essential crafting items.
UK Amazon Store front - https://amzn.to/3OHU7Xi
US Amazon Store front - https://amzn.to/42Gvj80
Australian Amazon Store front - https://amzn.to/3UKSuvV
Canadian Amazon Store front - https://amzn.to/3UHzbDD
The video and blog post are not sponsored i have paid for the machine and all of the items shown in this tutorial myself. My opinions are my own and i will always give an honest opinion.
I hope you like this project and i hope you will come along with me on my little foiling journey.
I have some quirky little projects planned so please stay tuned.
If you would like to see more why not join us on facebook or any of our social media platforms - youtube, Instagram, tiktok, pinterest, X - you can find all of our social media links here
Thank you for looking and as always Happy Crafting A xo
Comments
Post a Comment